Building three-dimensional structures
Collecting materials
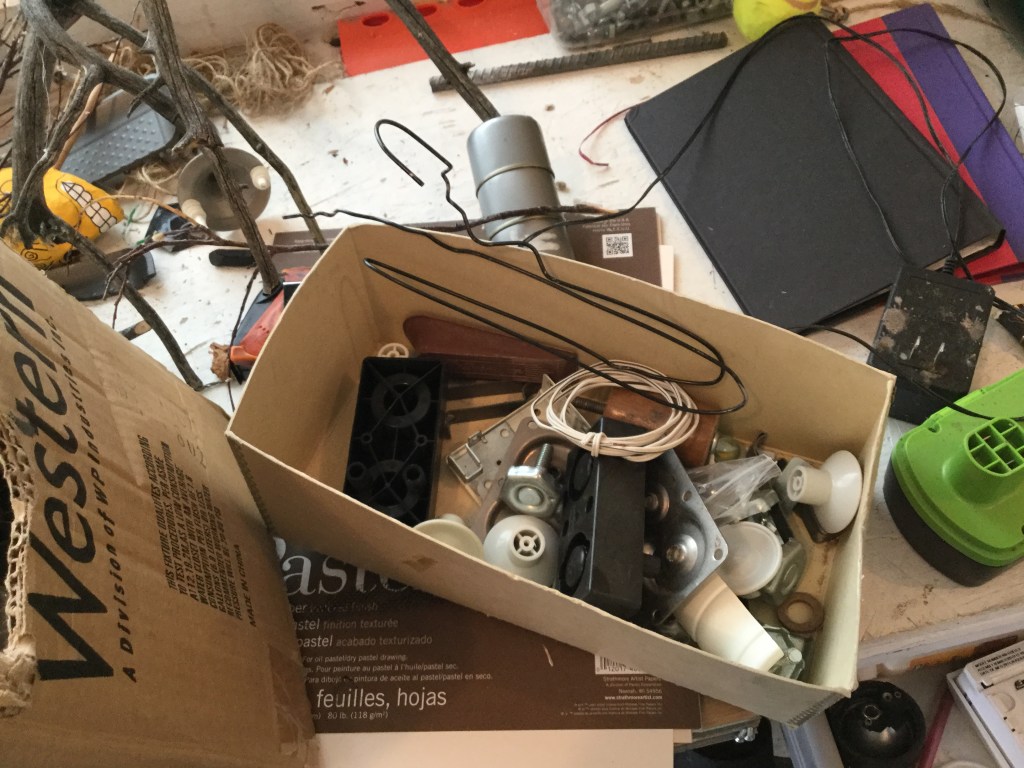
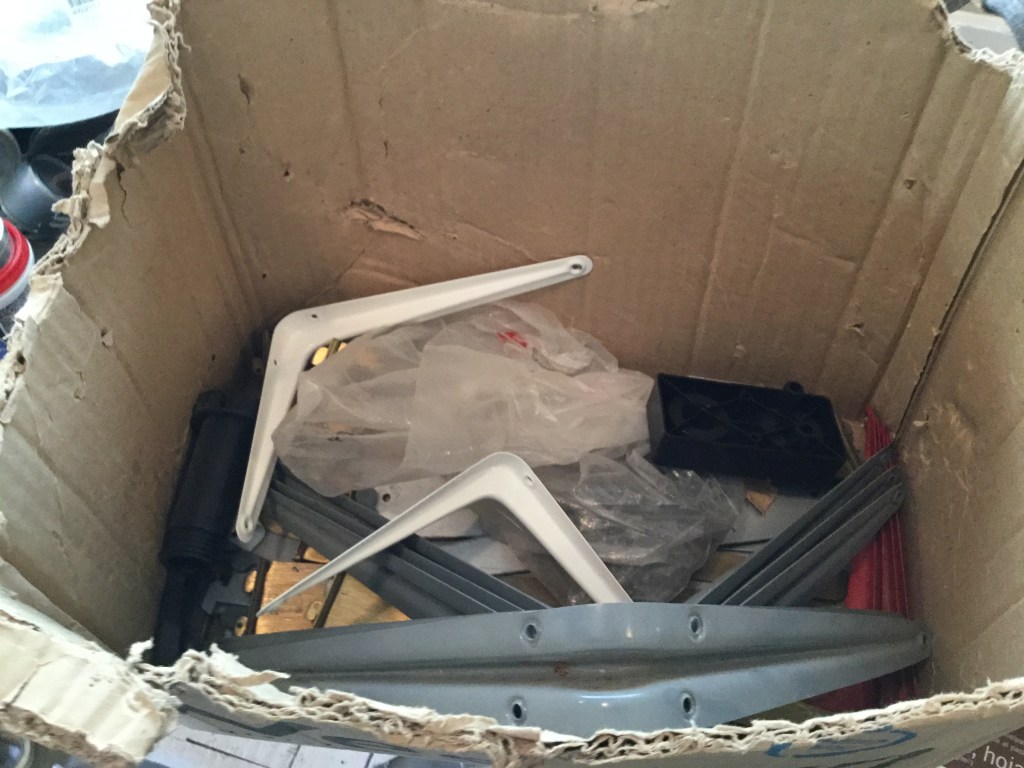
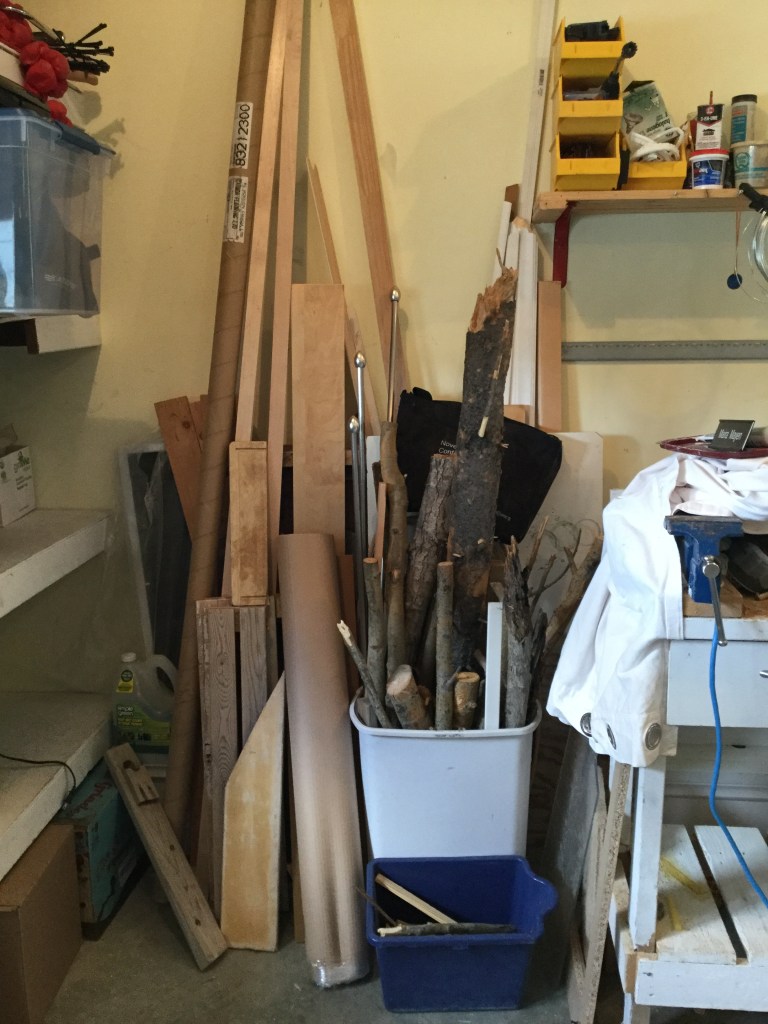
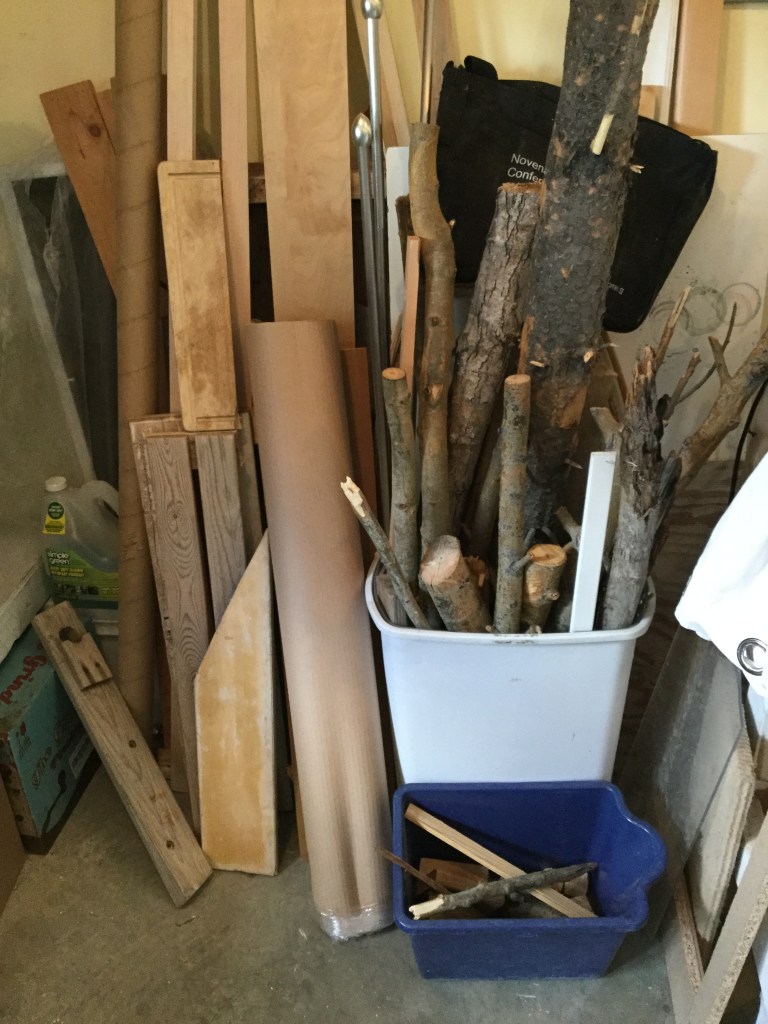
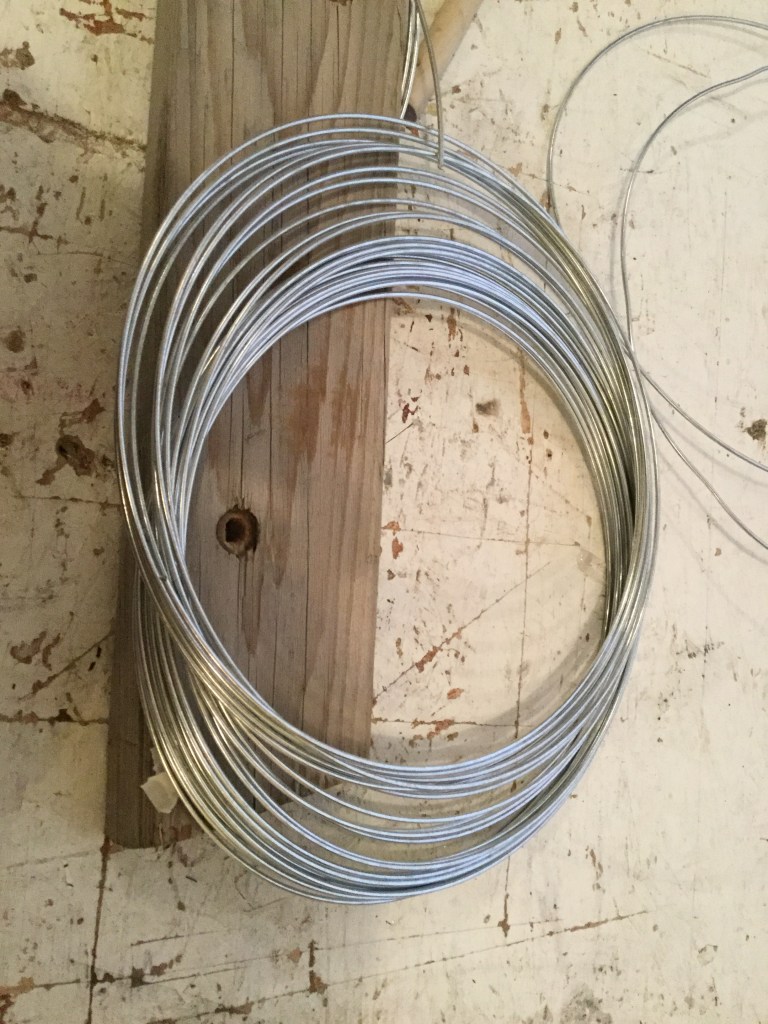
For this new part of the course, I did the same as the last time: I collected all the materials from my own home: pieces of wood, discarded objects from towels hangers, scrap metal, old magazines, tree branches from my yard. I have to admit that I was tempted at the beginning to go to the hardware store to see what kind of things I could find there especially to see what type of wood they sell. I’m quite happy I did not go to the store because I had plenty of materials at home.
There is a movement in photography that says that there is no need to create any more images because the world is full of them. I think this concept applies quite well to the sculptures I created for this project: there is no need for new materials if you want to create a sculpture, the world is full of discarded objects to work with.
Easel for the large Drawings
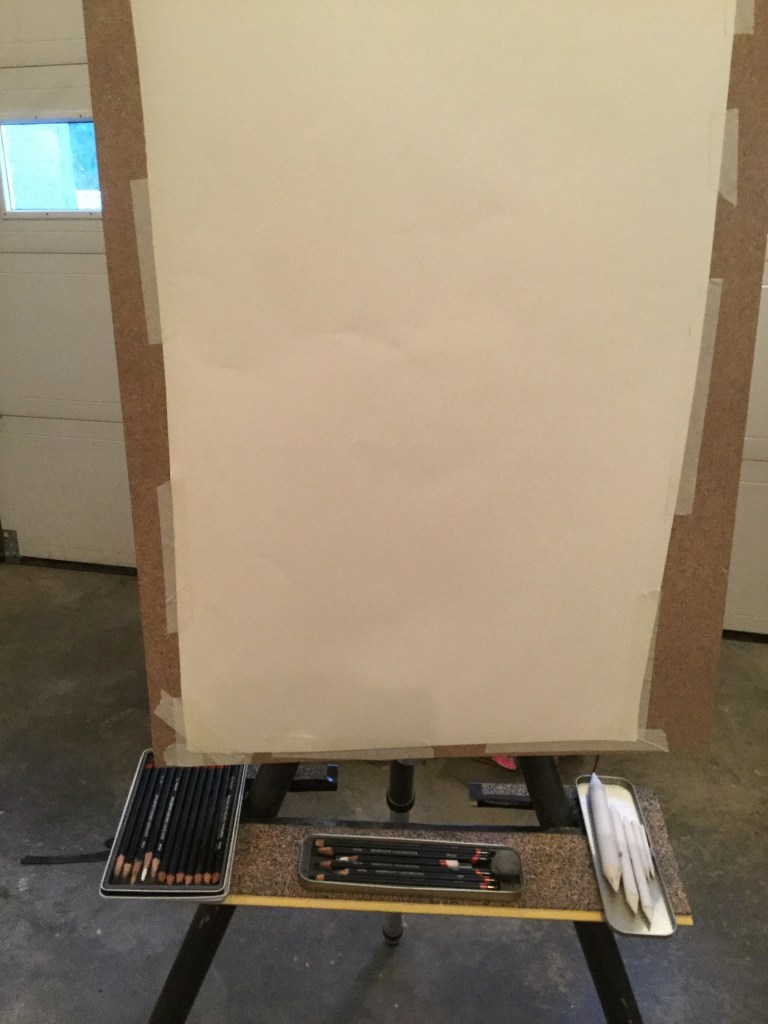
One task I did just after collecting the materials for my sculptures and before starting working on them was to construct a large easel for Project Four. Also, Project Four requires that the drawings need to be created at the same time as the sculptural process.
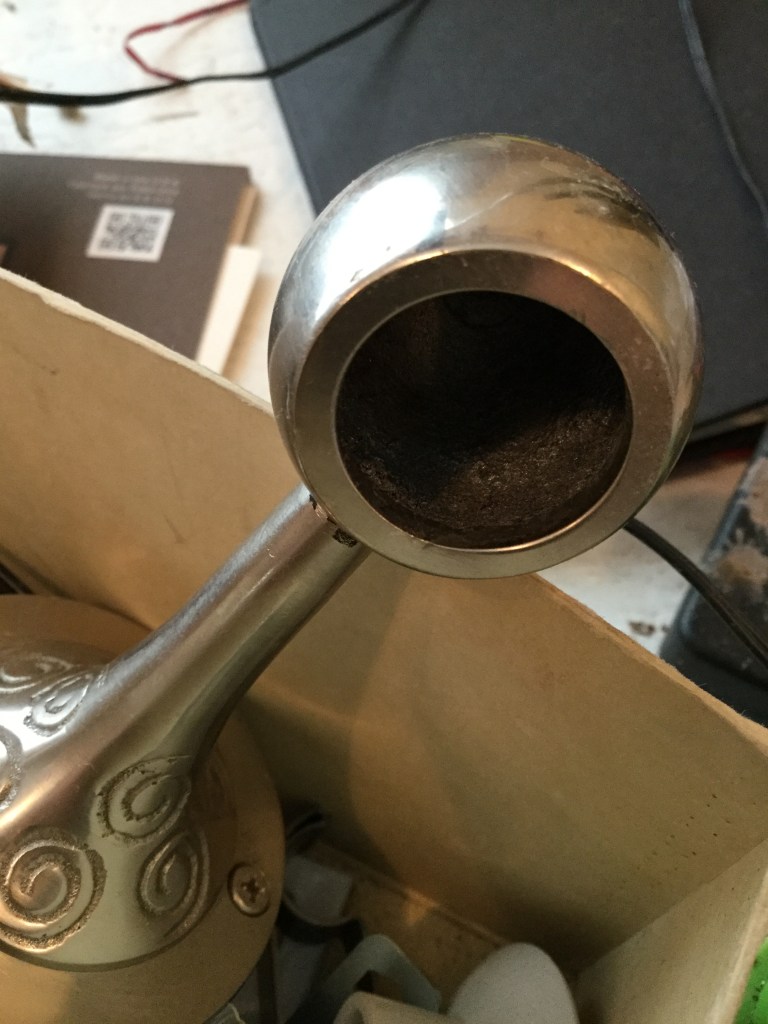
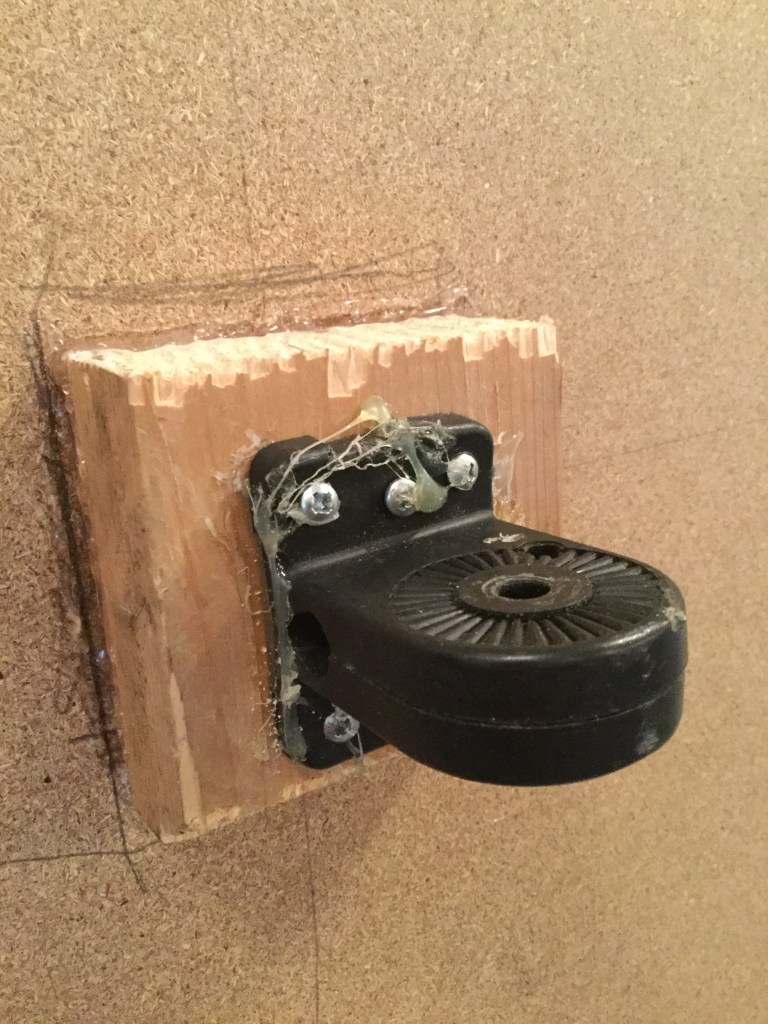
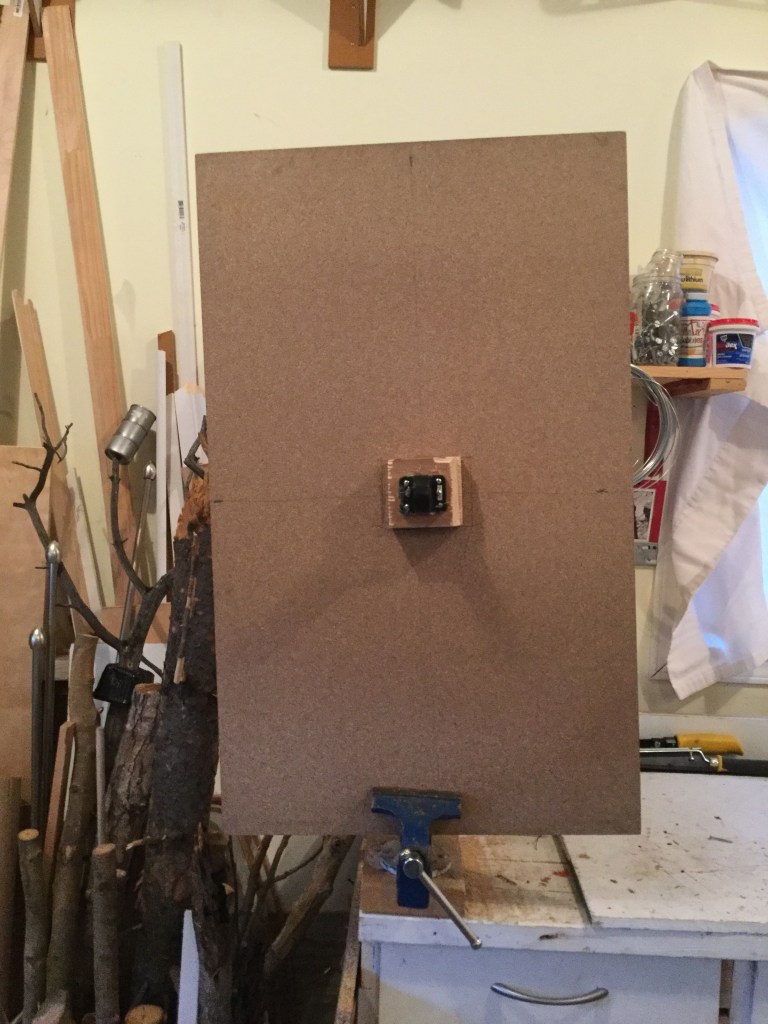
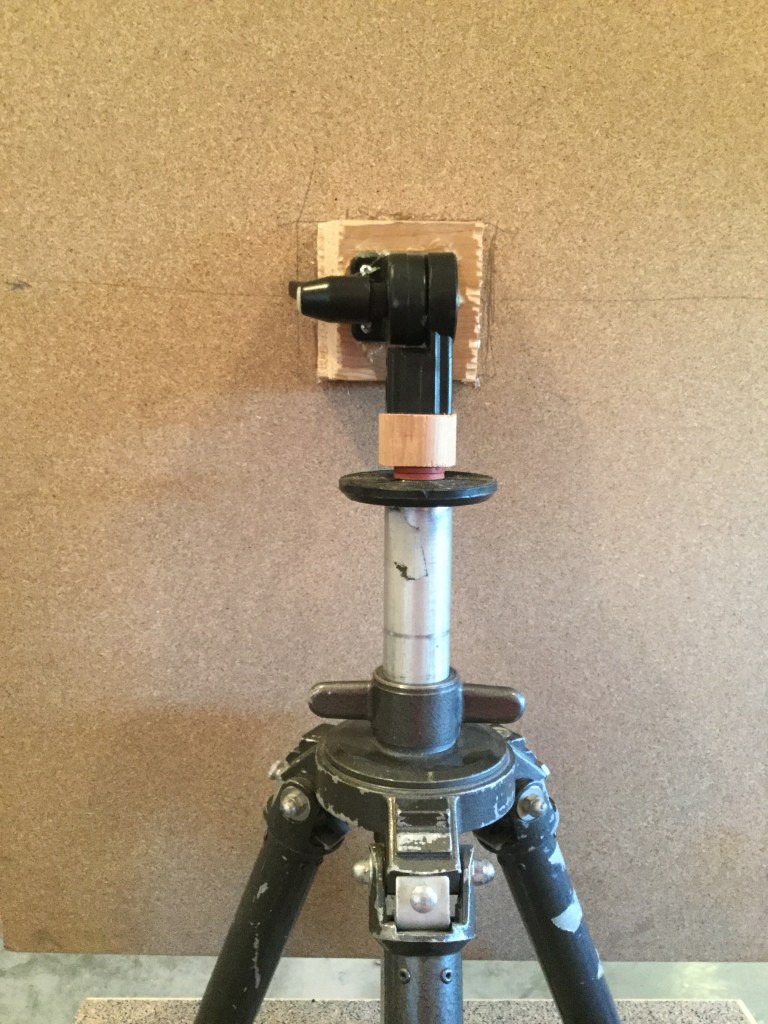
Again, the power of reusing things took place: with a sturdy tripod, a large piece of chipboard and the folding mechanism of an old studio photography light I built a big easel in less than 30 minutes. If I take into consideration the prices of a new easel, my DIY easel is fantastic!

Small first sculpture
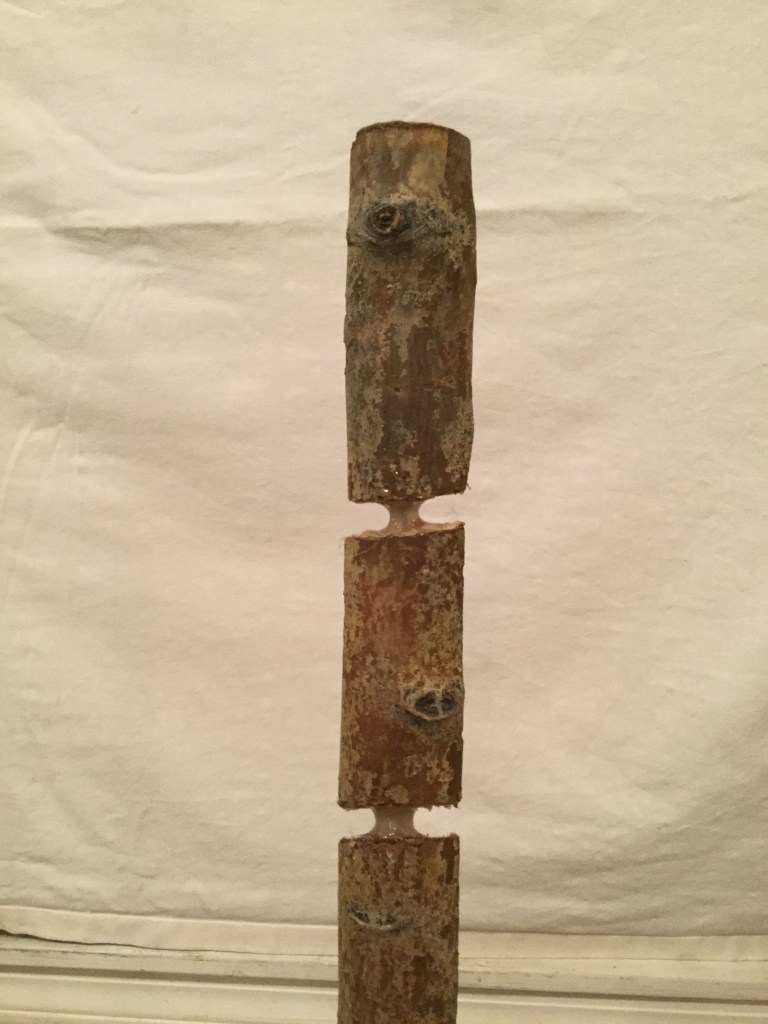
The first thing I decided when I started the construction of this first stacked sculpture was that I wanted to do something simple, to begin with, I did not wish to just stack random objects, one on top of another, and have my fist sculpture ready in less than five minutes. Yes, it was a challenge.
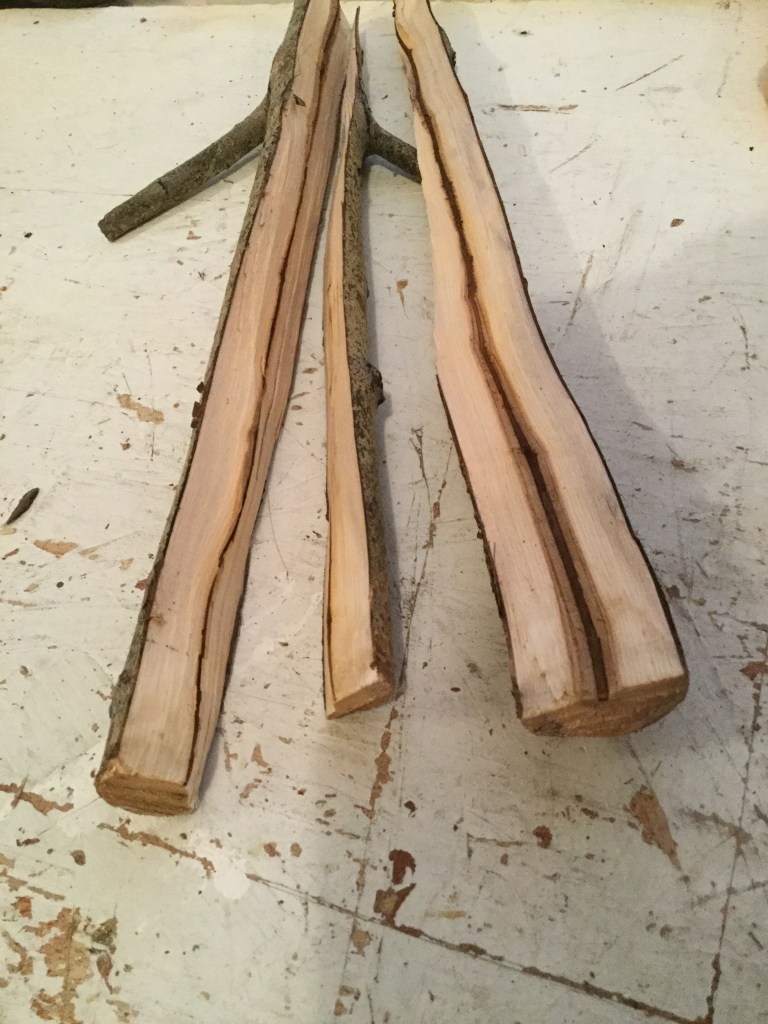
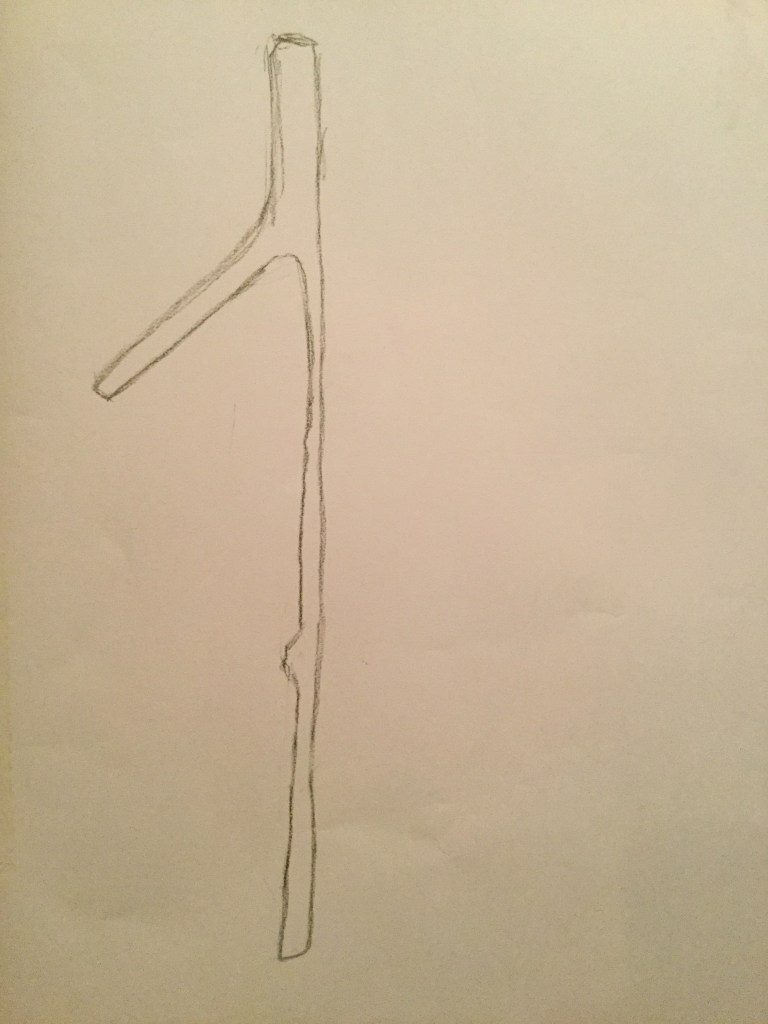
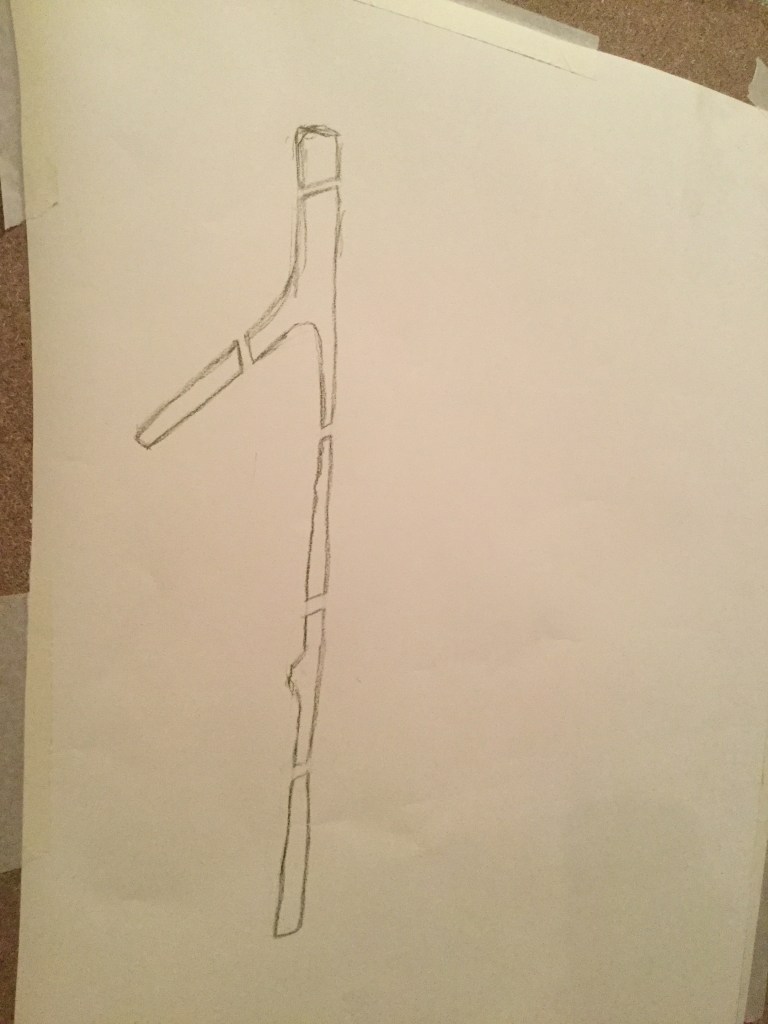
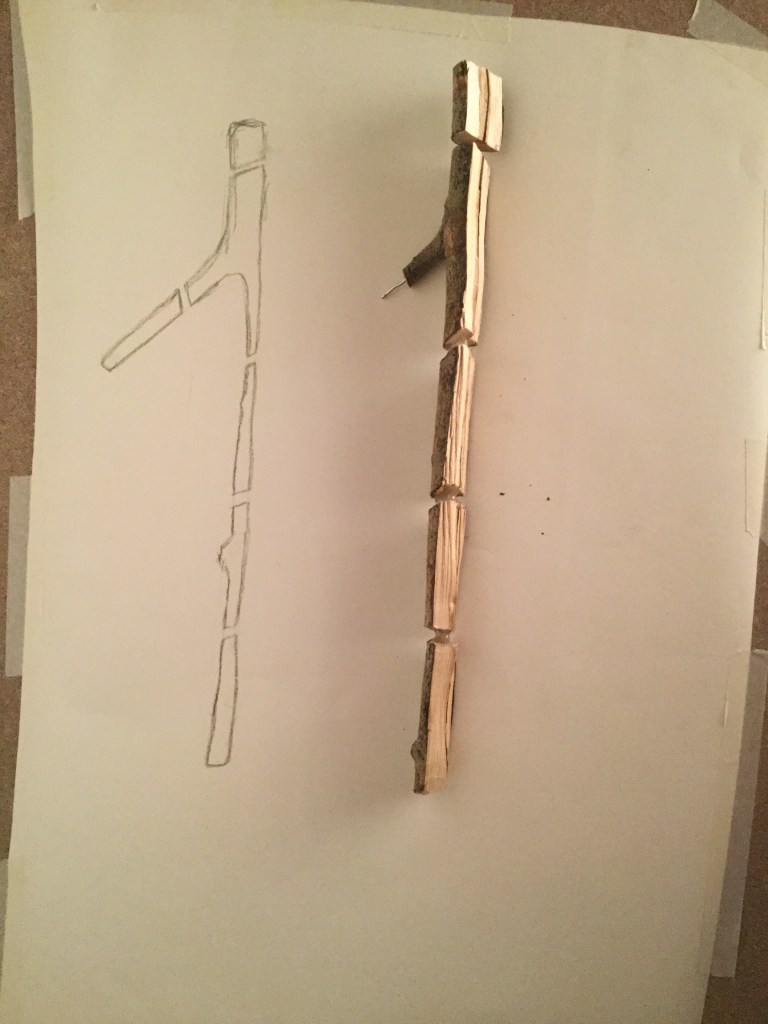
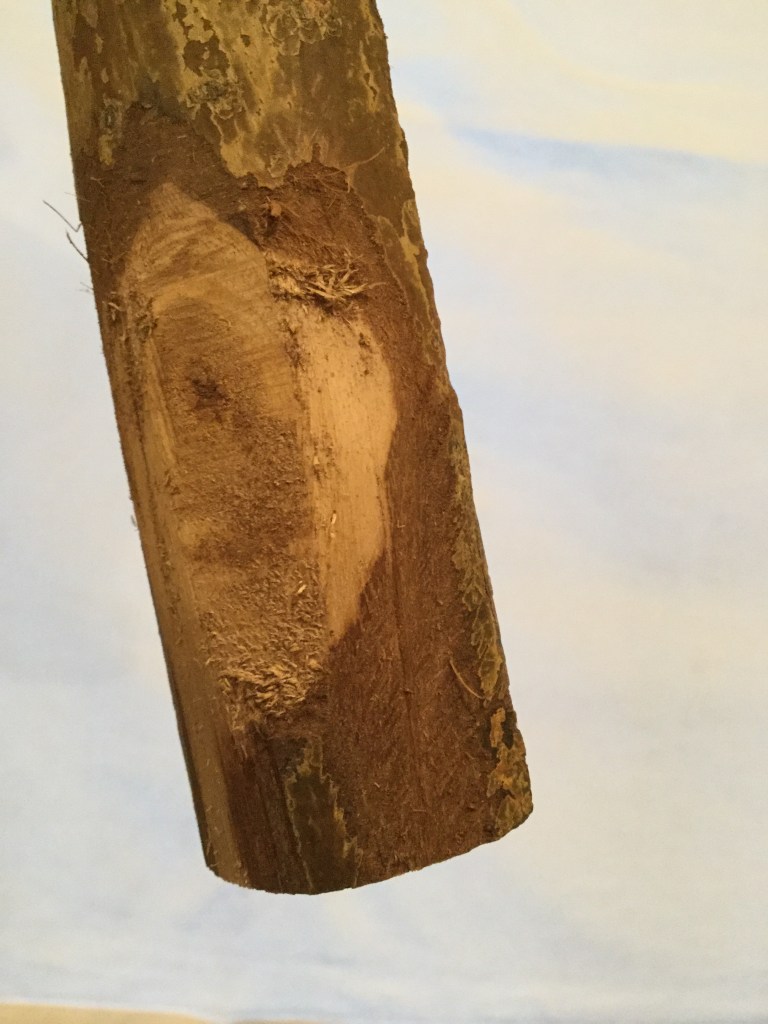
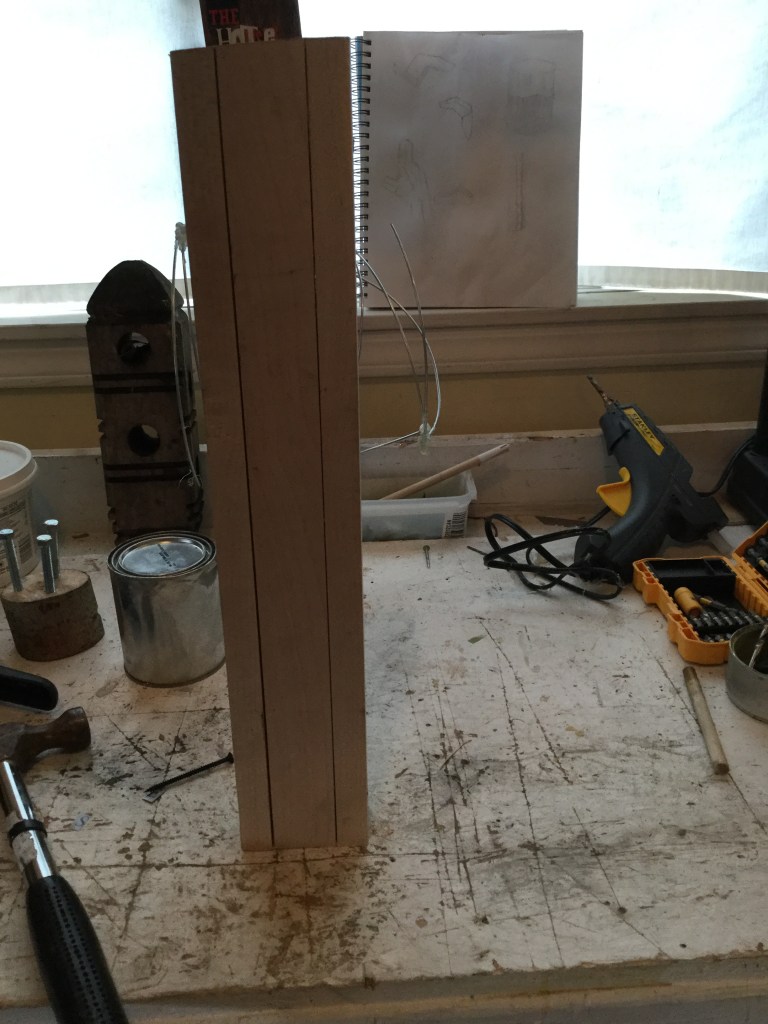
So, I started with an old dry tree branch that I cut in half and drew it on my new easel.
BTW I live in a small town, and we do not have too many choices when we want to buy art materials, in this specific case: big sheets of paper, like the A2 required for some of the drawings. However, yes, we have internet of course, so I bought two big rolls of Strathmore 400 medium (36″x10ft) online. As you can see on the photos I had difficulties cutting the paper to the size of the chipboard. I can’t believe how hard it is to deal with such big rolls of paper if you do not have the proper equipment (a roll paper dispenser, I guess).
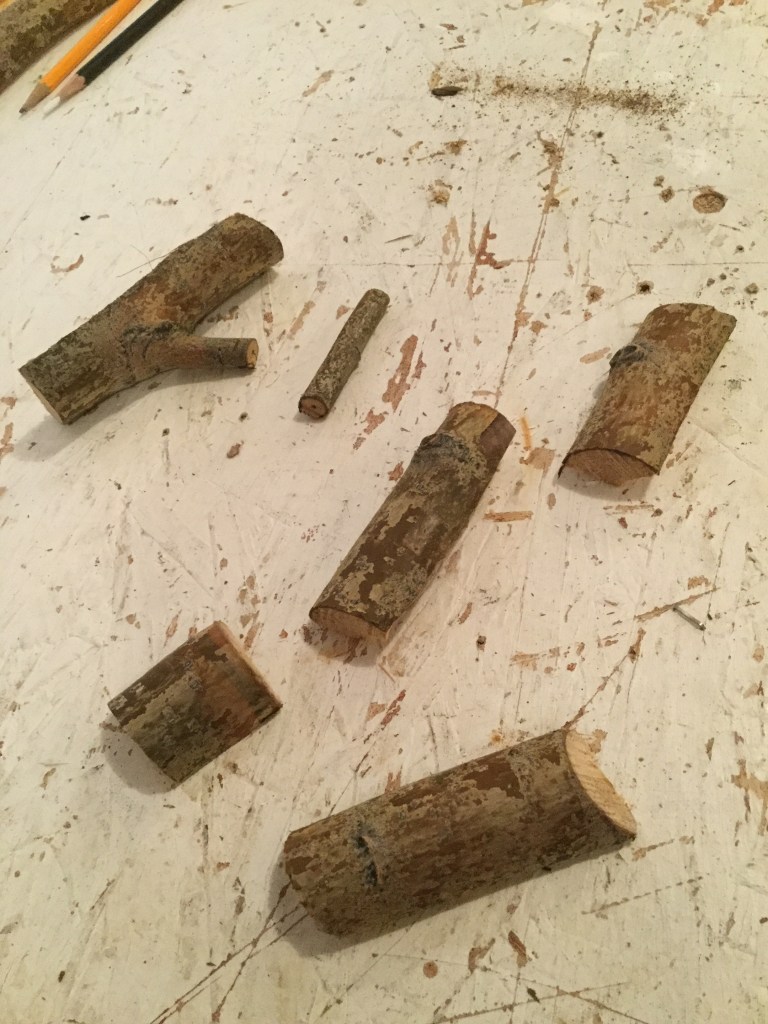
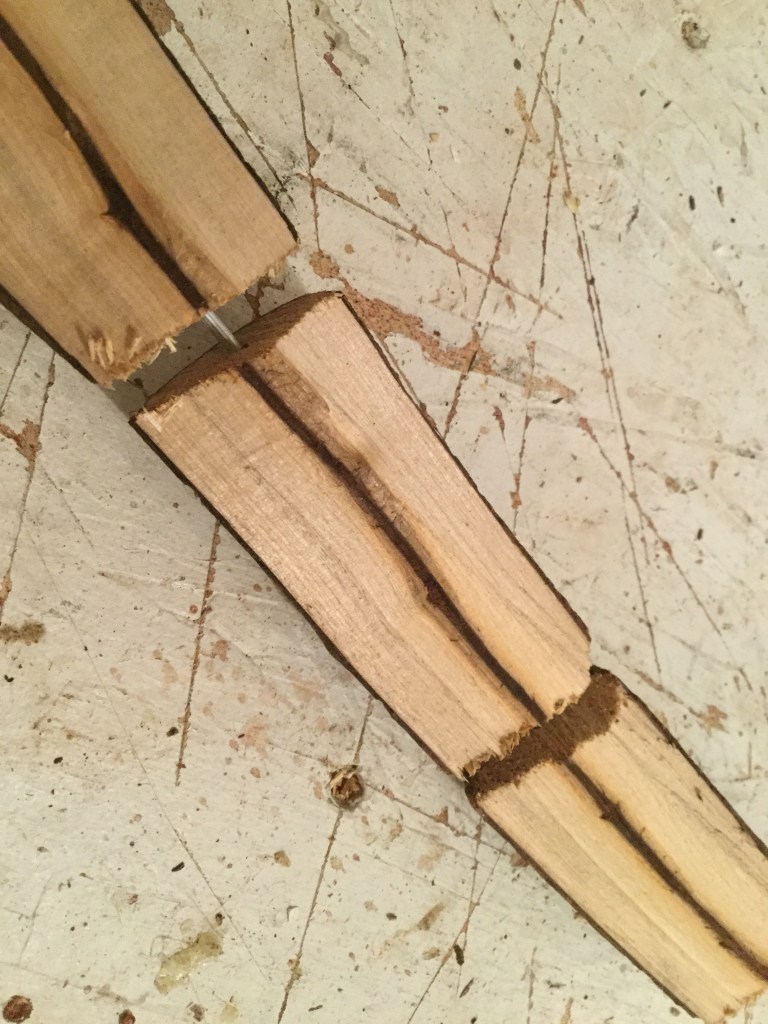
Anyway, so after drawing the tree branch and thinking a little bit about what I was going to do next I decide to use the old saying of “divide and conquer”, and that is what I did: I divided the drawing into small pieces by erasing some parts of it, and I did the same on the branch, I cut it off on the same number of pieces my drawing states. Once the brach was cut it into pieces, I needed to stack it to make it a sculpture, and for that, I used wire and glue.
Going from a drawing to sculpture and vice-versa is a quite fascinating process of creation. The drawings I developed for my three first pieces were very helpful but not revealing. Those early drawings taught me that sometimes it is not possible to go from the sketch to the sculpture and is necessary to make the necessary adjustments to the materials to look as close as possible to the drawing.
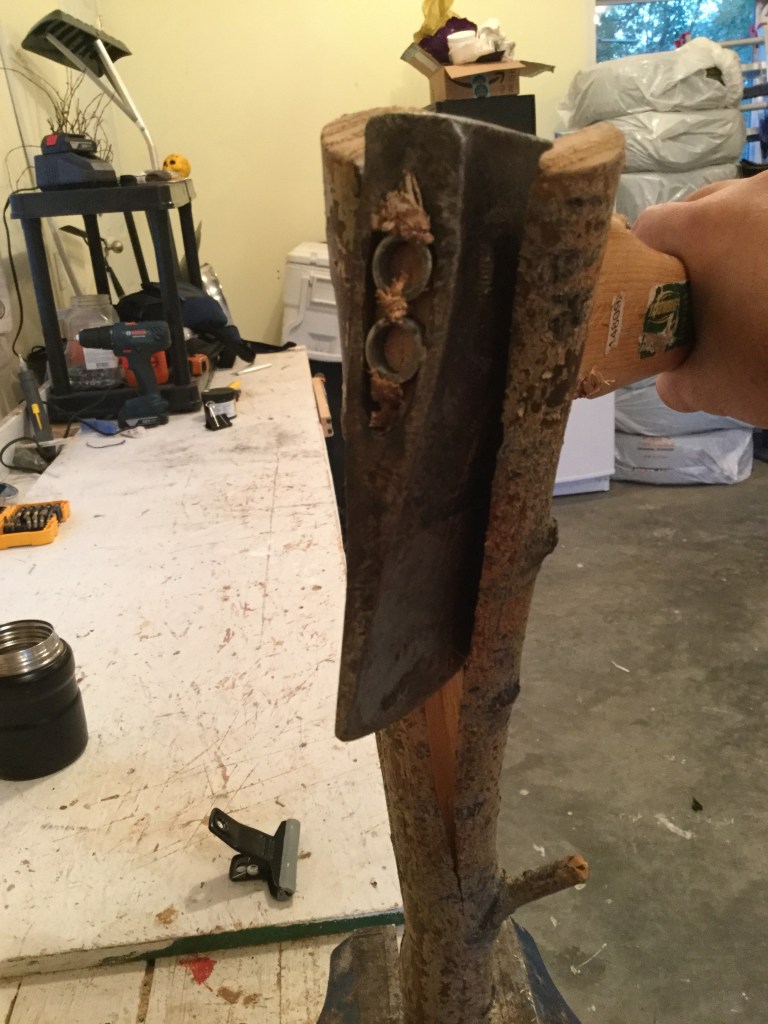
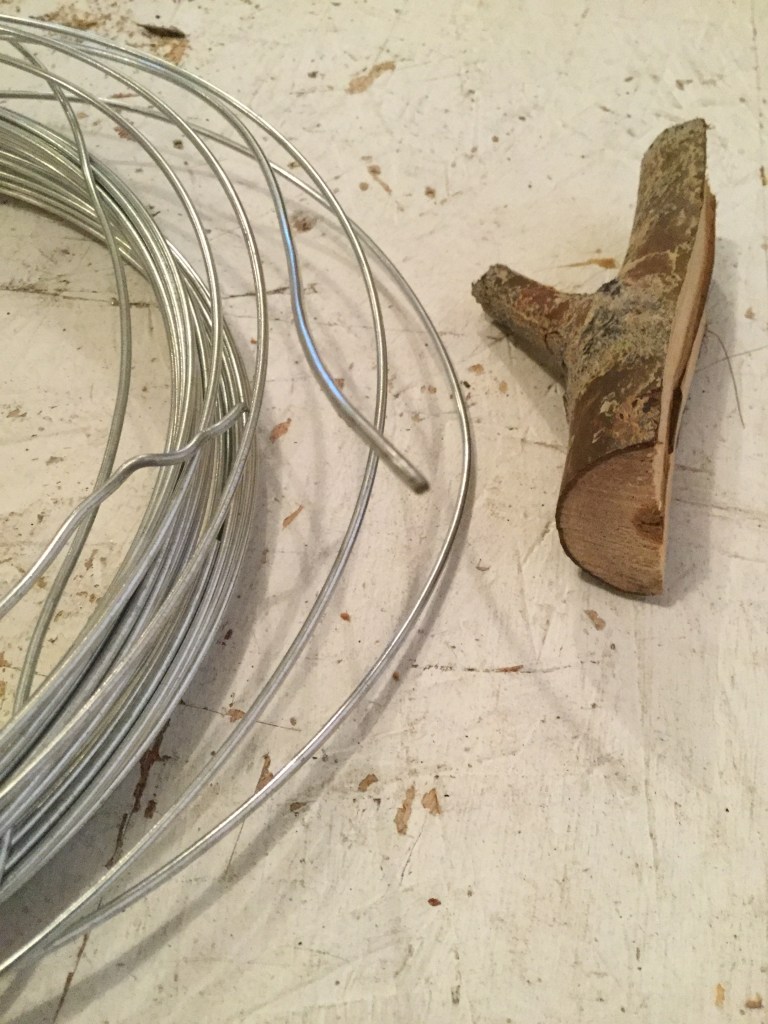
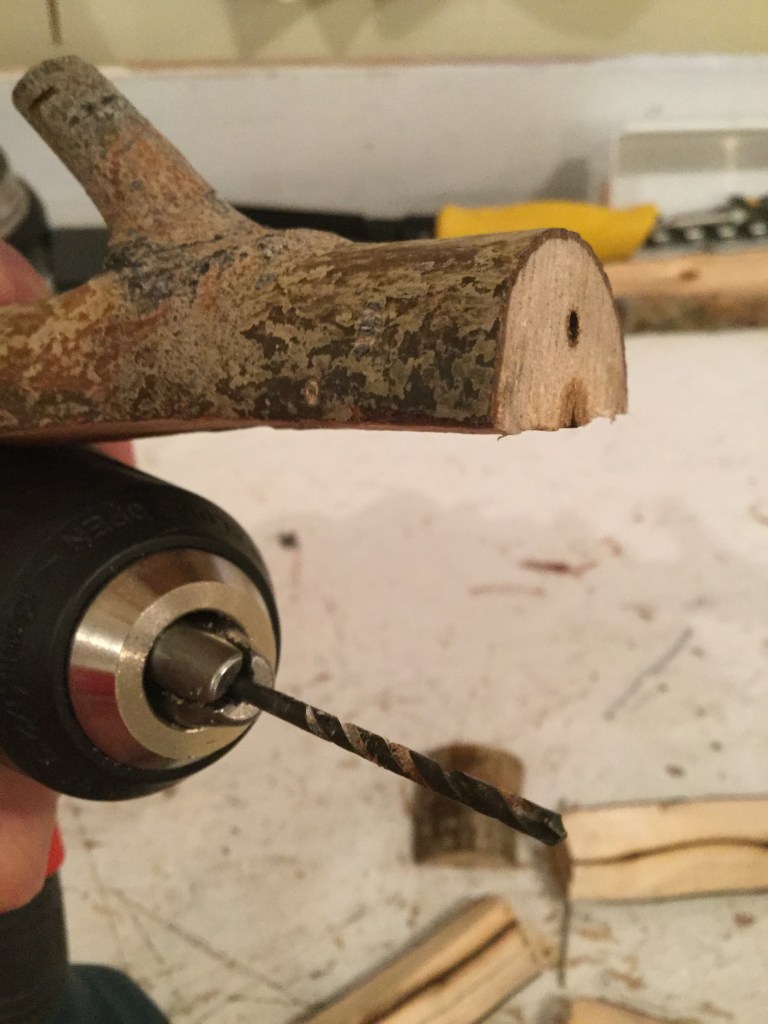
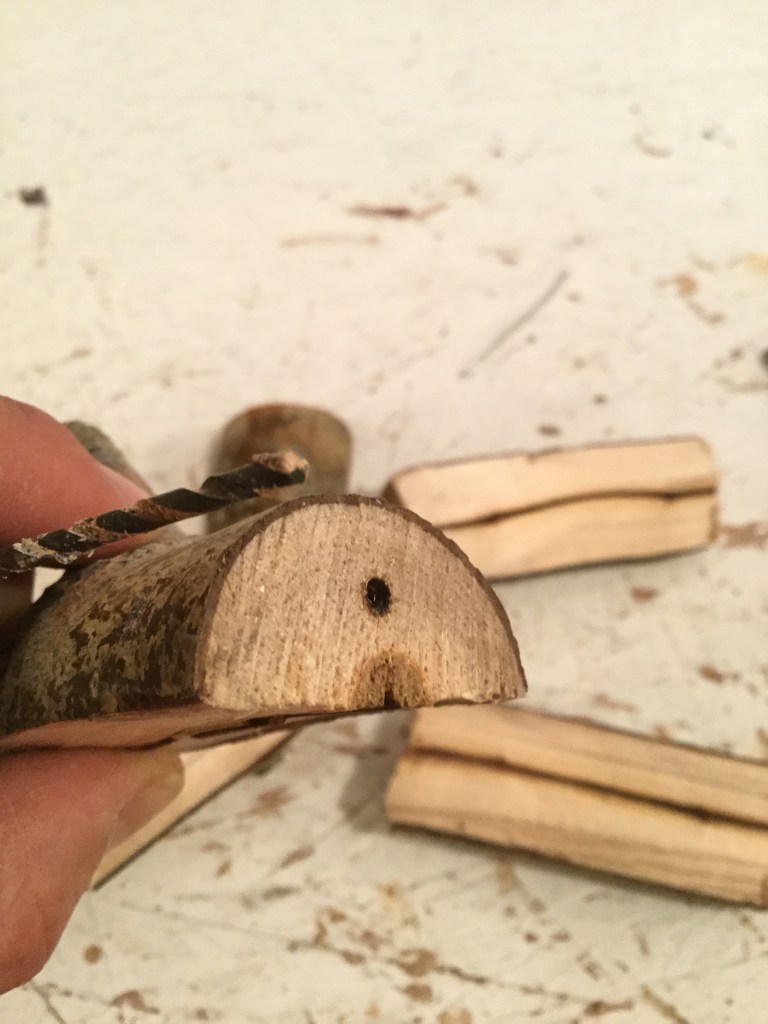
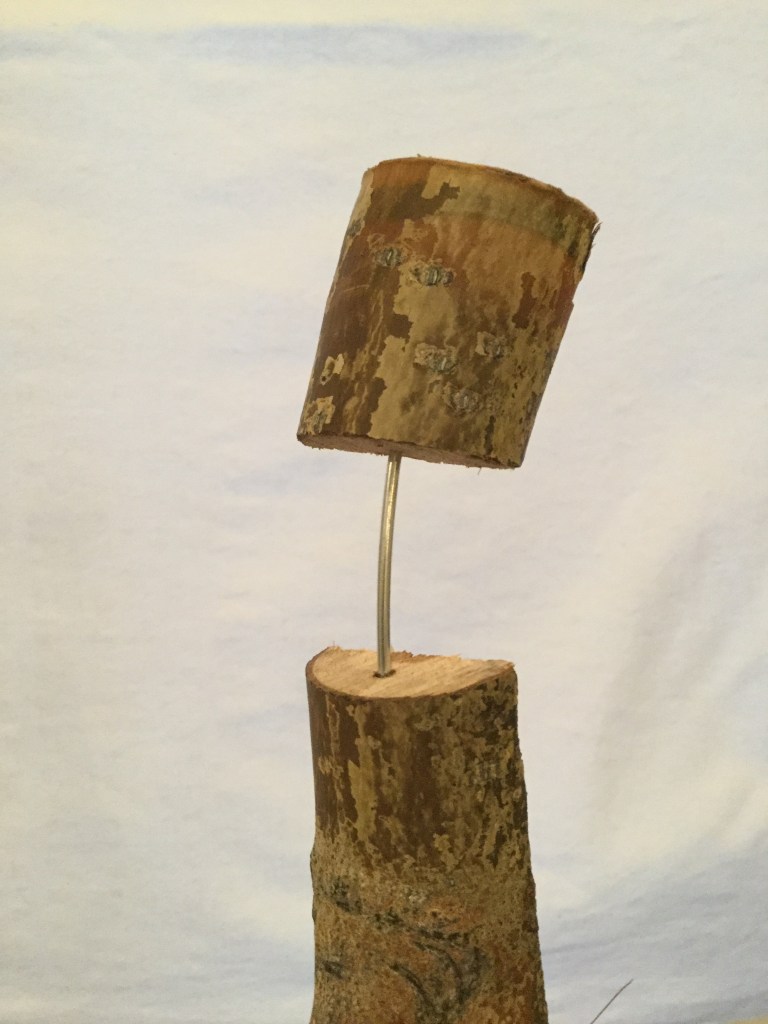
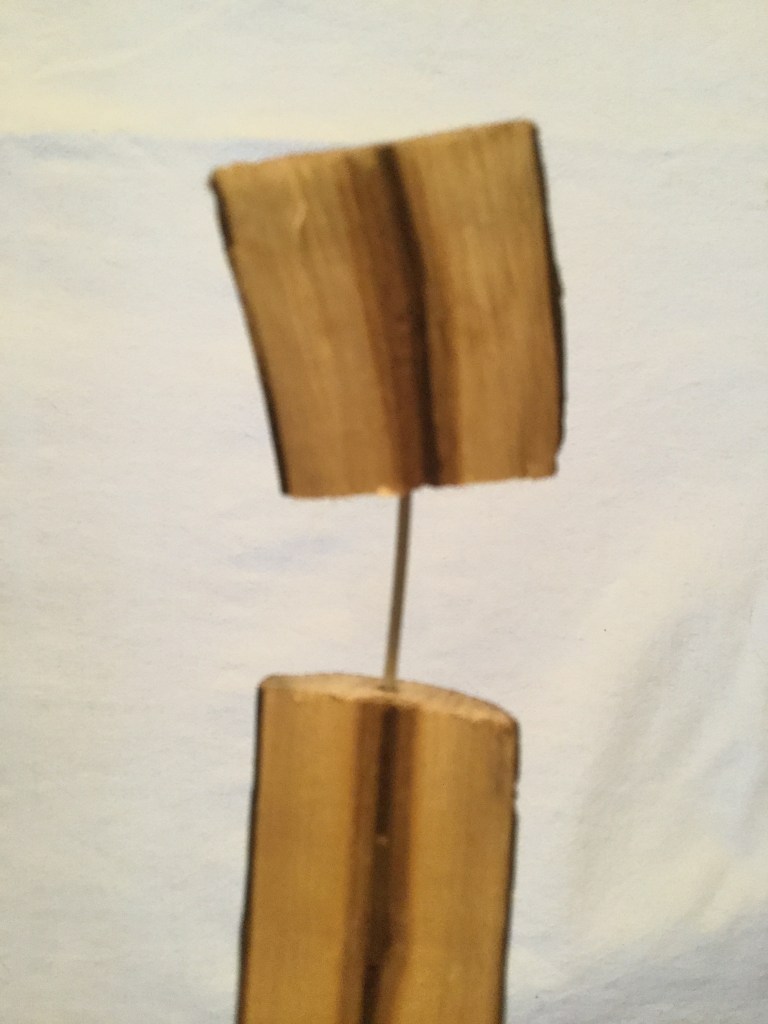
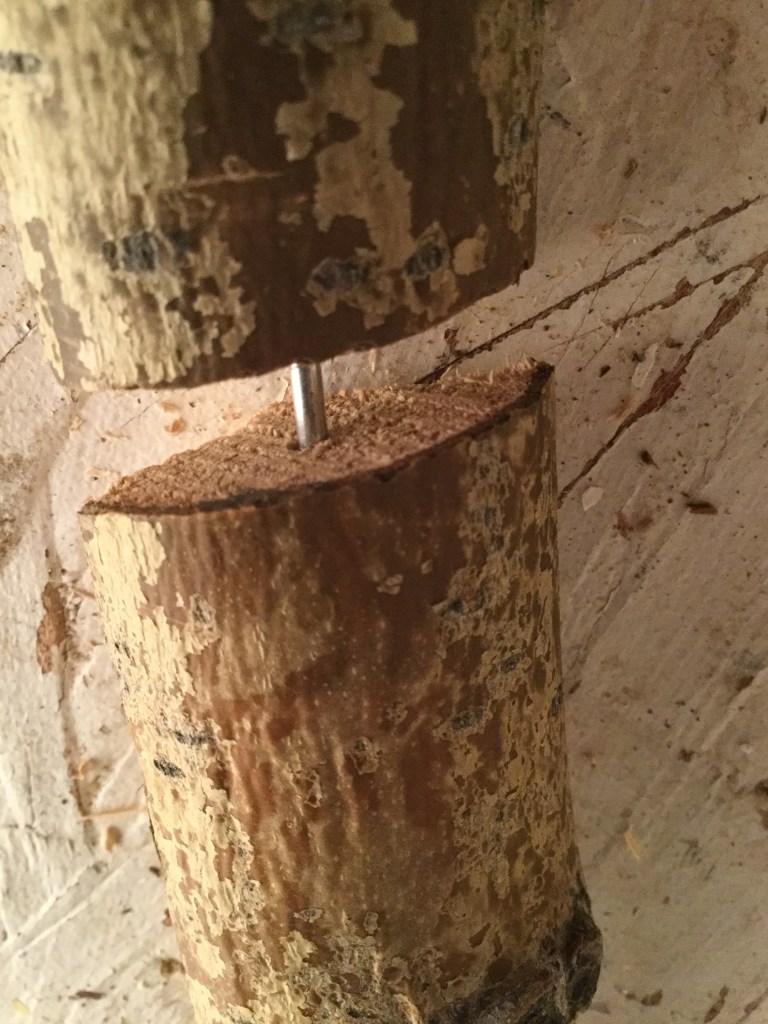
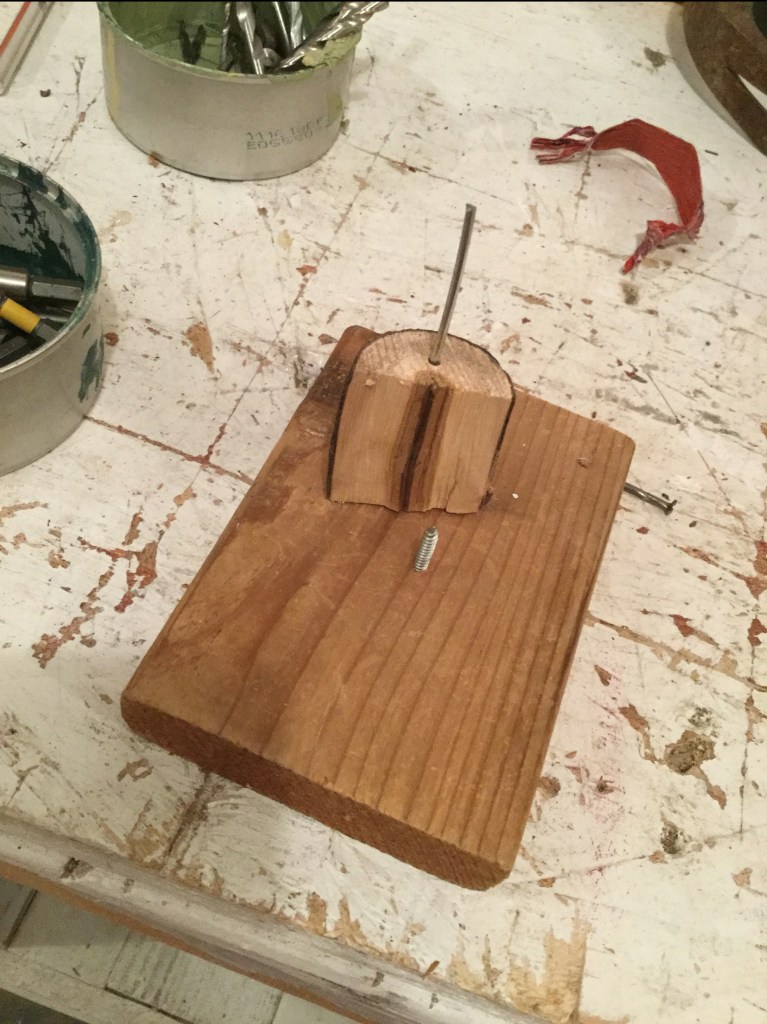
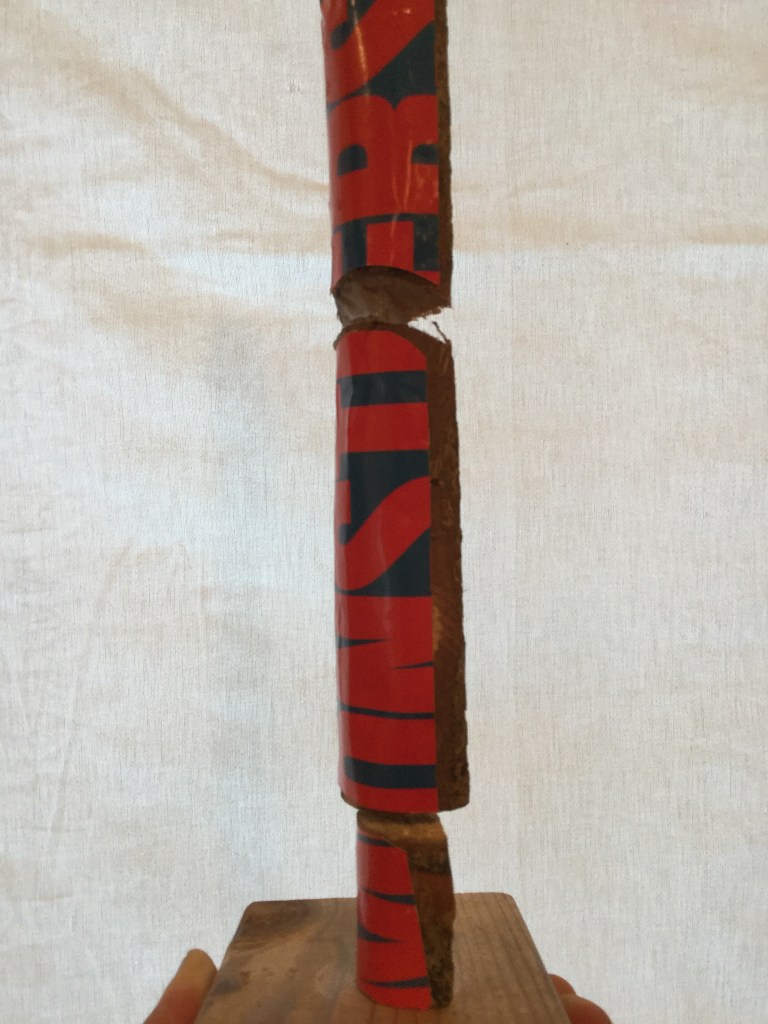
The stacked process of the pieces was quite straightforward: I drill a little hole at the end of the wood pieces, both ends, and I stuck a piece of wire in it. Easy to do but not what I wanted, the parts were not fixed, and they can rotate 360 degrees freely. So, yes! The hot glue gun came to my help. I like this kind of glue since the last module when I discover it, it is excellent.
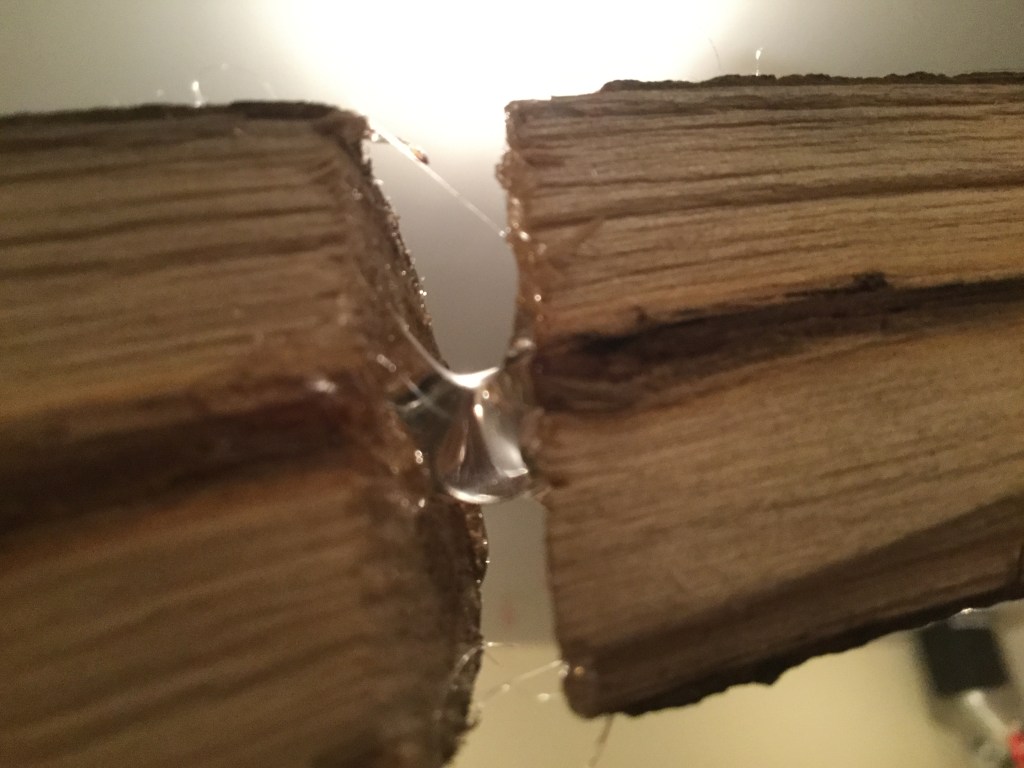
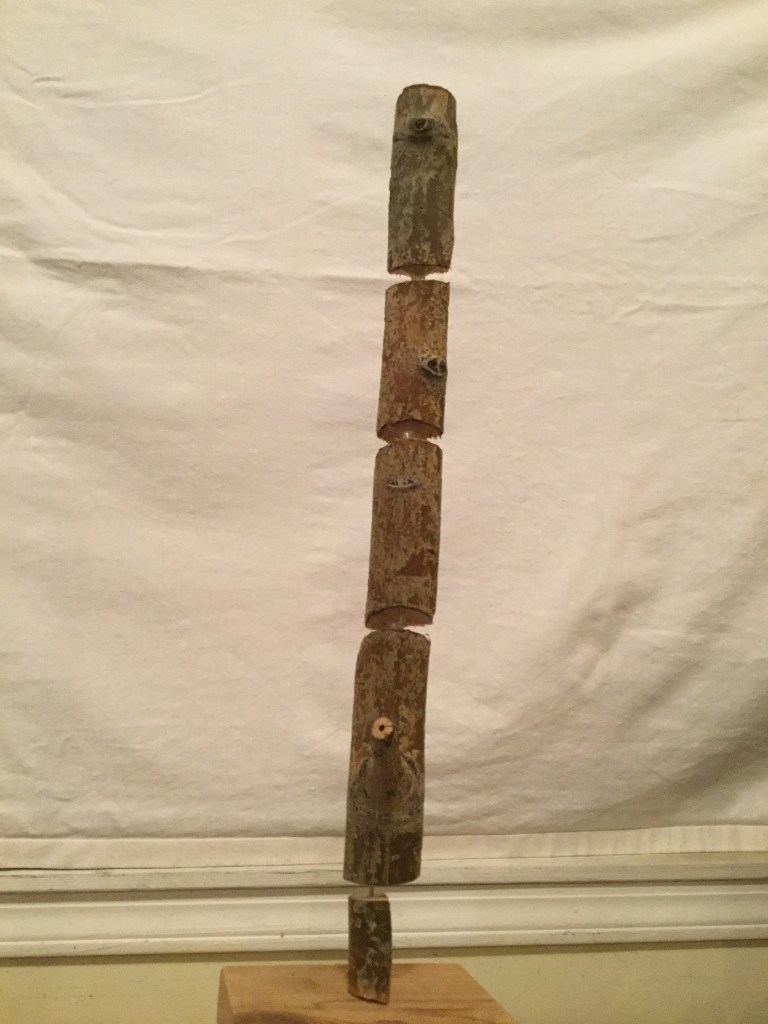
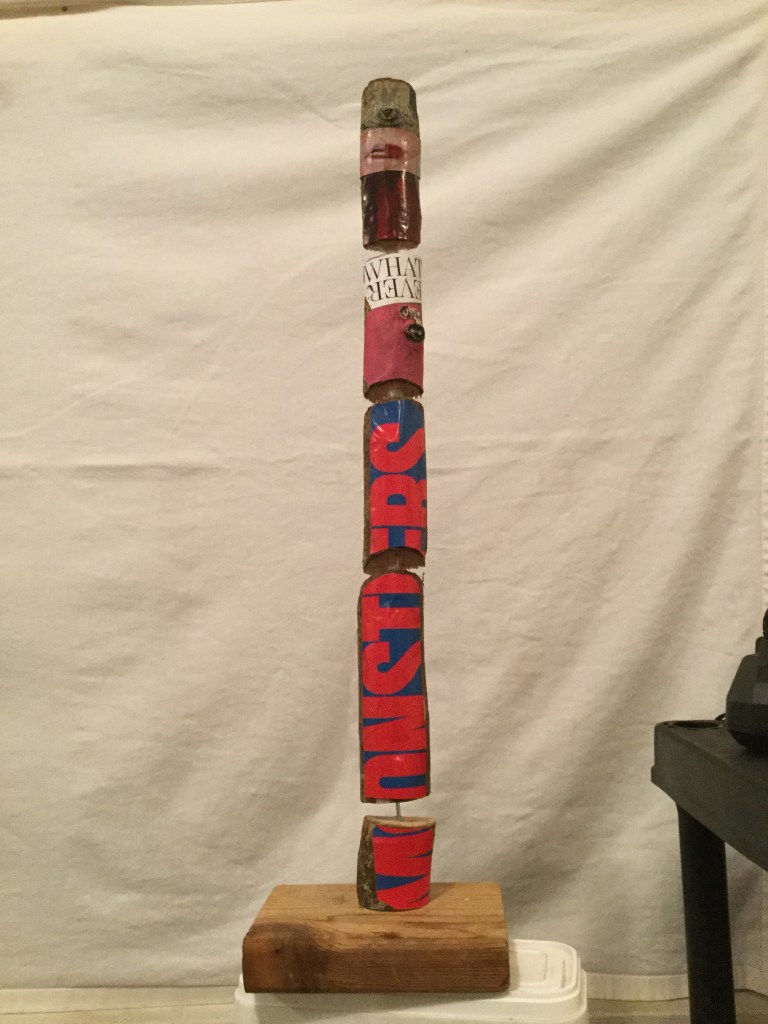
Once all the pieces were glued and fixed, it was time to create the base where the sculpture can stand. As you can see in the last picture on the below gallery, the sculpture is complete: stacked elements in a vertical position that can stand by itself on a stable base.
Pareidolia
Pareidolia is defined as “the tendency to interpret a vague stimulus as something known to the observer, such as seeing shapes in clouds, seeing faces in inanimate objects or abstract patterns, or hearing hidden messages in music. Common examples are perceived images of animals, faces, or objects in cloud formations…”
(Wikipedia.org, 2019)
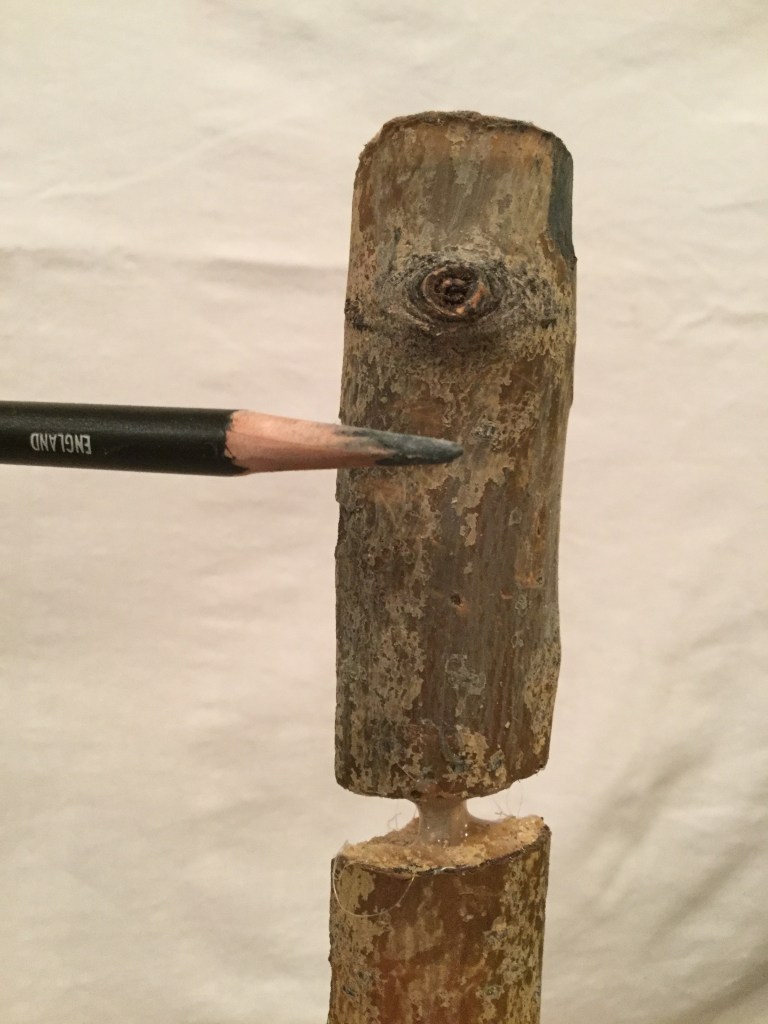
I think I’m as good as everyone else when it is time to see faces in objects. After I “finish” the first sculpture I was not precisely pleased and I had the sensation that I needed to do something else with it. I did not want just to paint to perhaps differentiate the elements that comfort it. I want to do something more. When I consciously noticed that bump at the front of the first piece I immediately though of the work of Hannah Hoch, the amazing german Dada artist from the ’20s of the last century. I always have had a fascination with her photomontage work. So, I decided to go that route to add to my sculpture something meaningful to me.
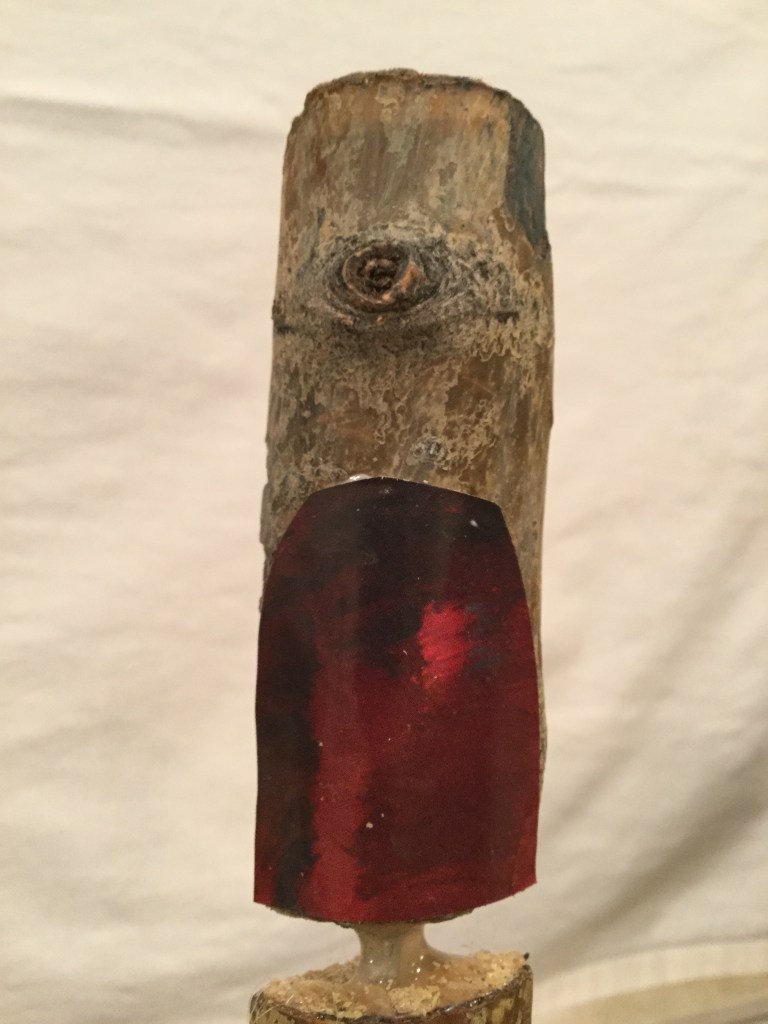
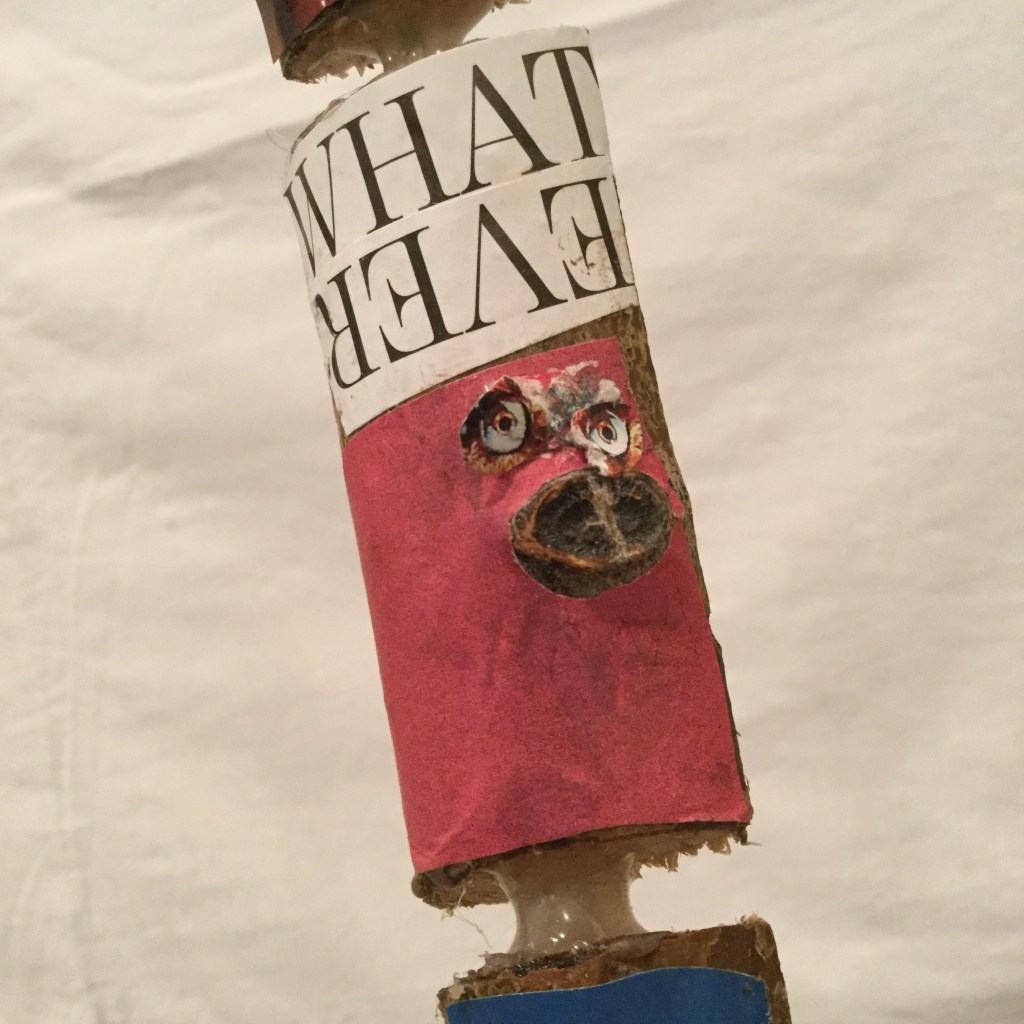
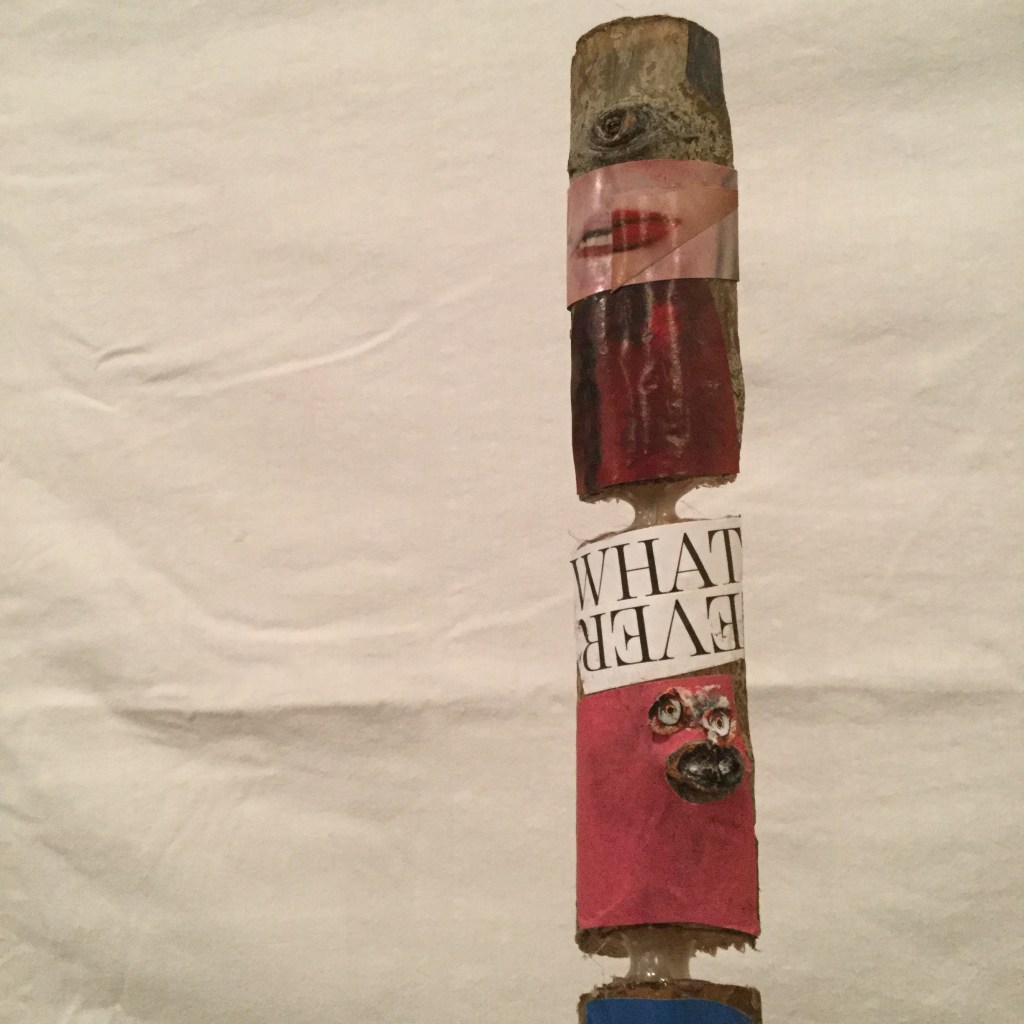
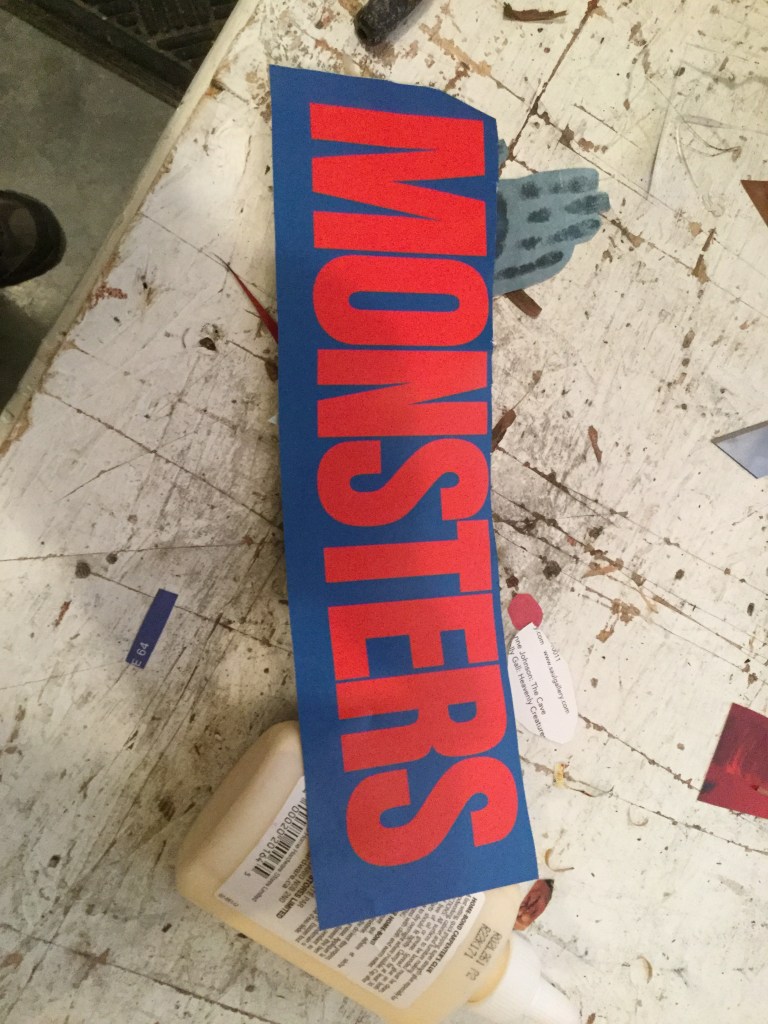
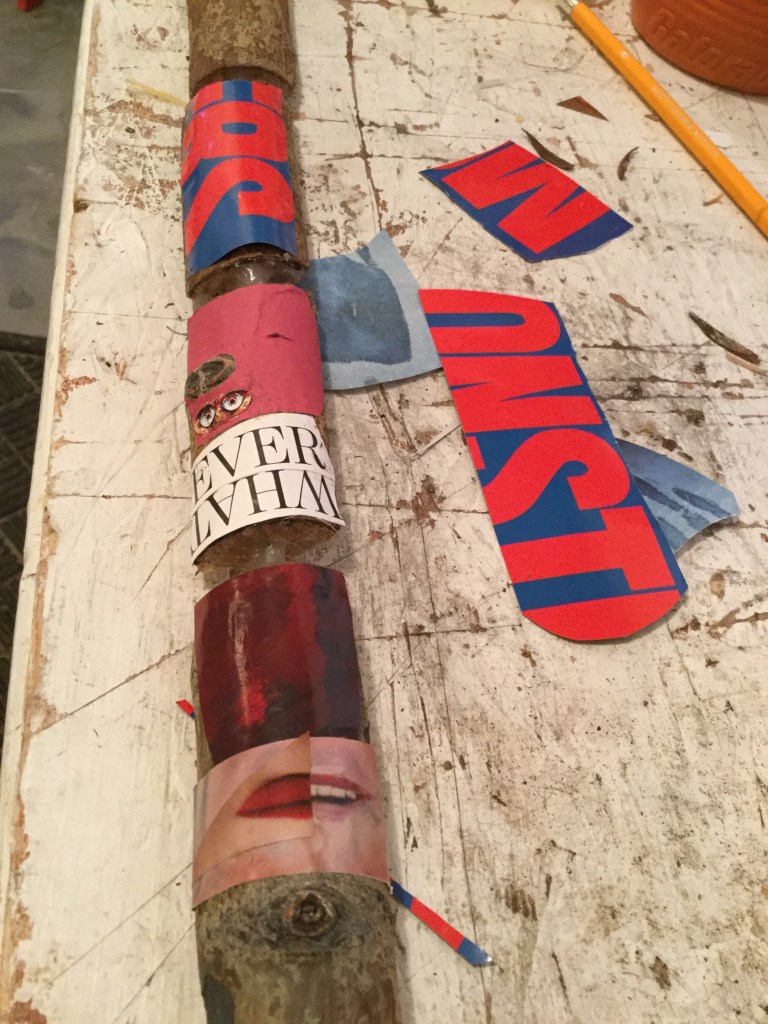
One last thing about this sculpture is that the images I choose to glue on the surface of it where selected kind of randomly from old magazines. In the end it was clear that the images selected are related to concepts I have been researching regarding intelligence and darkness.
The below gallery shows the last steps for this piece and the incorporation of the word “monsters.”

First larger sculpture
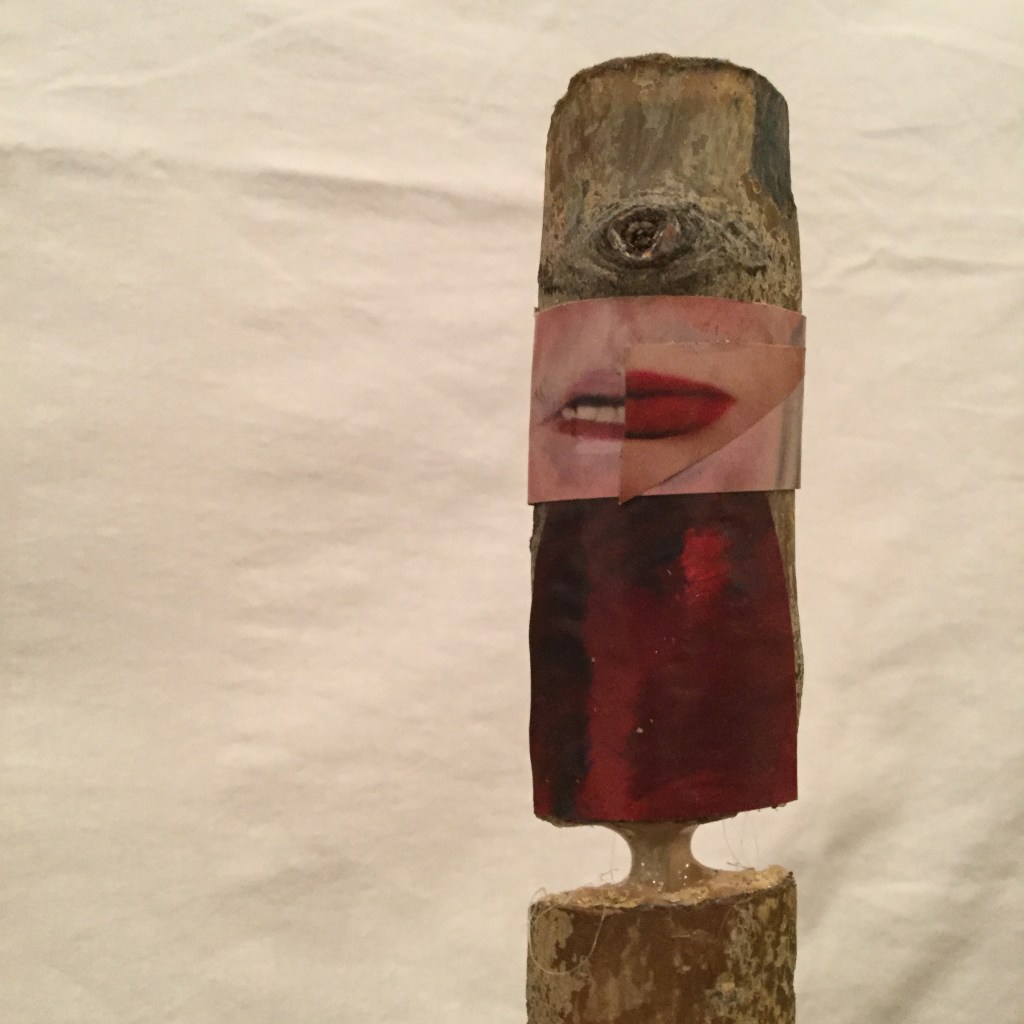
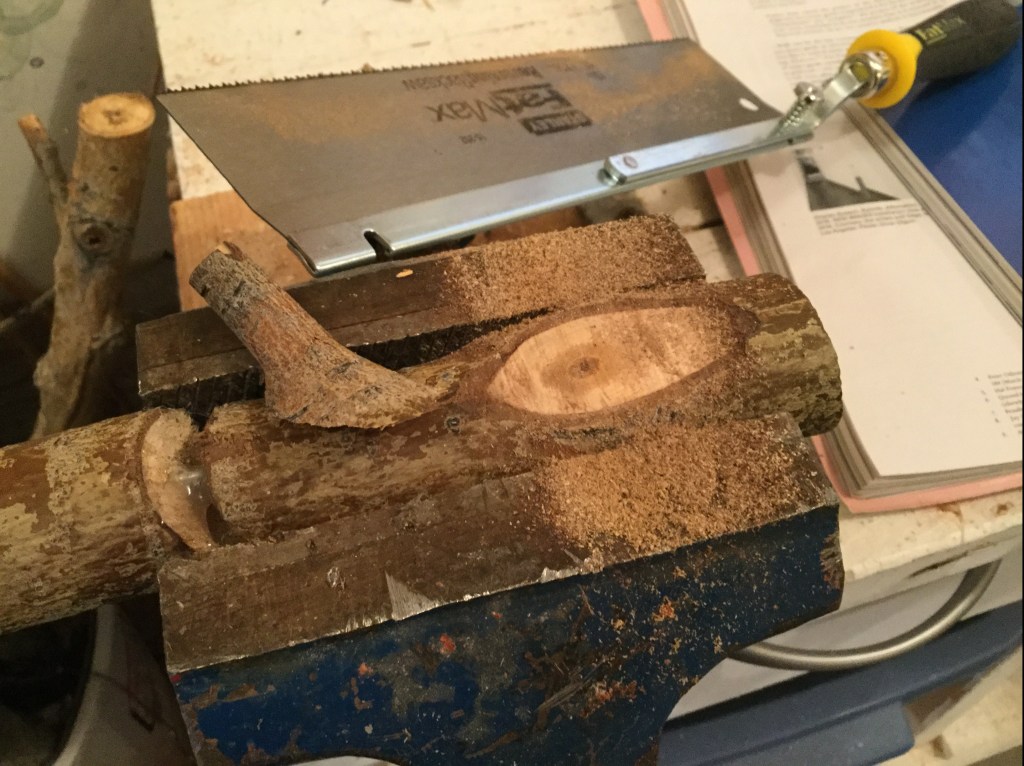
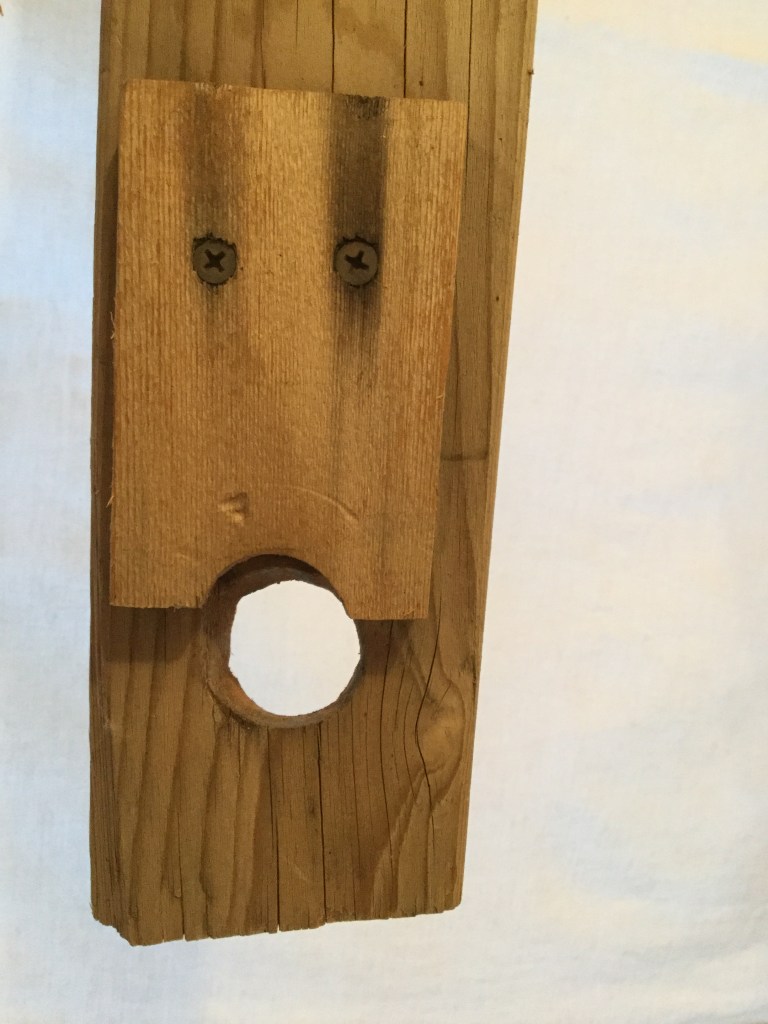
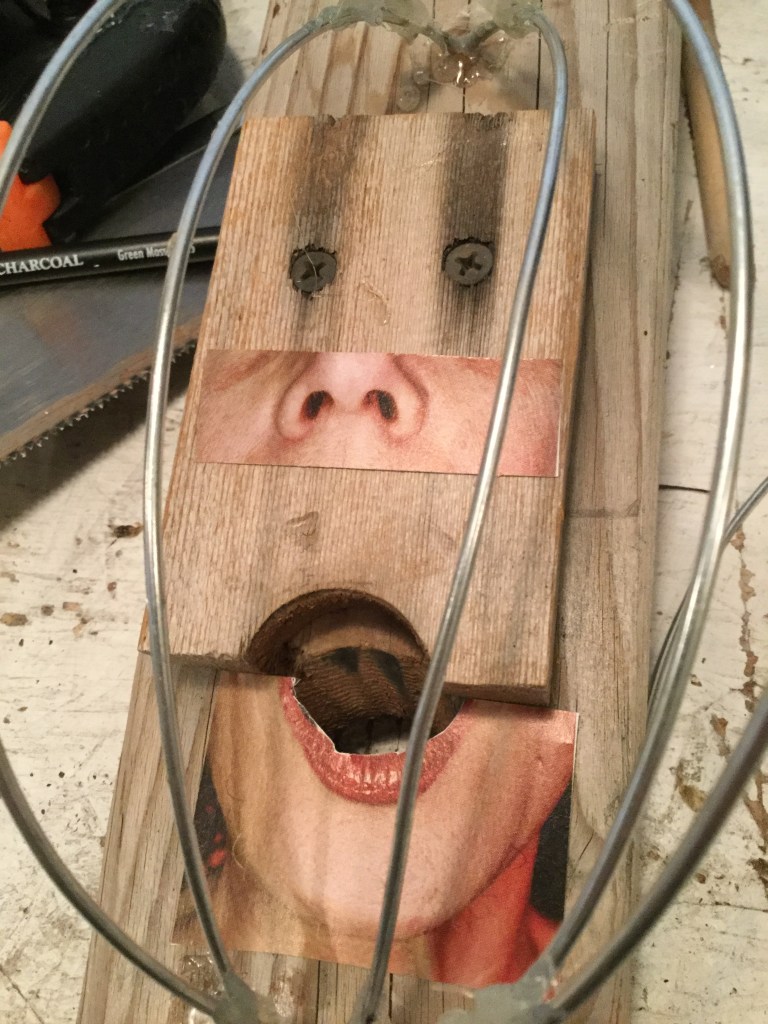
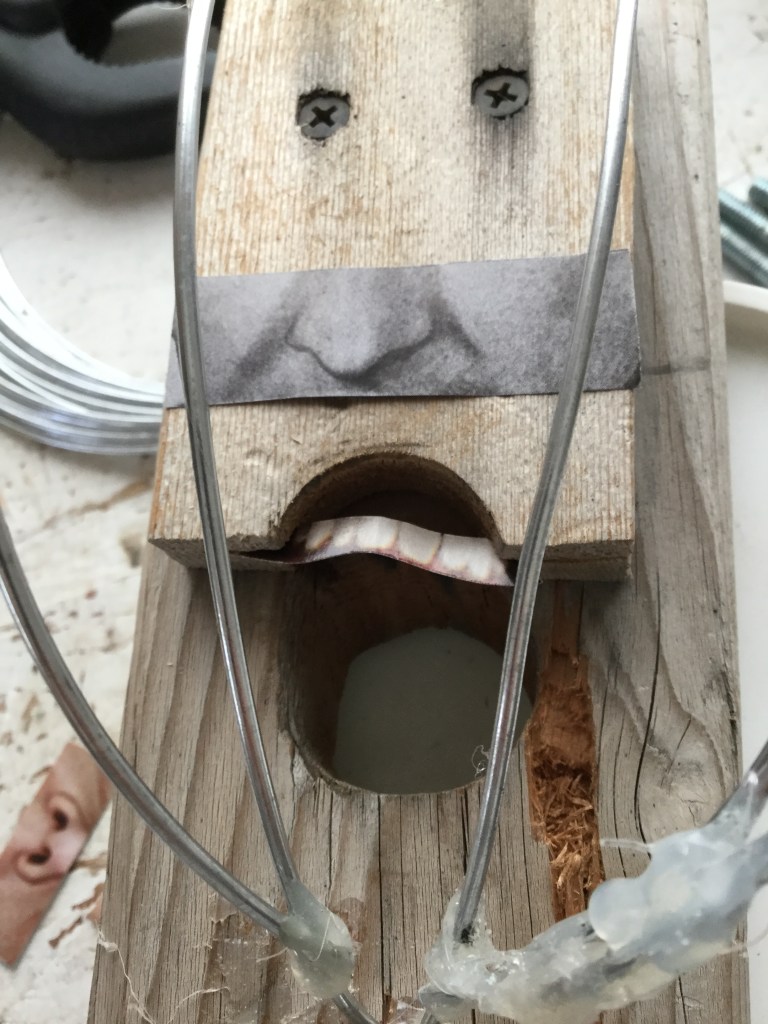
What triggered the initial intention in the construction of this sculpture is the same concept as the one in the last piece: Pareidolia.
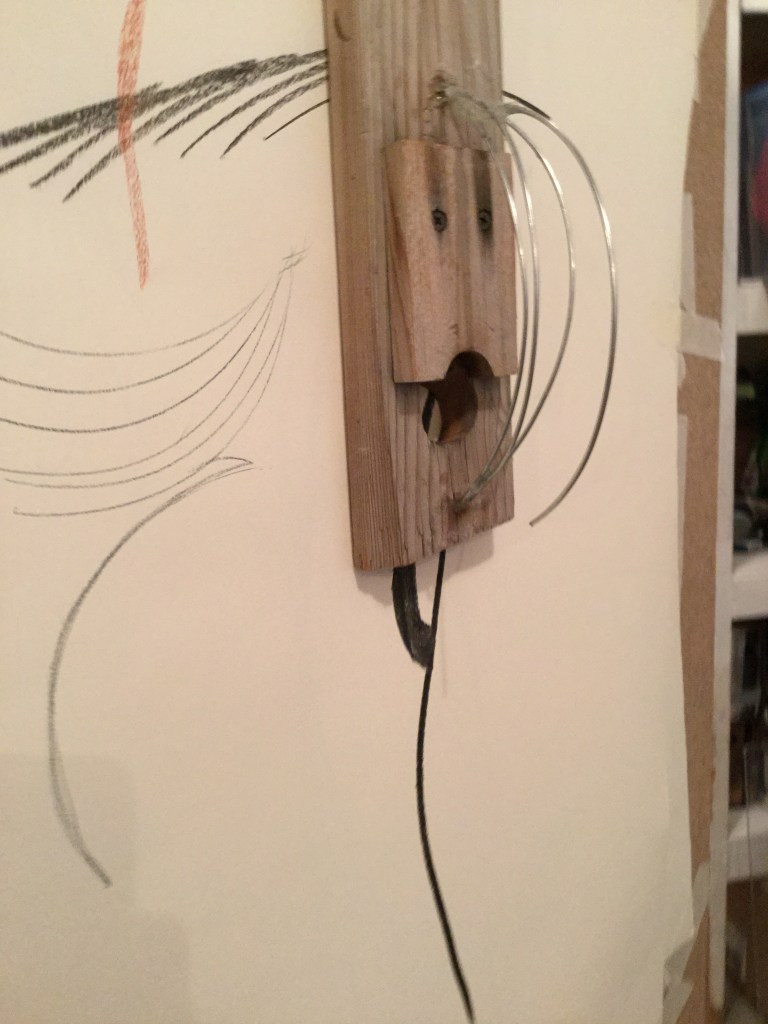
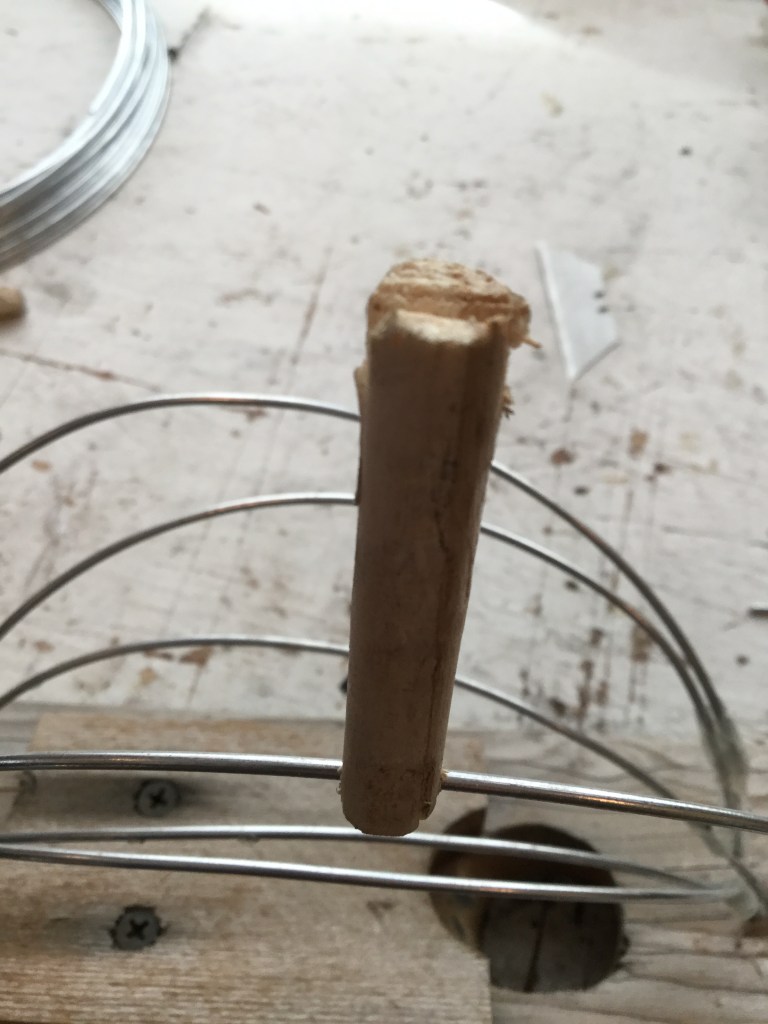
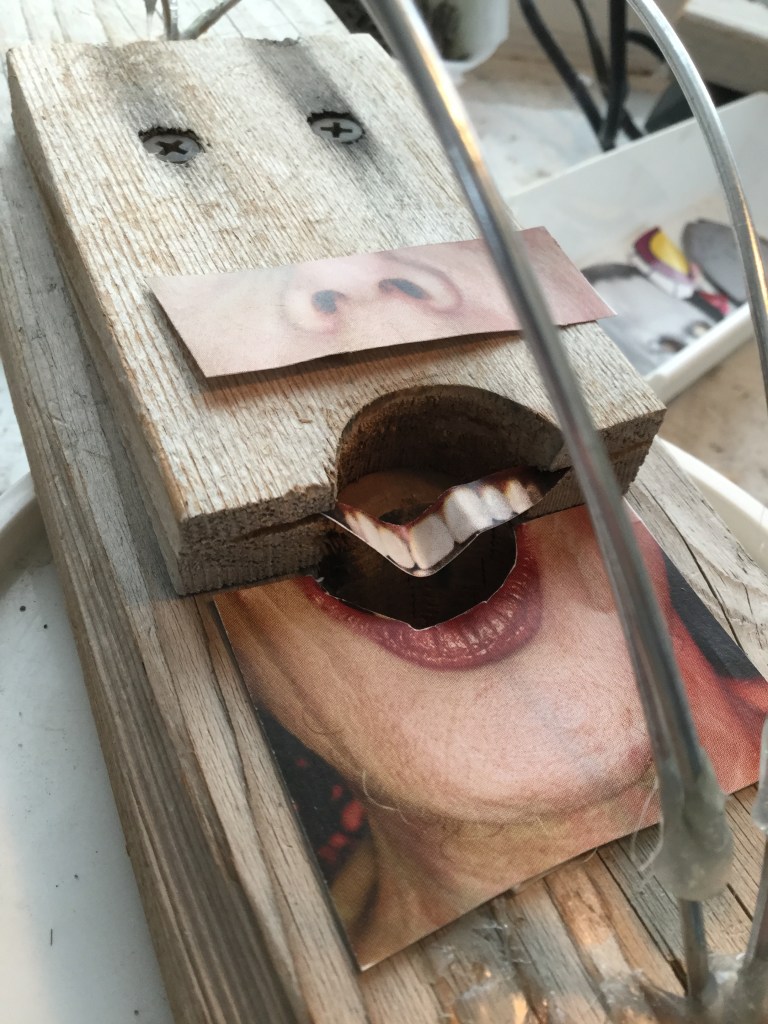
Funny enough as soon as I started to inspect the wood pieces for this next sculpture the firs piece of scrap-wood that I choose has a “face” on it, as it is possible to see in the first image from the left on the below gallery. What intrigued me the most was not the eyes but the mouth. It was like if it was saying something. So, I went back to the drawing board to make a visual representation of a sound.
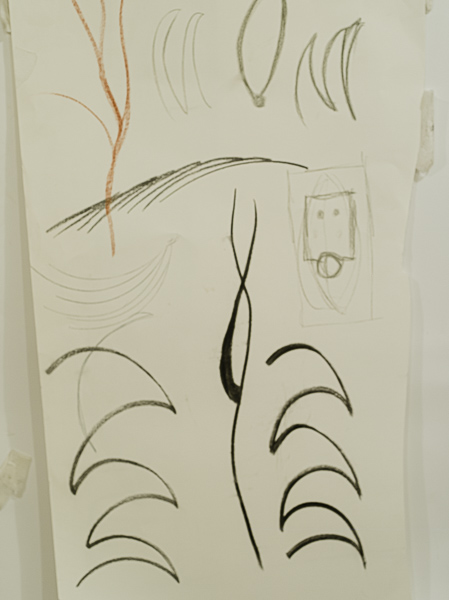
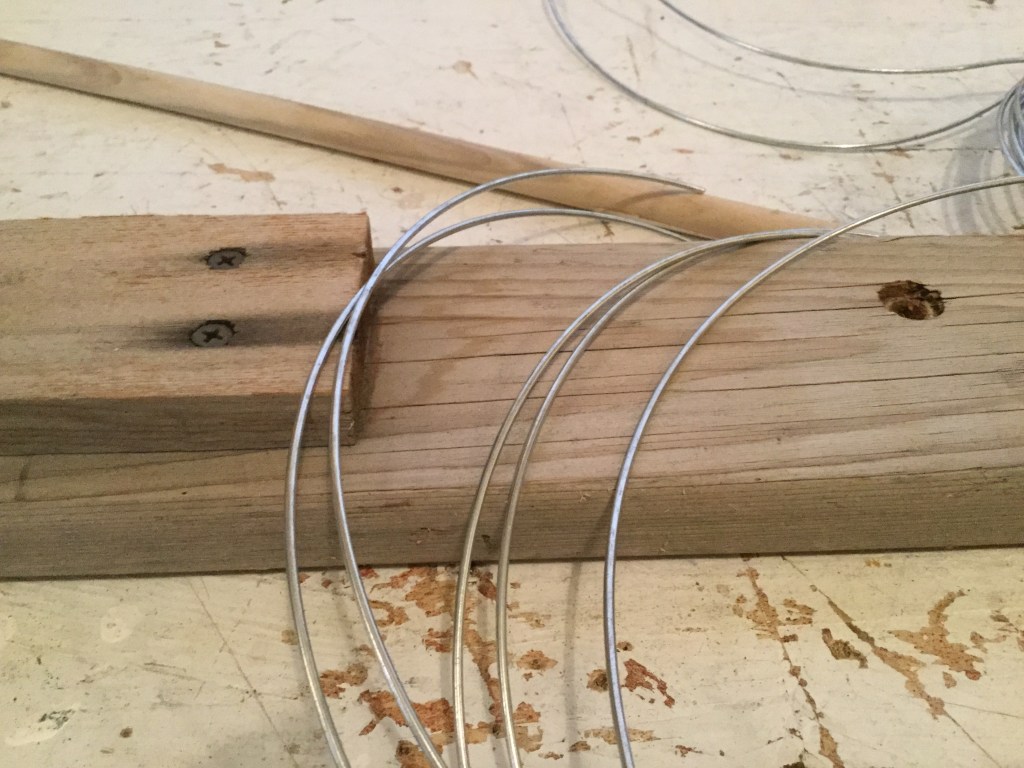
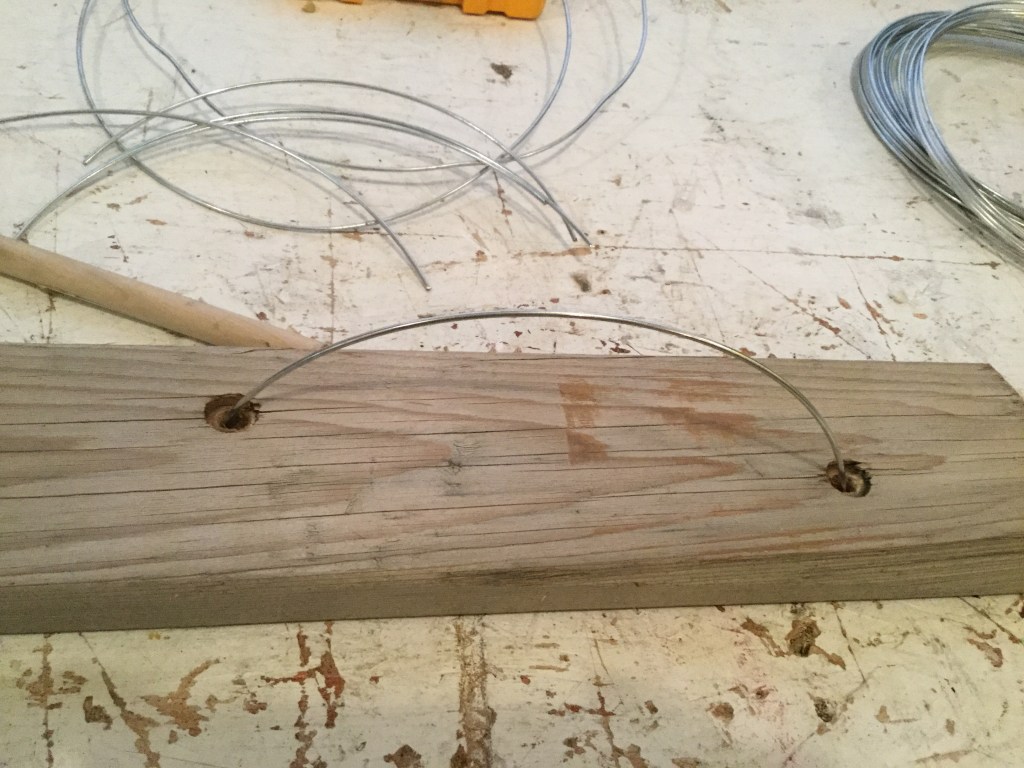
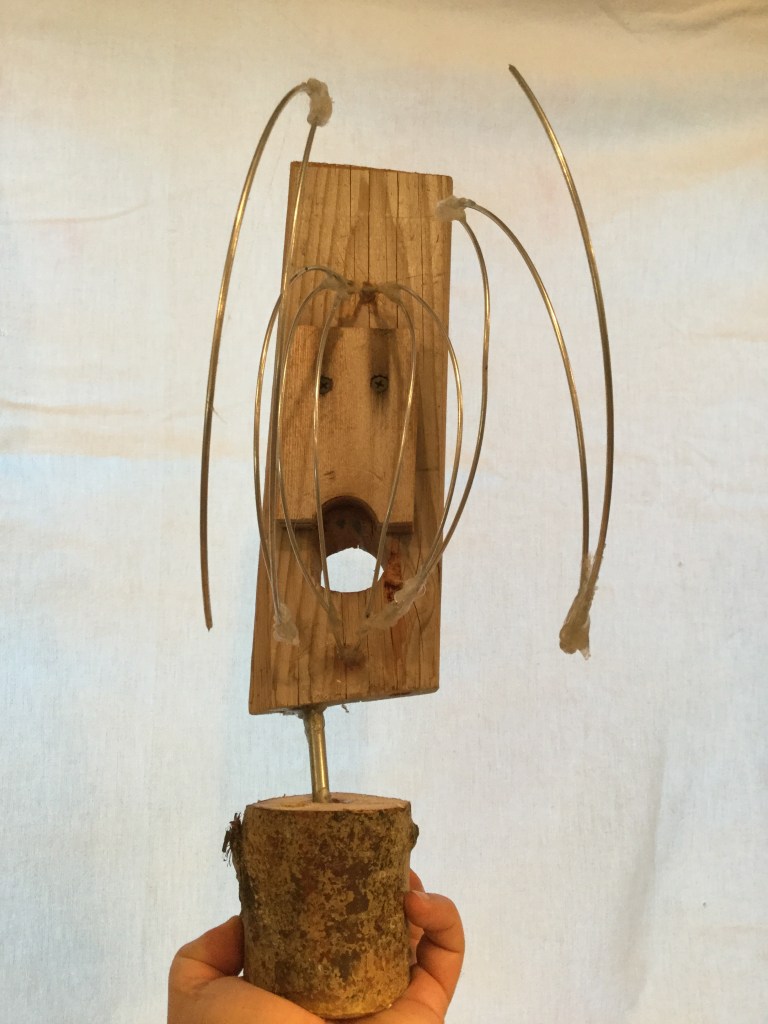
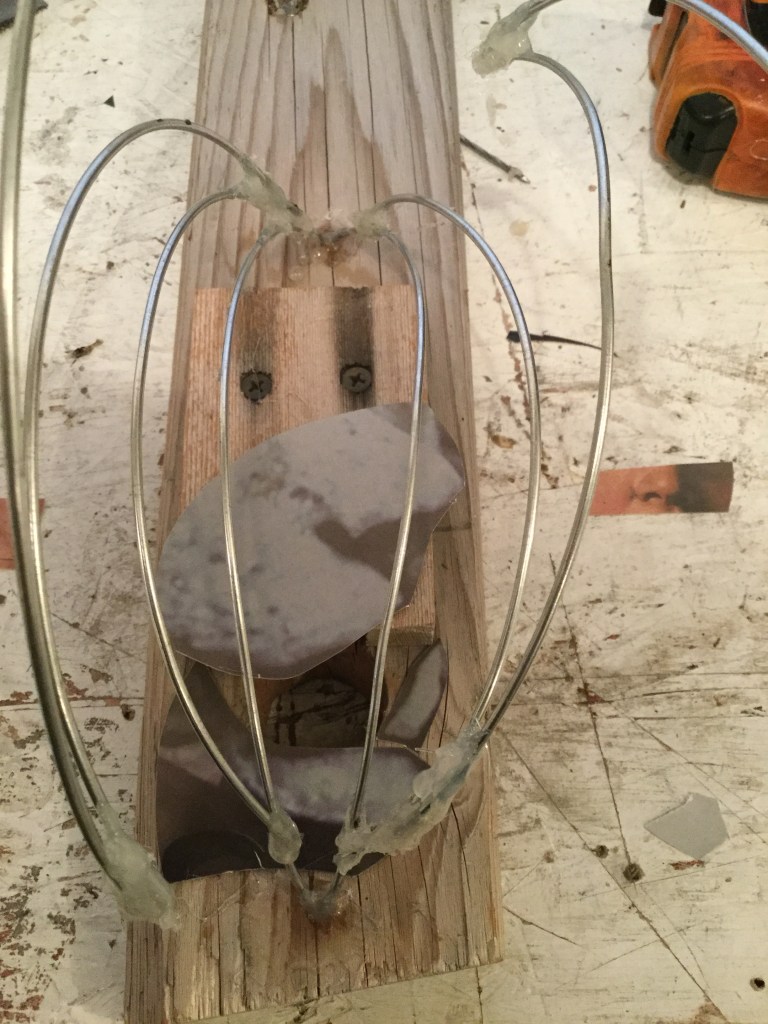
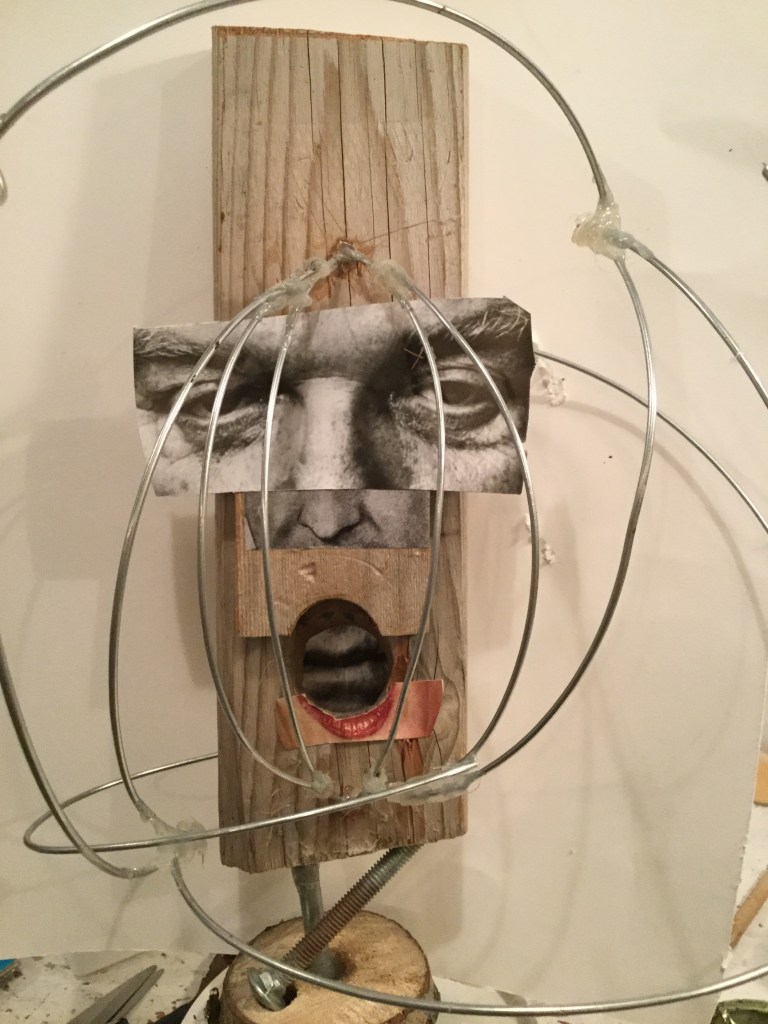
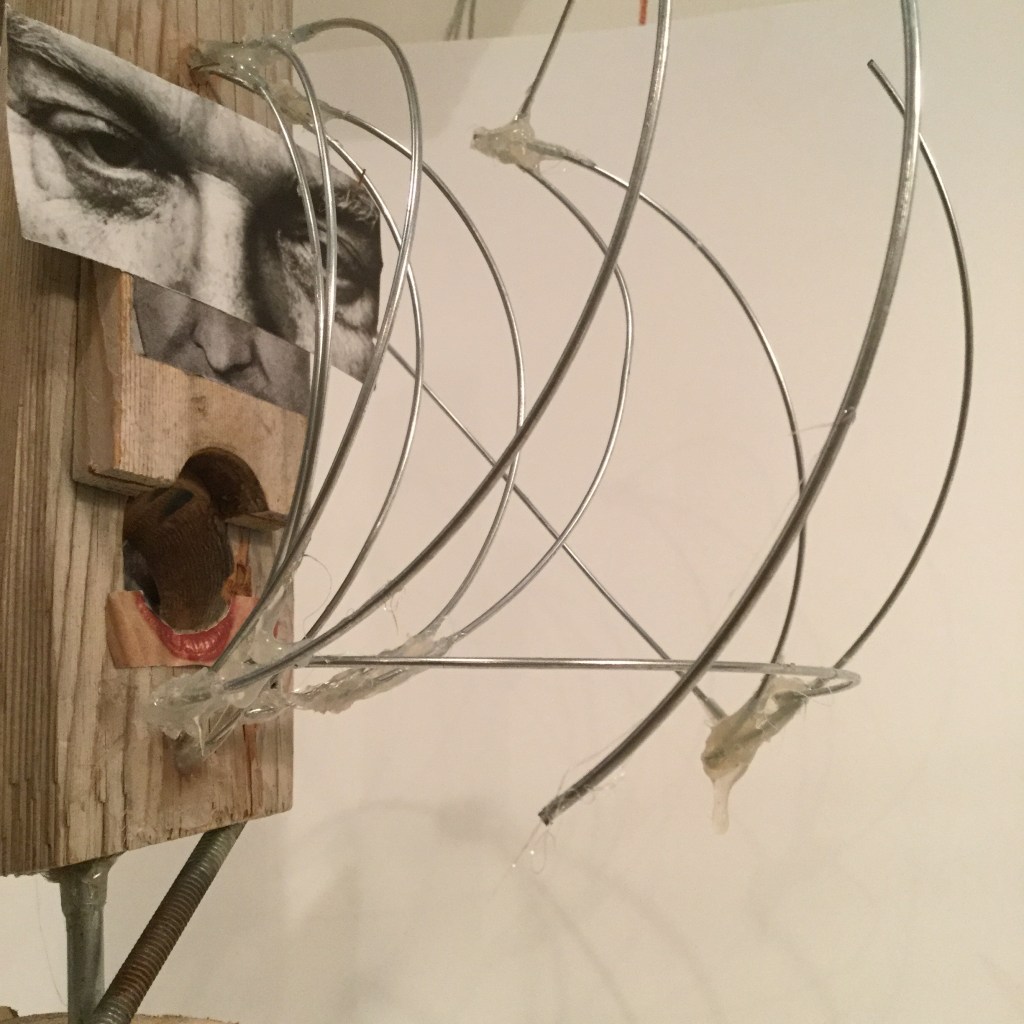
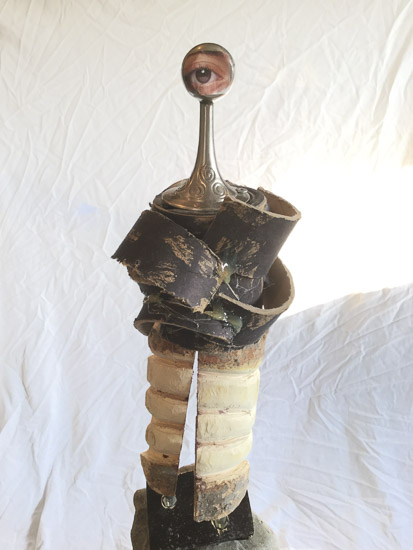
I used wire to construct the sound waves, and I dit it as curves stacked one over another in a vertical position. They intersect and have been glued at the ends. It was a complicated task, so I create a device to hold them together while the glue solidified and they became stable. See the last two photographs from the gallery above.
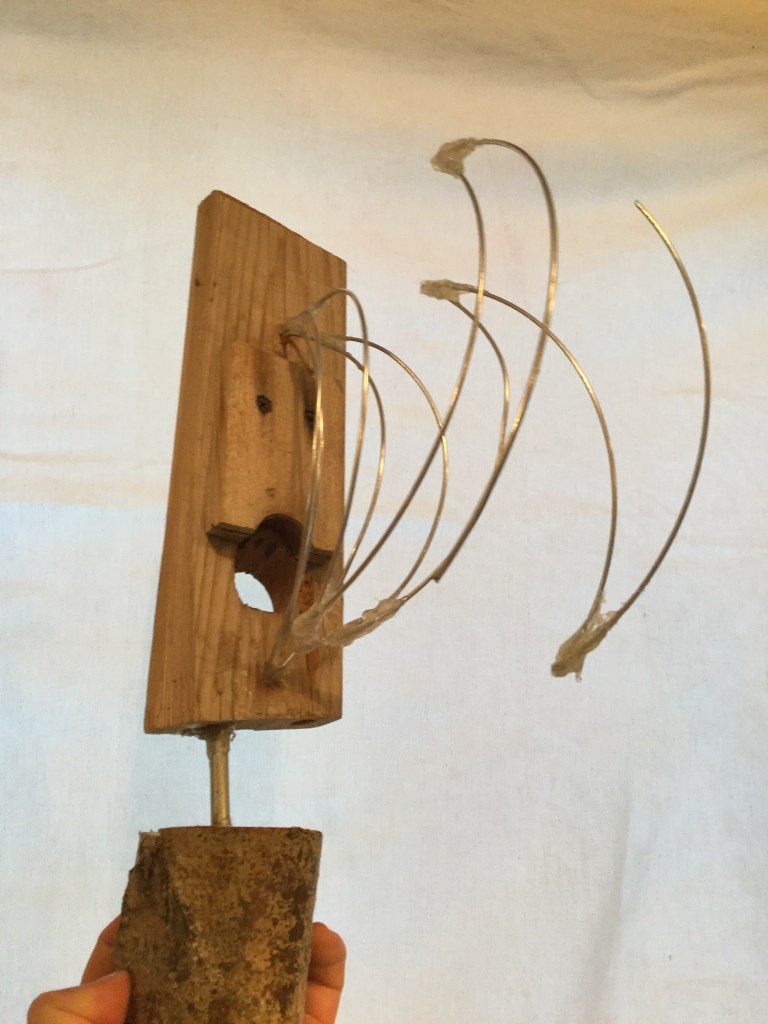
The gallery below shows the sound waves emerging from the mouth of the sculpture and moving forward into space in front of it.
Before I went further into the development of this piece, I took some time to play with the “face” of the sculpture. I cut out some elements from old magazines to give the sculpture a more “human” appearance. I quickly realized that the possibilities could be endless.
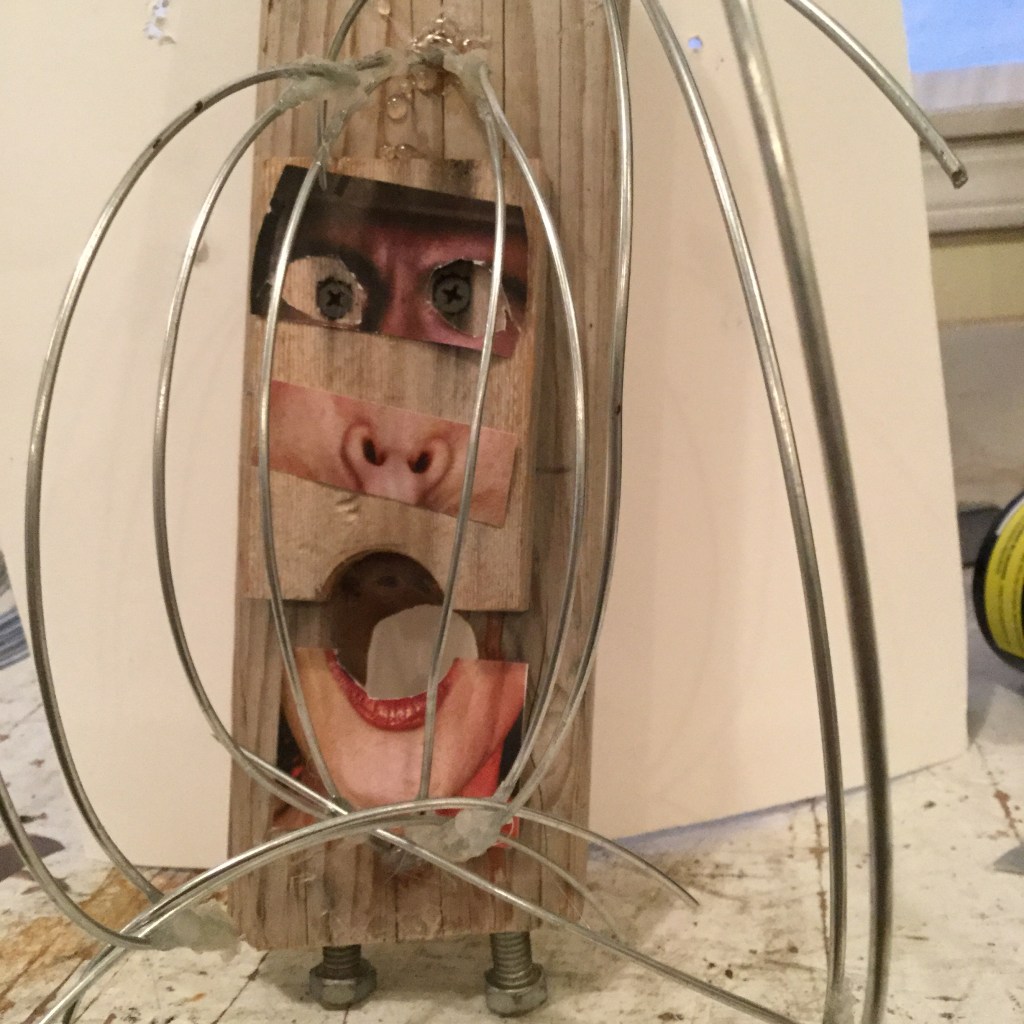
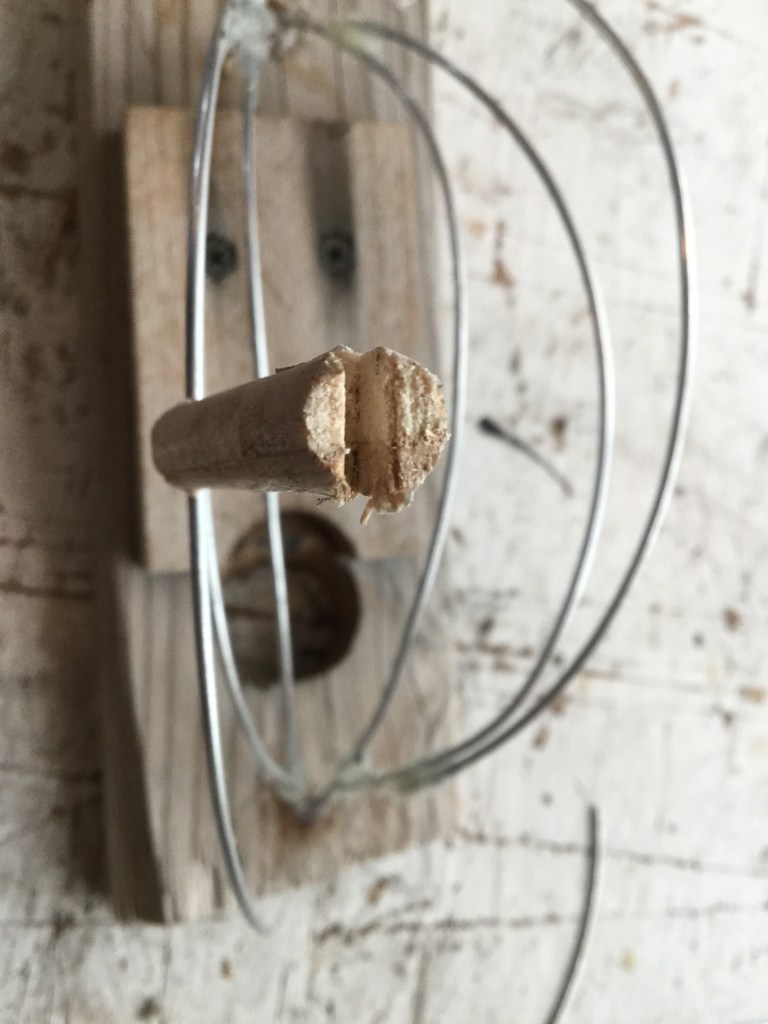
Once I decided on the “face” of my sculpture I added more wire pieces at the top and the bottom of the sounds elements to make them look more robust.
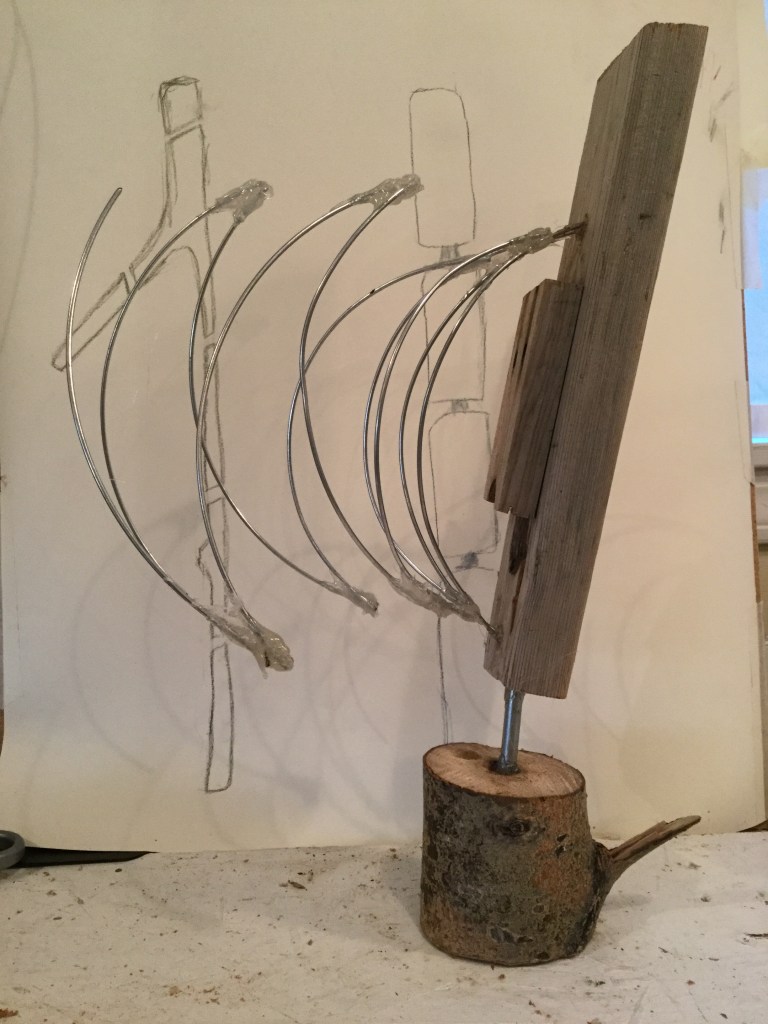
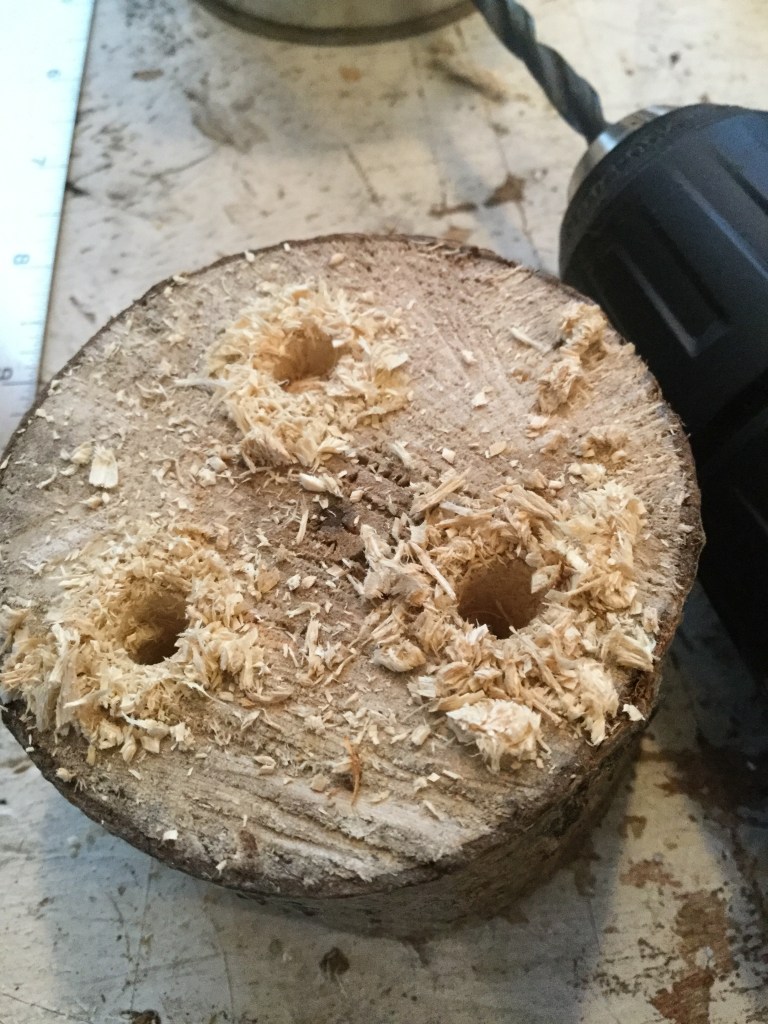
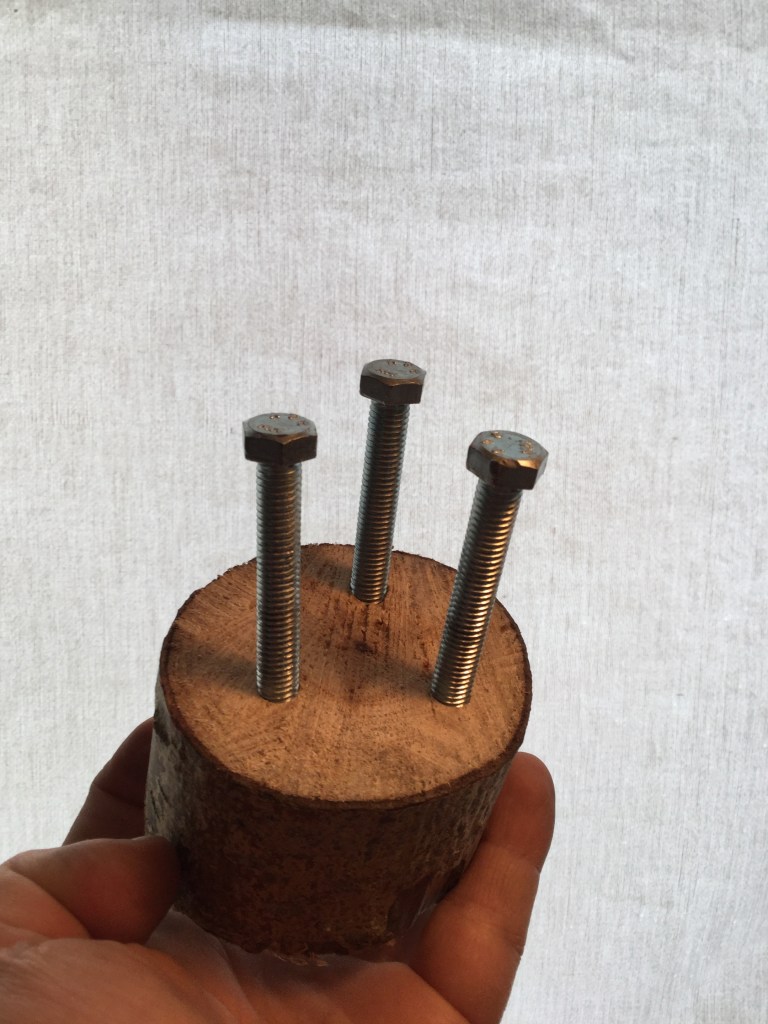
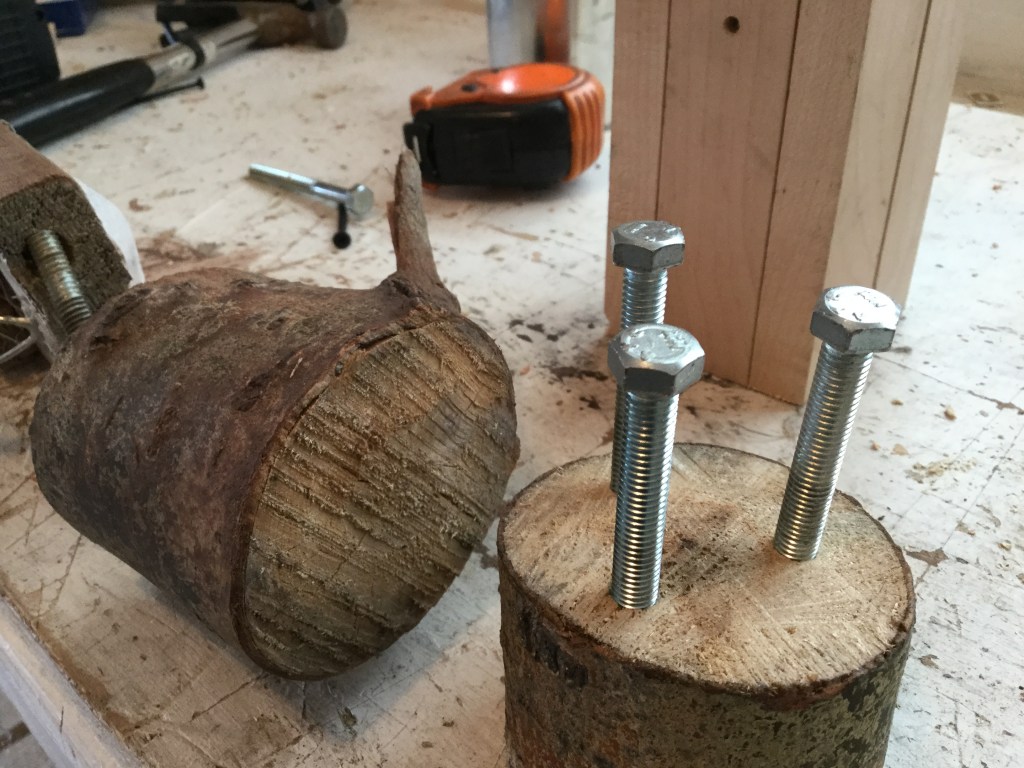
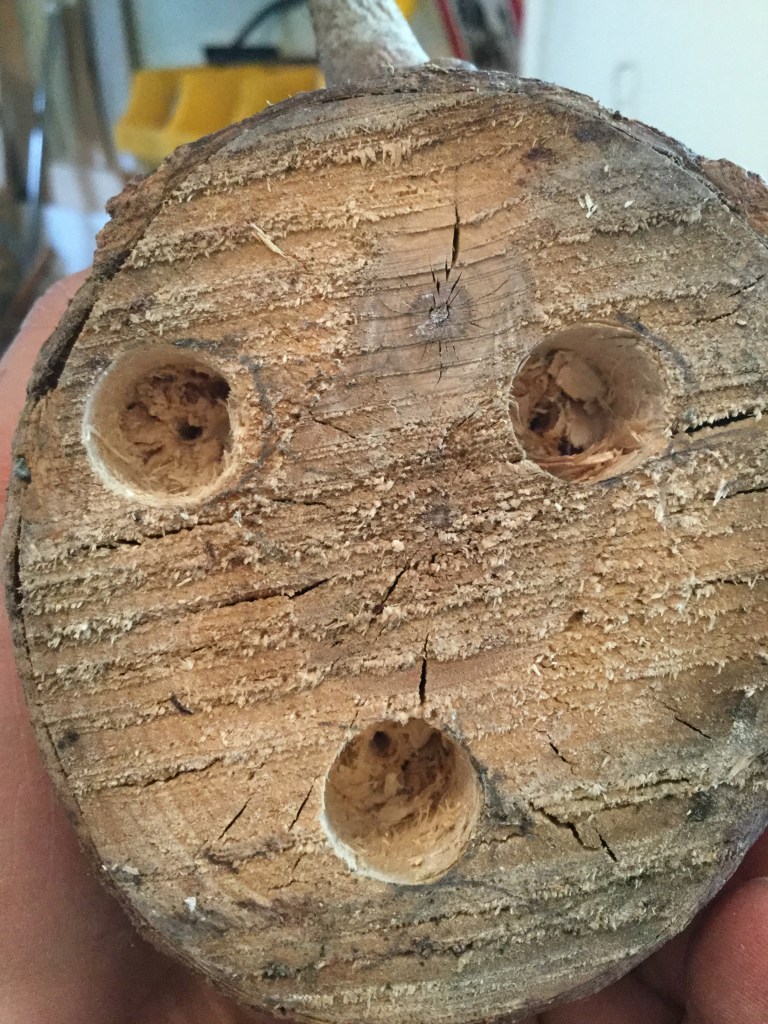
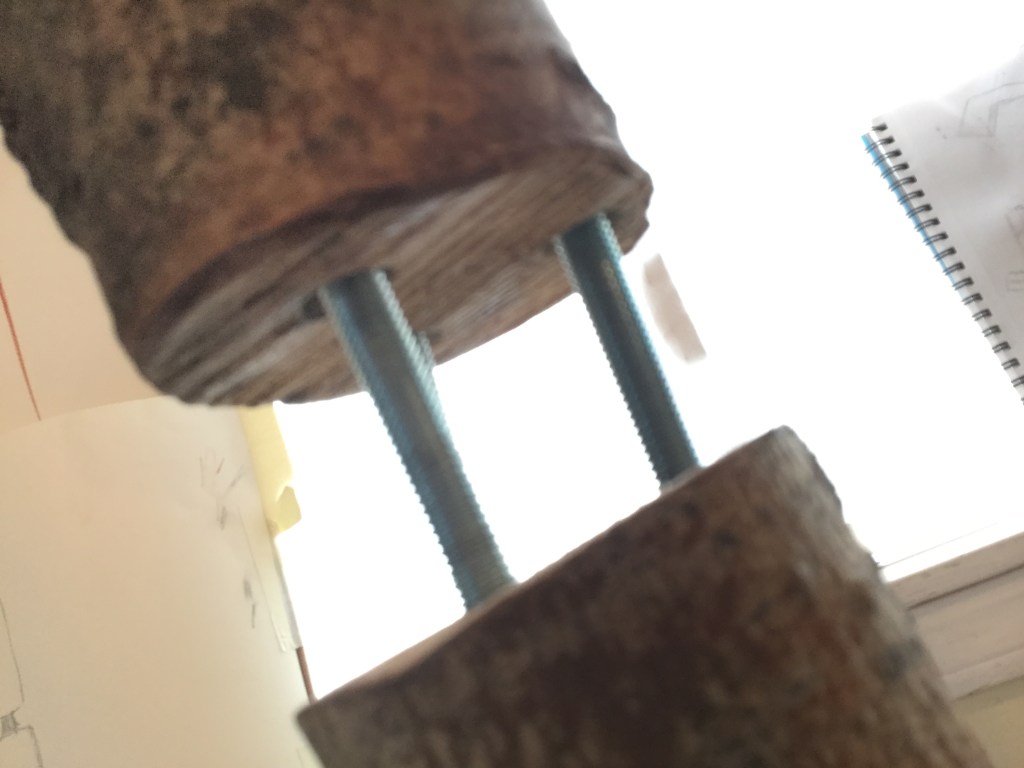
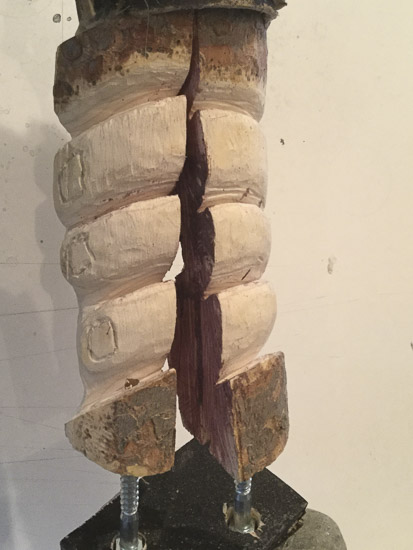
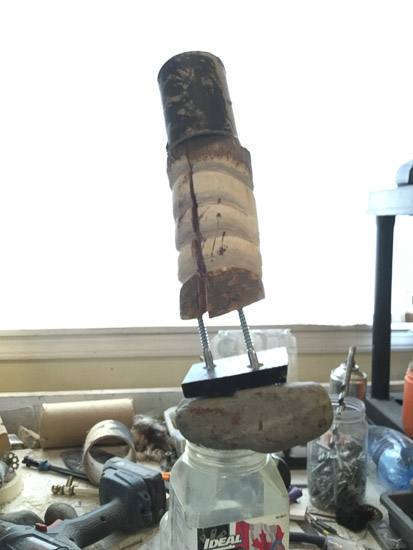
The last part that I needed to tackle when the sounds and the face were done was to make the sculpture taller. At first, I tried with whatever I had in hand to create a base, but it did not work, as you can see in the first image of the gallery below. Later I decide to make things right and attached other elements with proper materials, like the big screws on the below images.
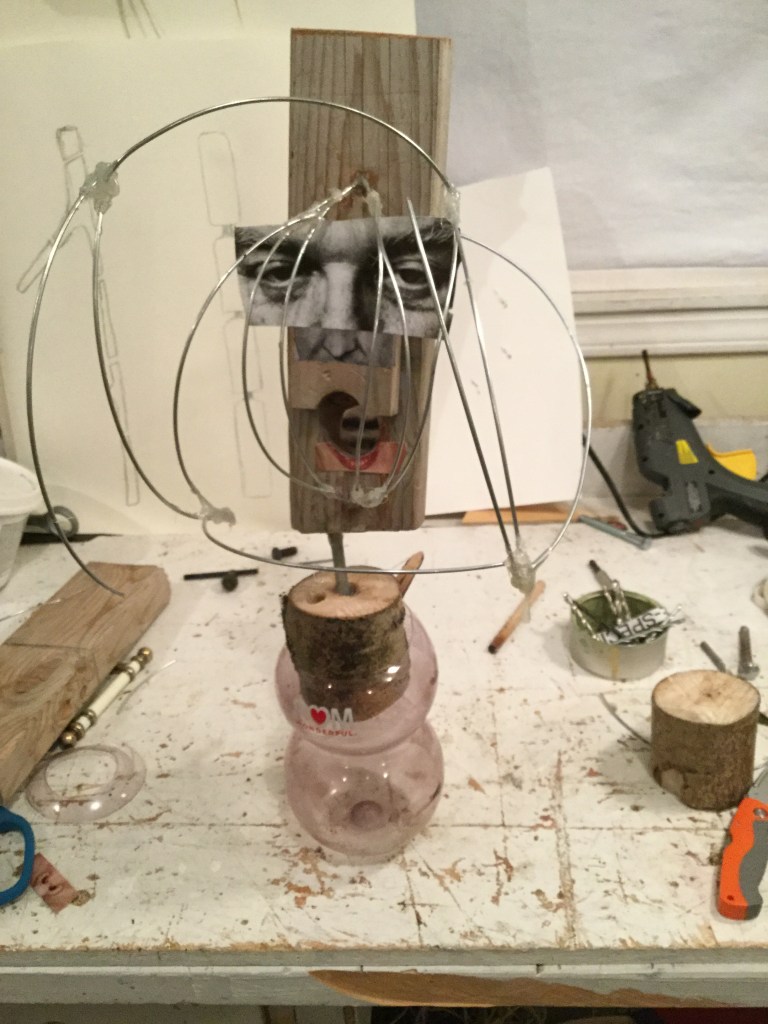
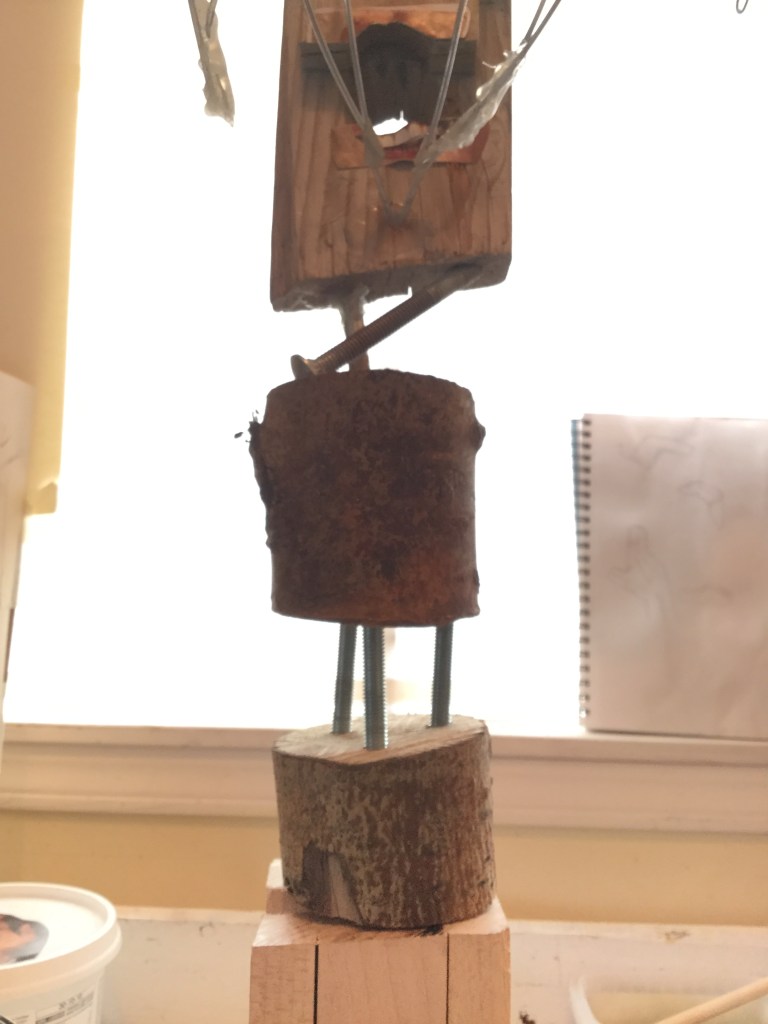
Finally, I decided to create a significant base for my sculpture, gluing some pieces of wood together.
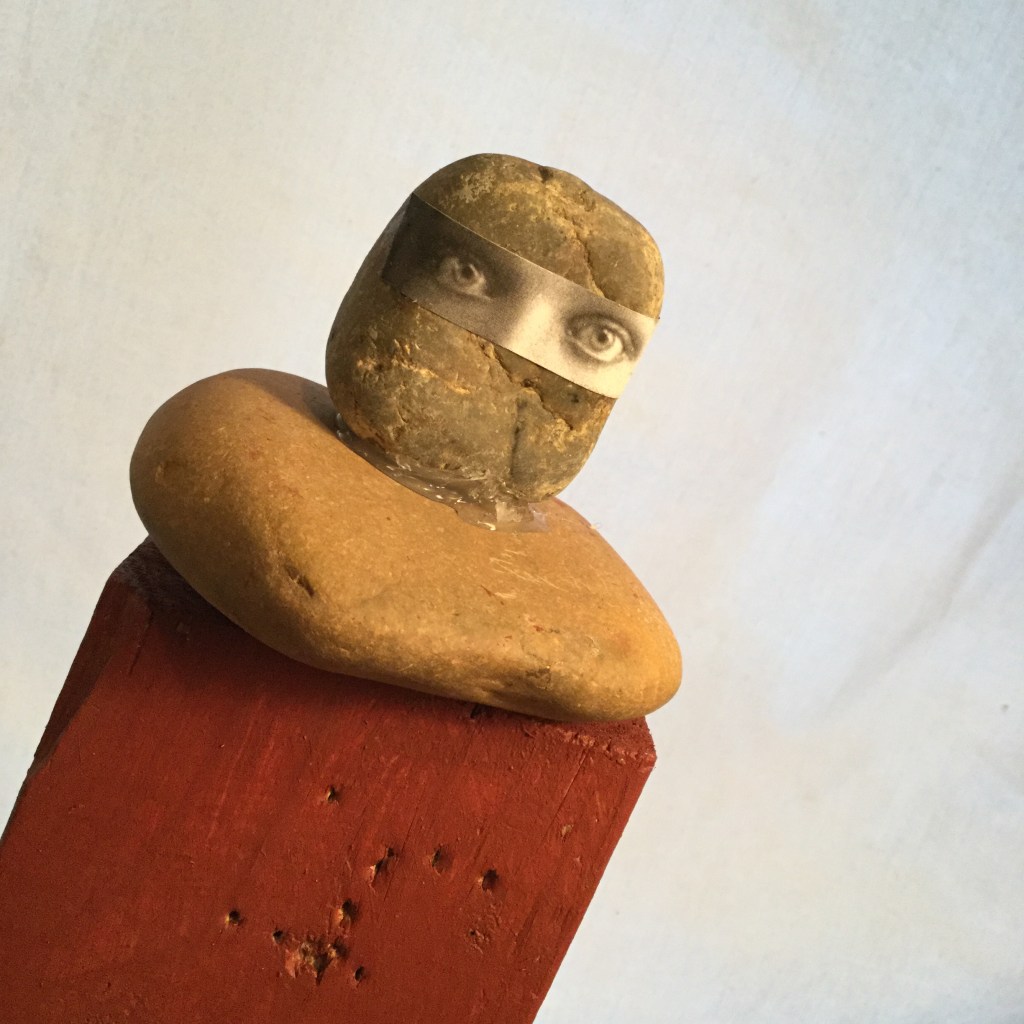
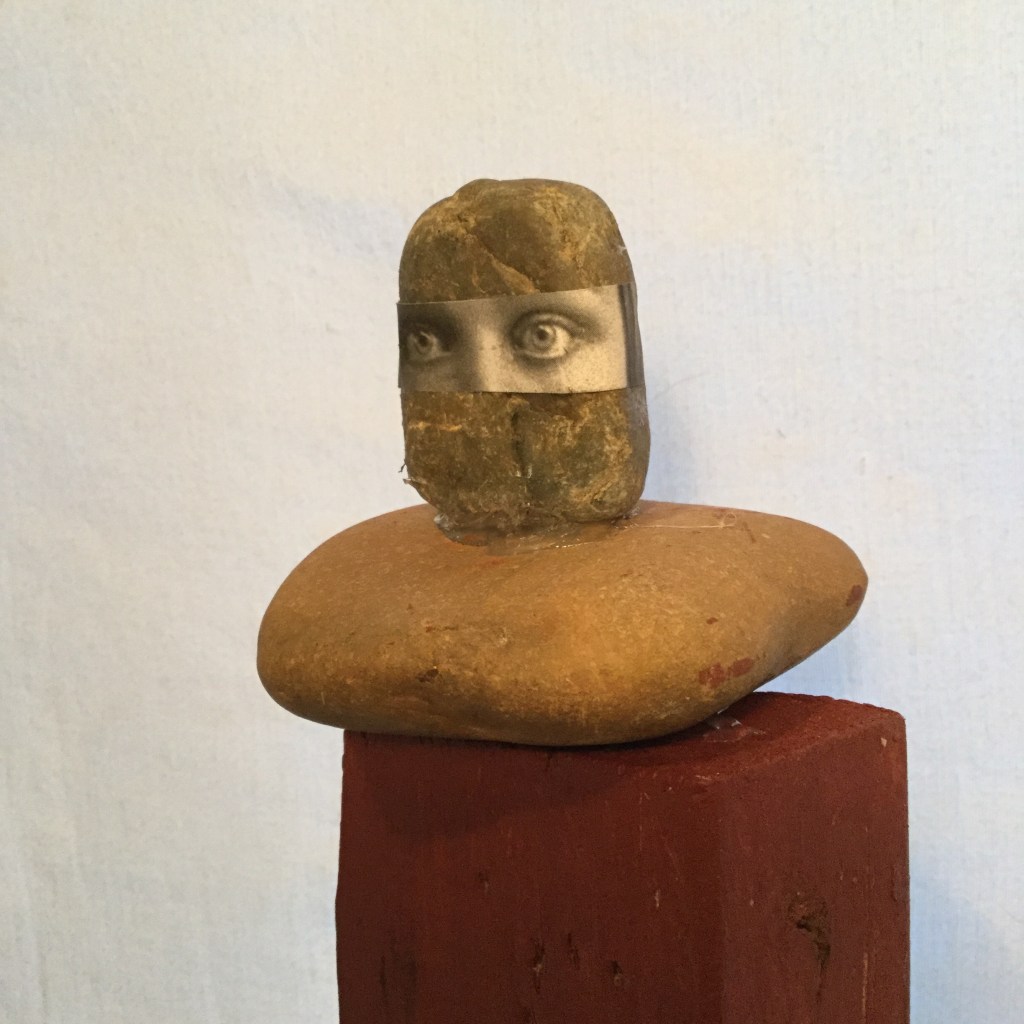
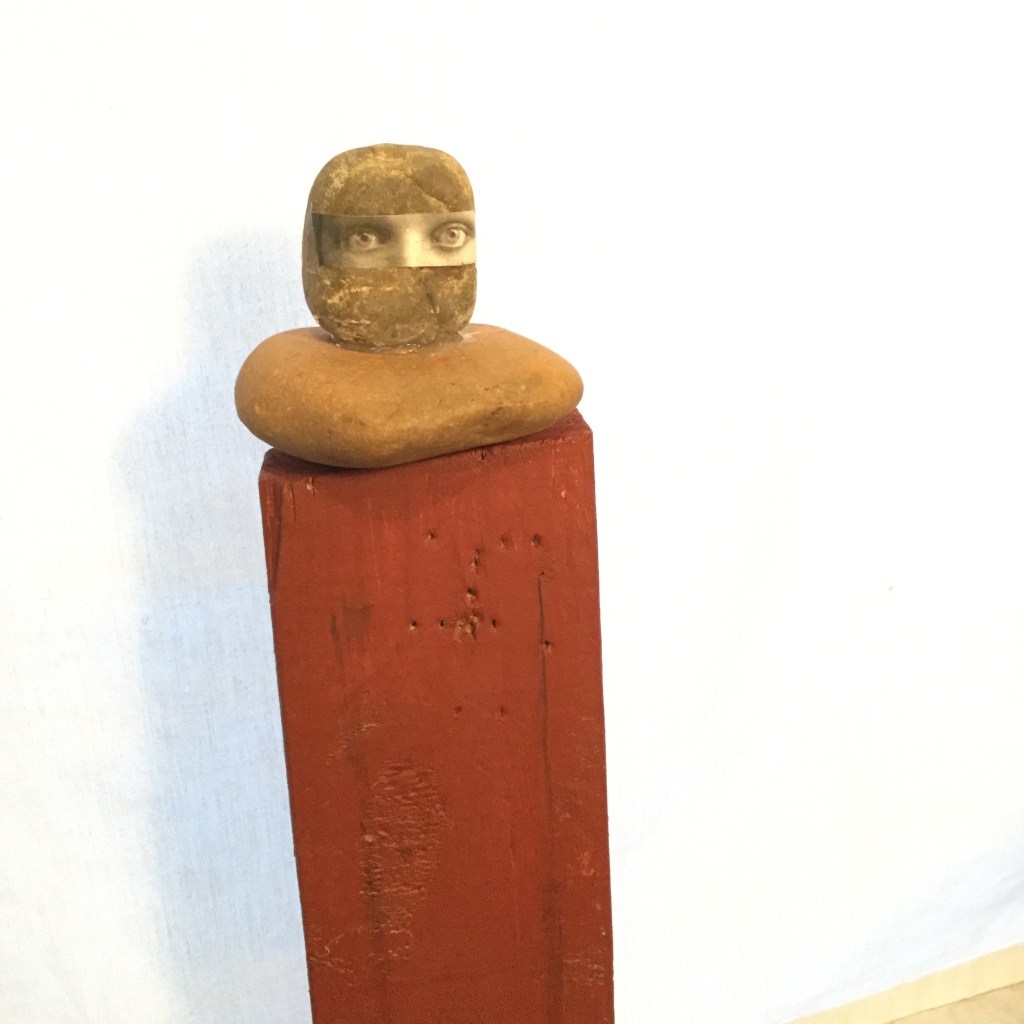
Small second sculpture
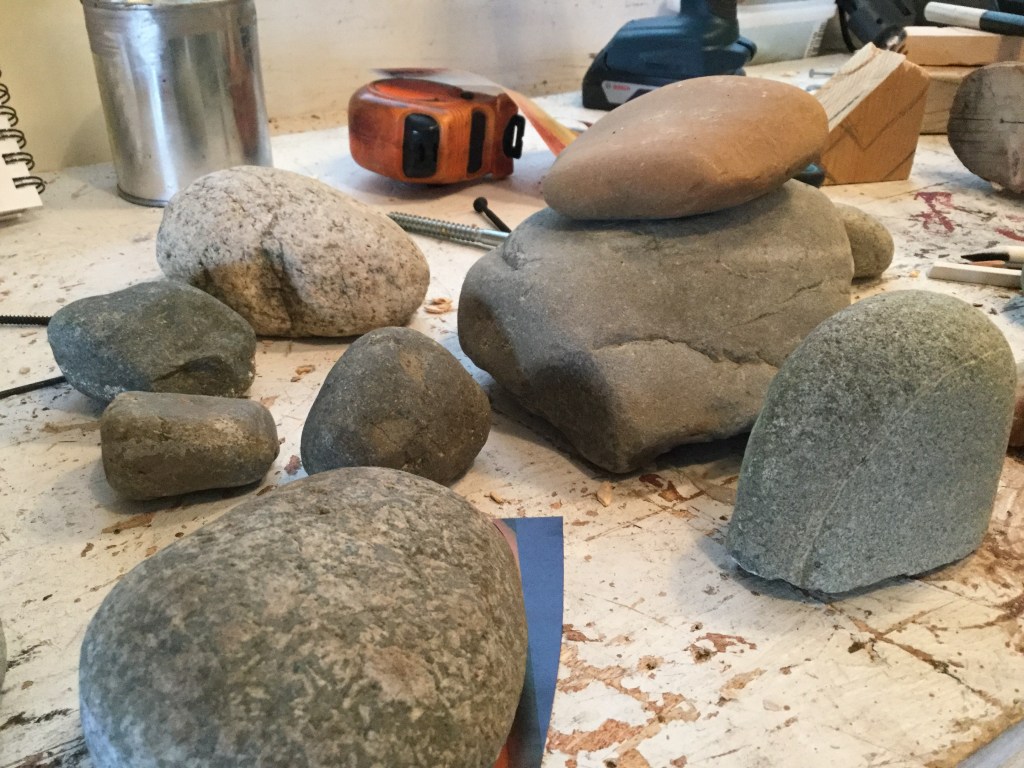
For my second small sculpture, I wanted to do something with rocks. One of the coolest sculptures I have seen here in Canada is an inukshuk: “An inukshuk is a structure made of stones piled on top of each other. Inuksuit or inukshuks (which means more than one inukshuk) were used for navigation in the frozen north where, in the snow, everything could look the same.” (cbc.ca, 2018).
This was one of the fastest and easiest sculptures I did. Although it did not resemble the my first drawings the resulting sculpture is quite cute. It is just a rock at the bottom, a long piece of wood, a flat rock, and finally another stone.
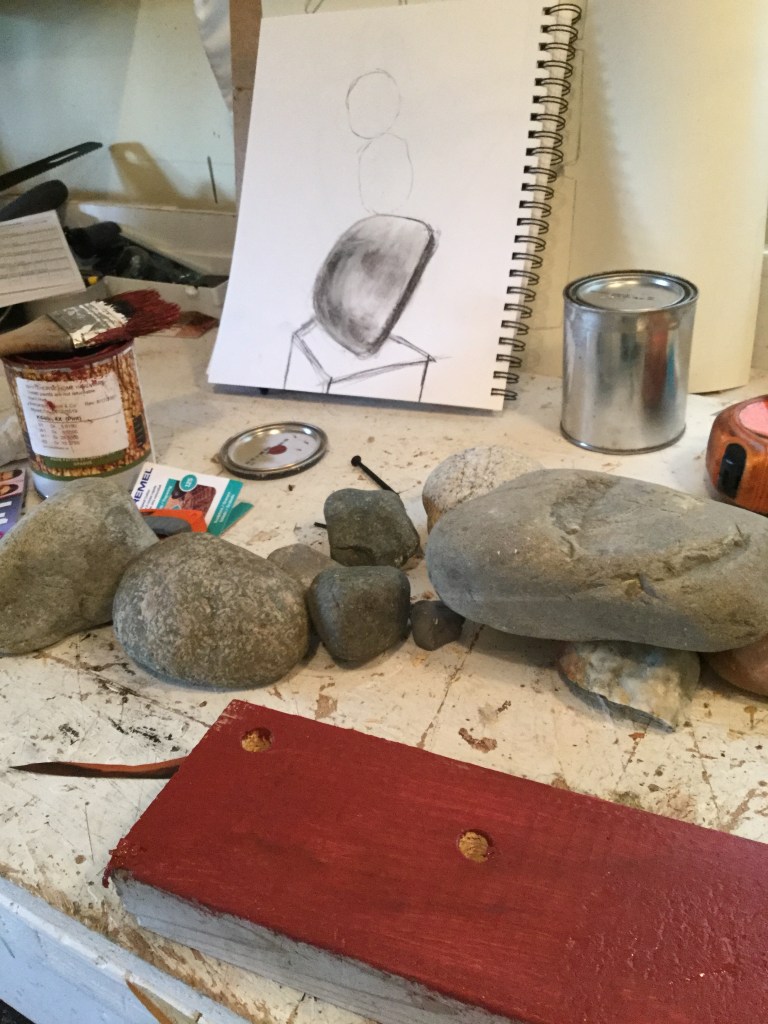

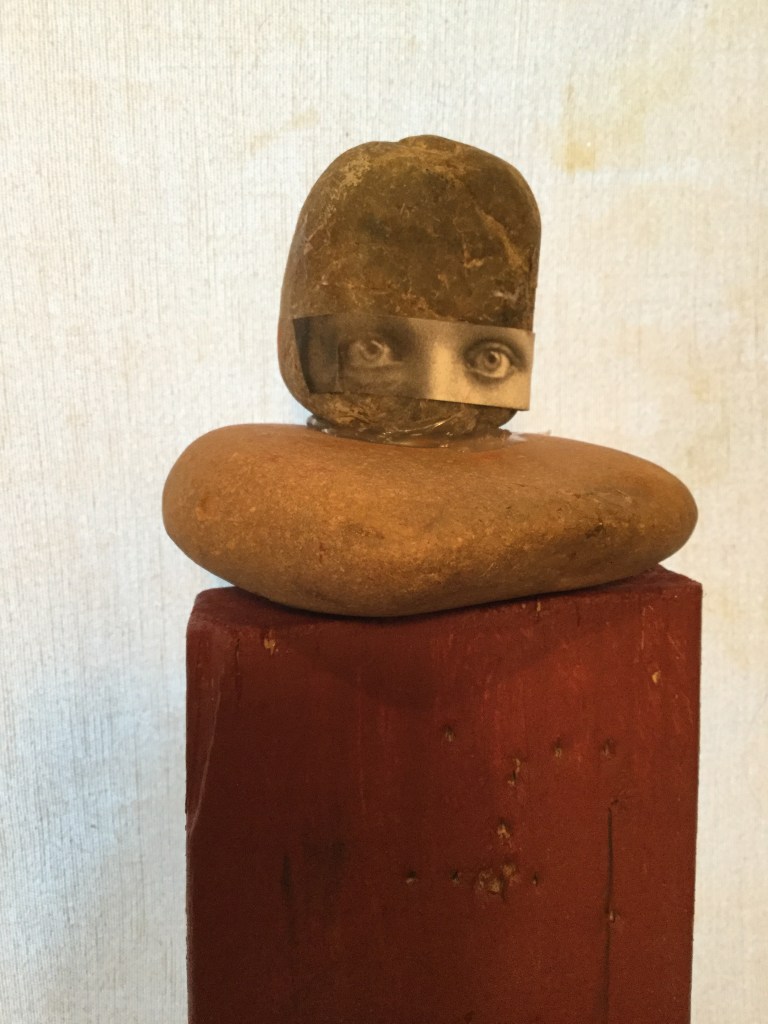
The final touches for this stacked sculpture was an inspiration of the works of Hannah Hoch. This time I used just a couple of eyes that I got from an old magazine and the effect it has on the whole sculpture was fantastic, and I think the head shape rock is as with the eyes: a good match.
Small Third sculpture
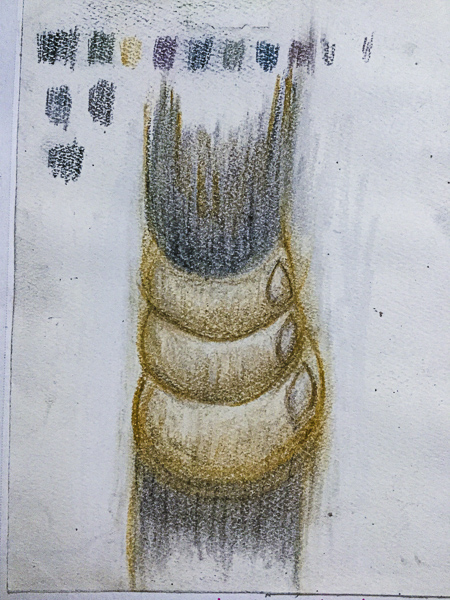
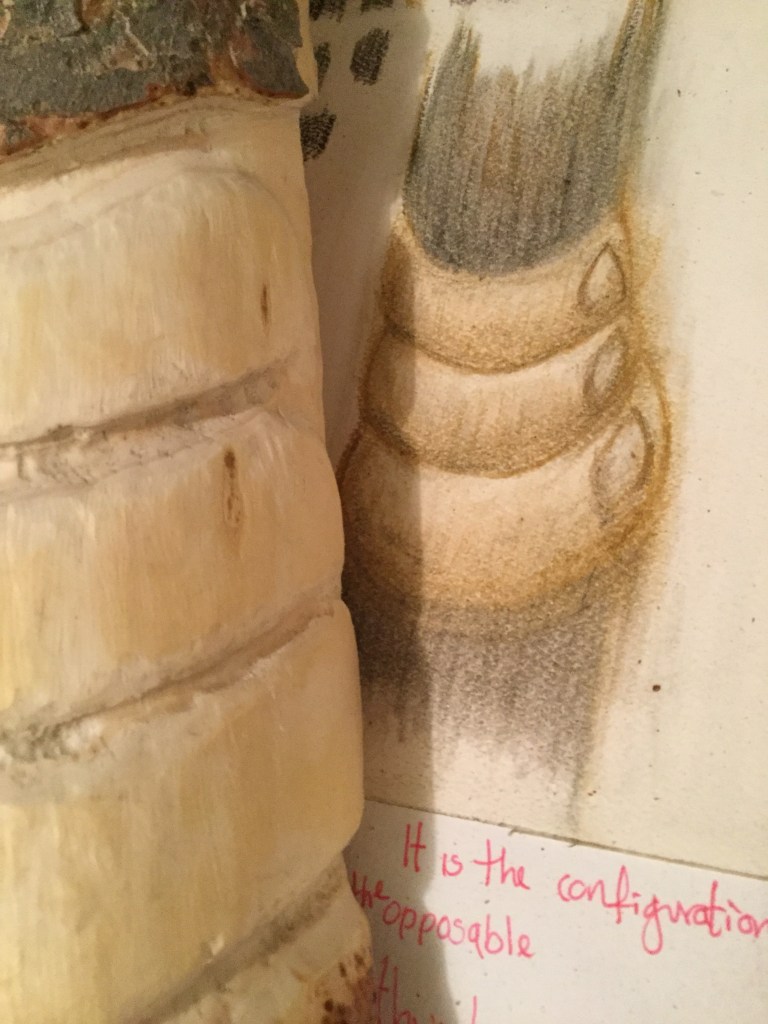
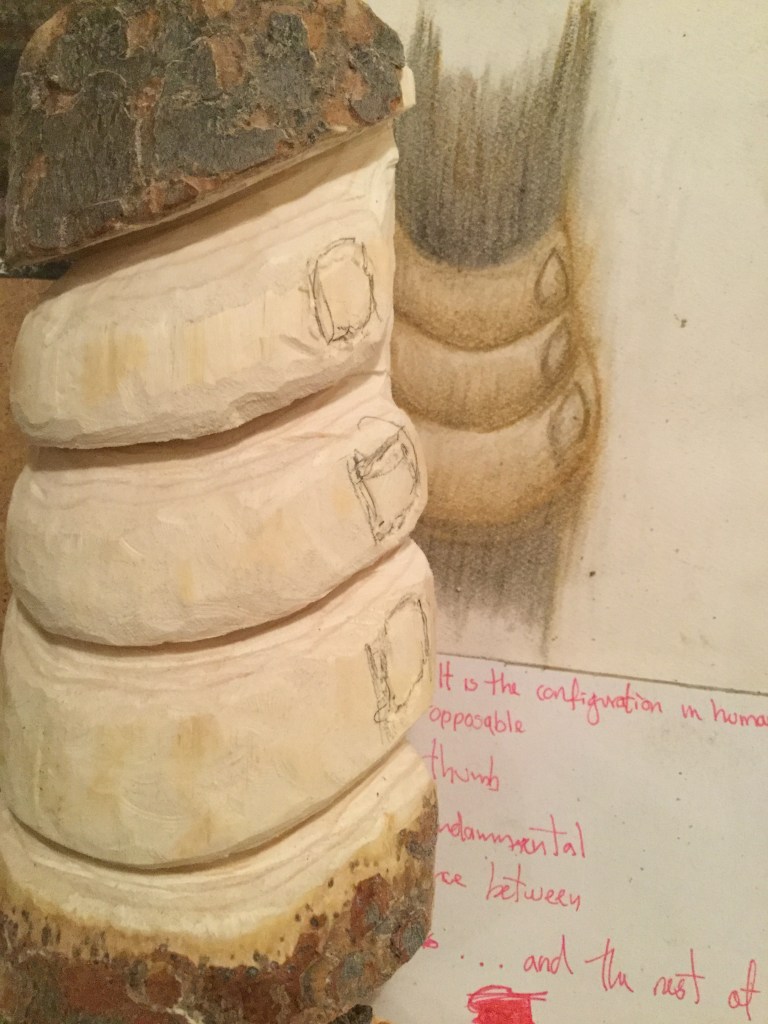
For this sculpture, I returned to my ongoing research of intelligence and darkness, focusing this time on the humans’ hands and fingers.
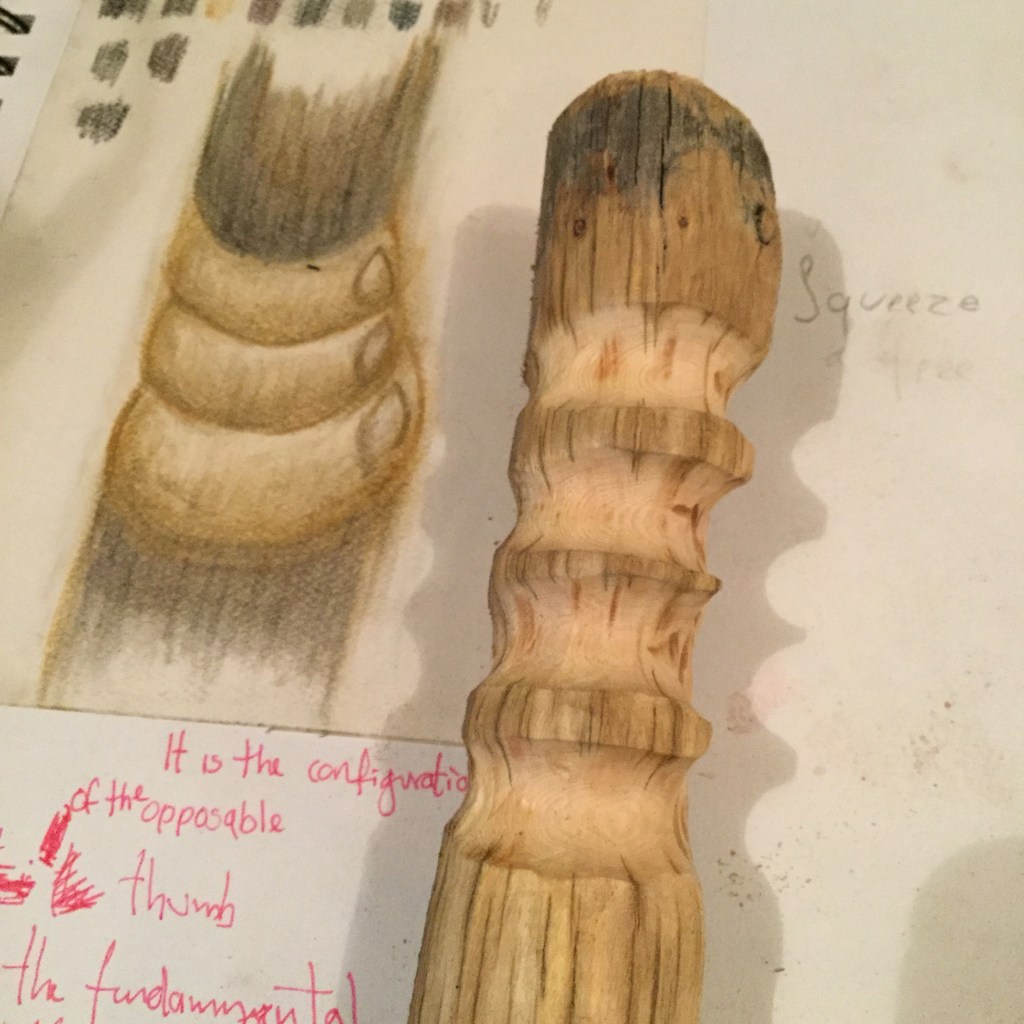
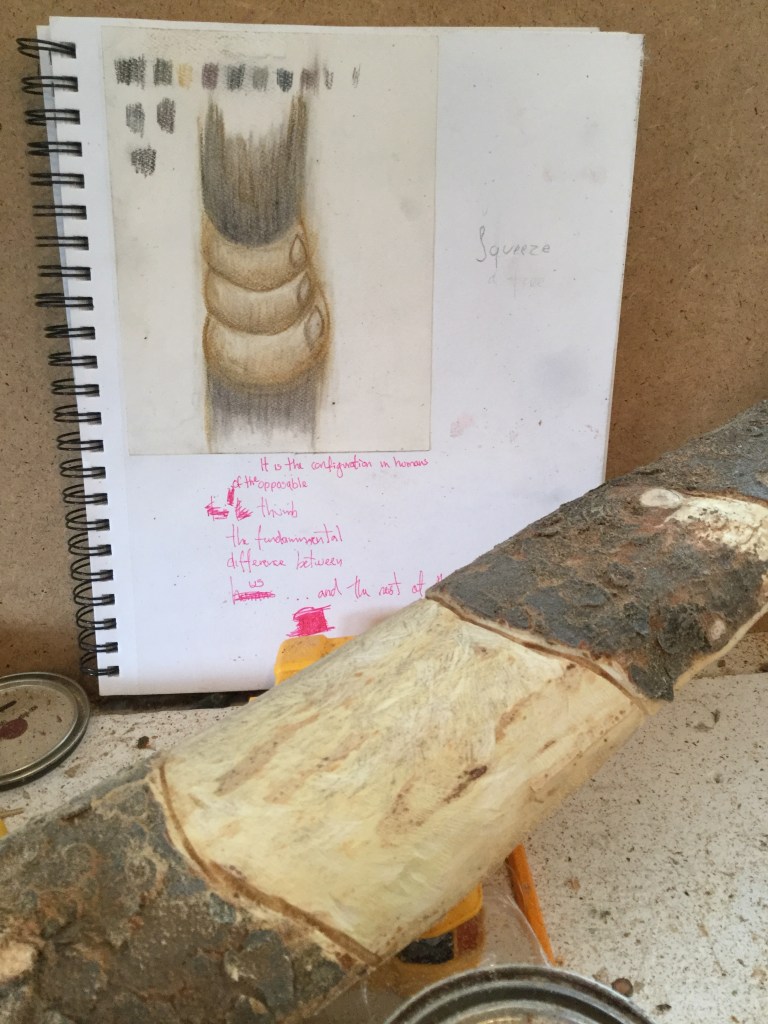
So I made a new drawing (image below) with only three fingers: index, middle and ring finger. The other two, the ones missing in the picture, are the thumb and the pinky and it just happens that this two are the most crucial fingers in terms of evolution.
It is a common knowledge that humans are at the top of the chain because our opposed thumb, however, we are not the only ones with that feature in the animal kingdom. “Most primates (humans, apes, and Old World monkeys) and some other animals have opposable thumbs. Humans can move their thumb farther across their hand than any other primate.” (Damonte, 2014).
On the other side of the hand lives the fifth finger also knows as the pinky. This little finger provides half of the force of our hand, so the question is: how does it do it? In the words of Frank R. Wilson, the answer goes like this: “is probably no exaggeration to say that the final biomechanical change at the base of the pinkie may have conferred an advantage to the hominid hand comparable to supplying its owner not just with gunpowder but with the biomechanical and computational infrastructure for an entire ballistics technology. Considering everything else that was already present, there was nothing this hand could not do if it could learn how to do it. And apparently with time, and with other opportunities and challenges encountered in new environments, the brain did rise to the challenge, and greatly modify itself in the process,* since there is very little now that this hand, which makes tools that make machines that make computers that make machines and tools (and so on), cannot do.” (Wilson, 1999)
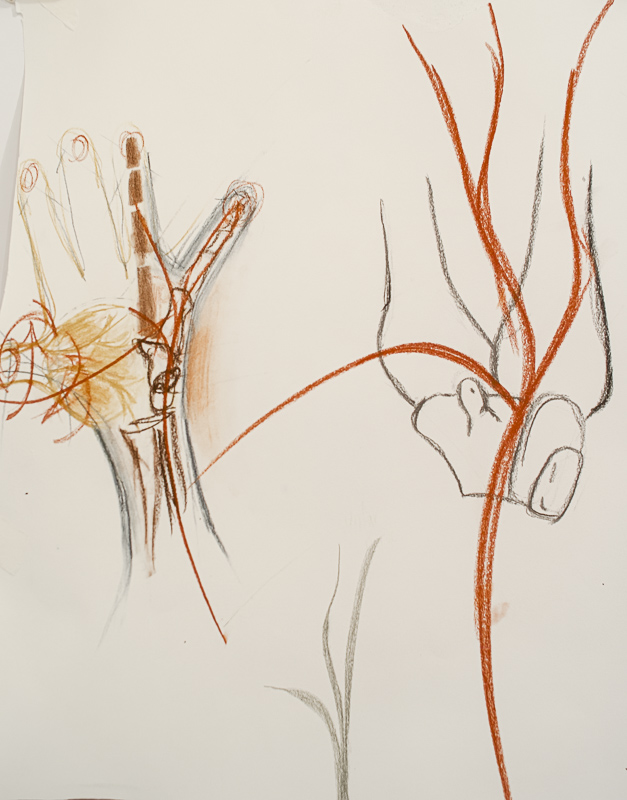
Hamate, Pisiform and Triquetrum are the bones at the base of the pinky, and they are part of the biomechanical changes that Frank R. Wilson talks about it in his book. I did the above drawing to help me visualize this information. On it, you can see the ulnar nerve, the big red swirl lines, resting on the hook of the Hamate bone.
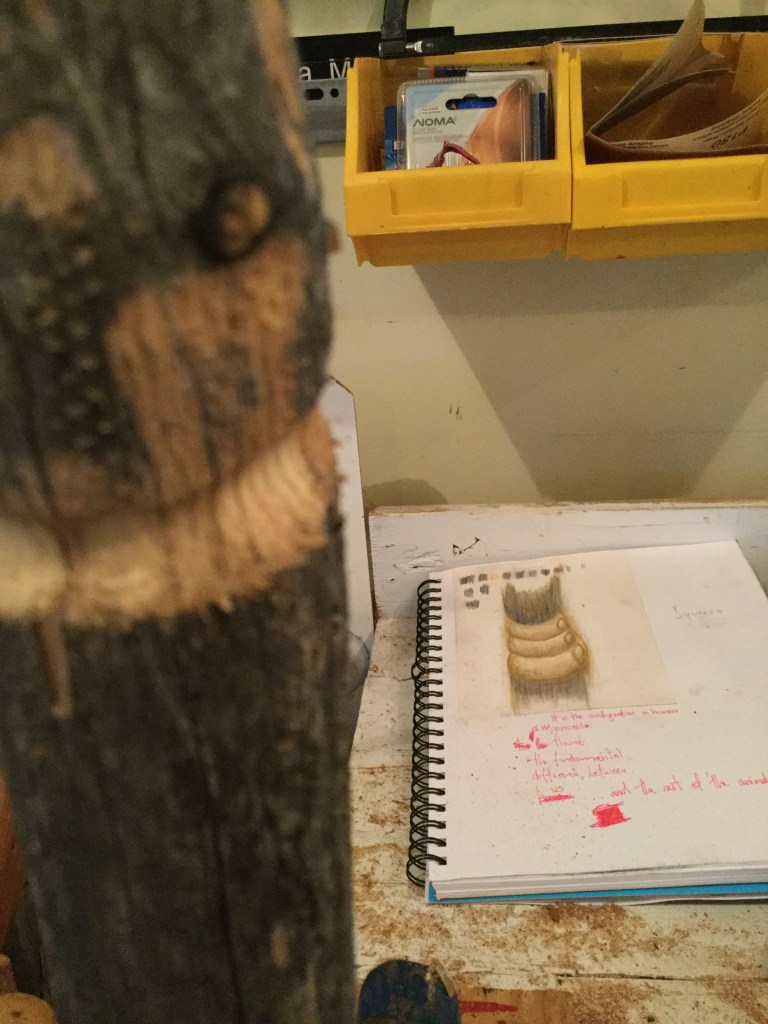
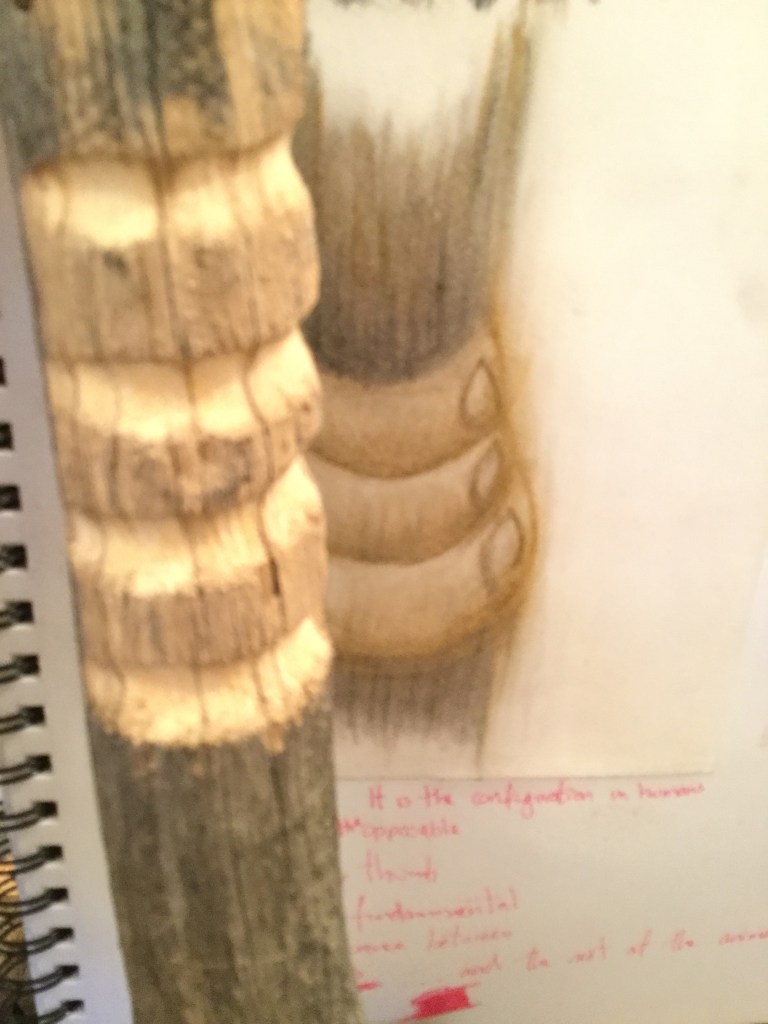
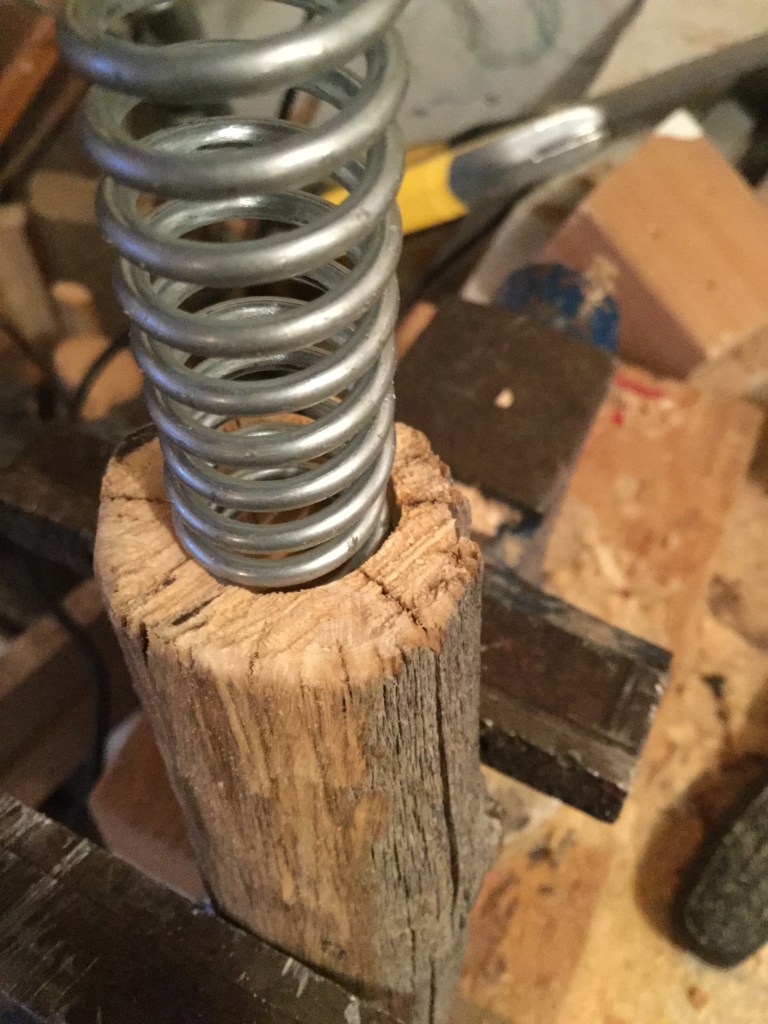
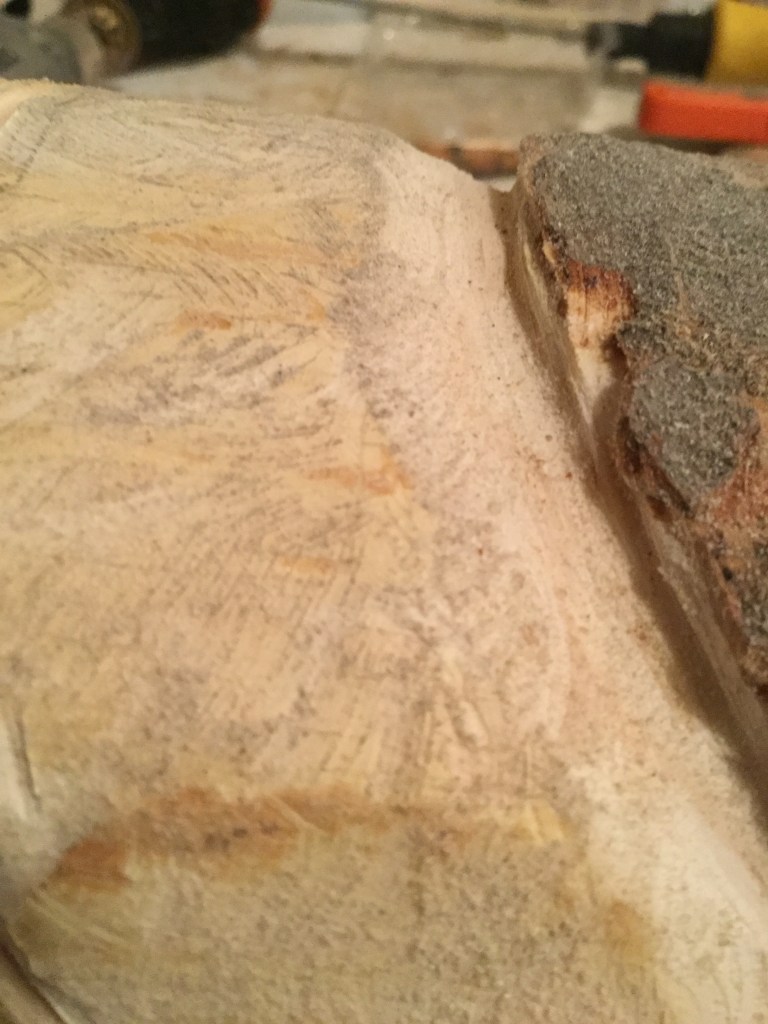
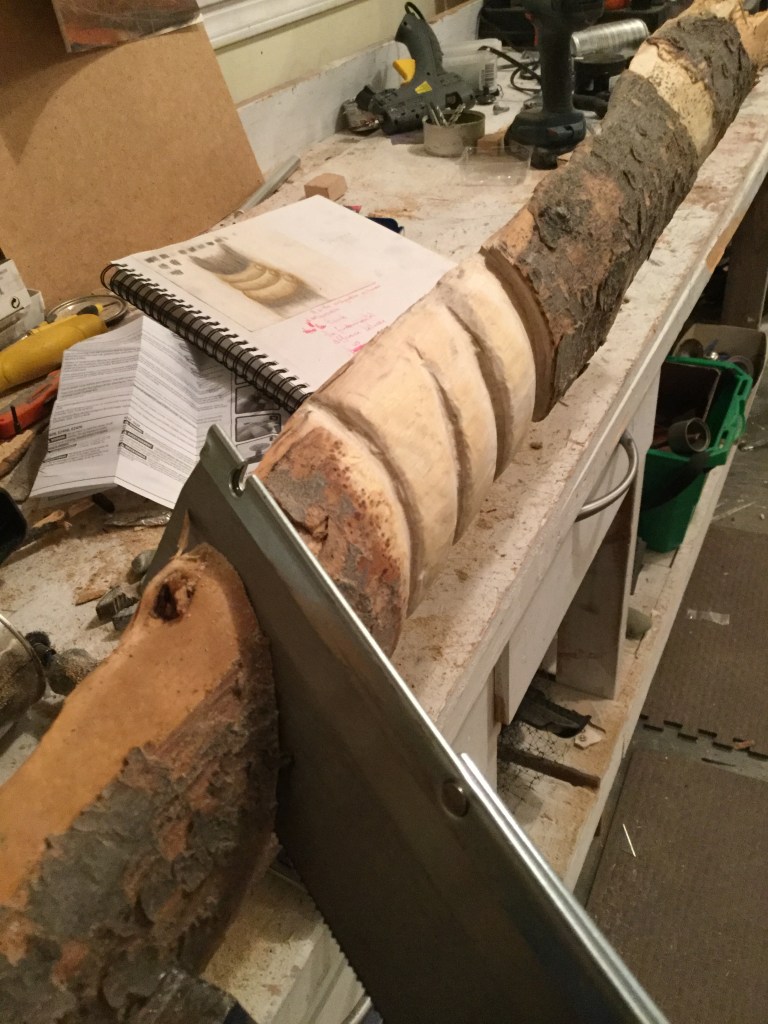
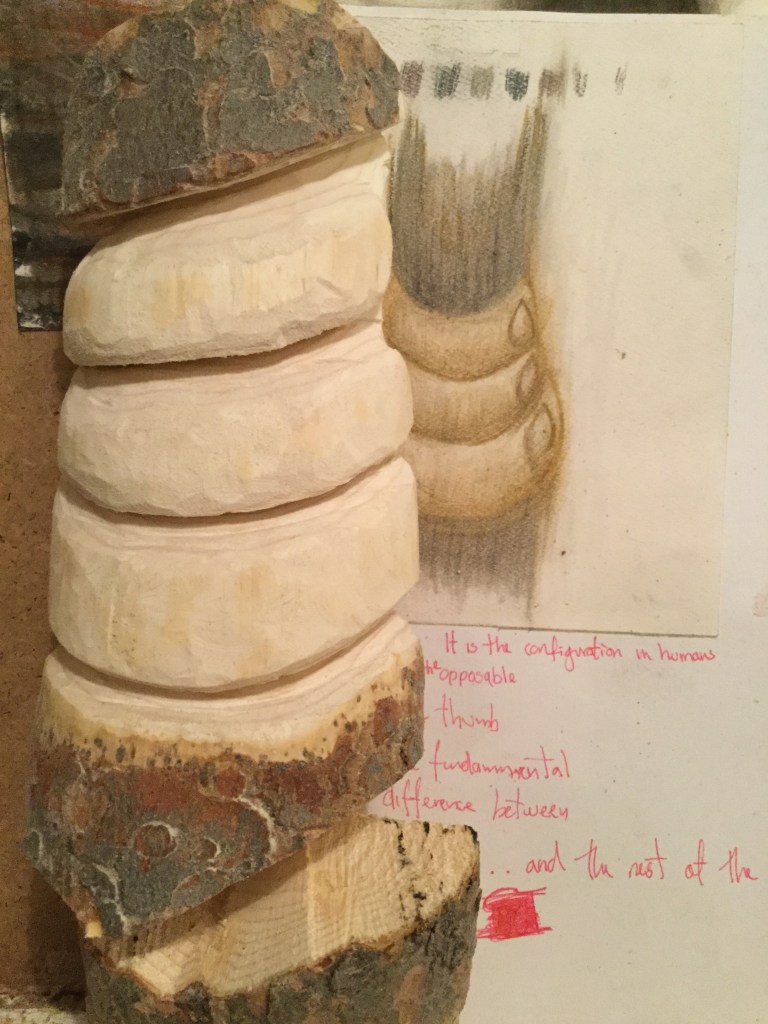
The below gallery shows my construction process from a drawing to a real object. Unfortunately, the result is not exactly what the drawing shows. This is my first time carving, but despite my low results I was still able to use the carved wood piece to make a sculpture.
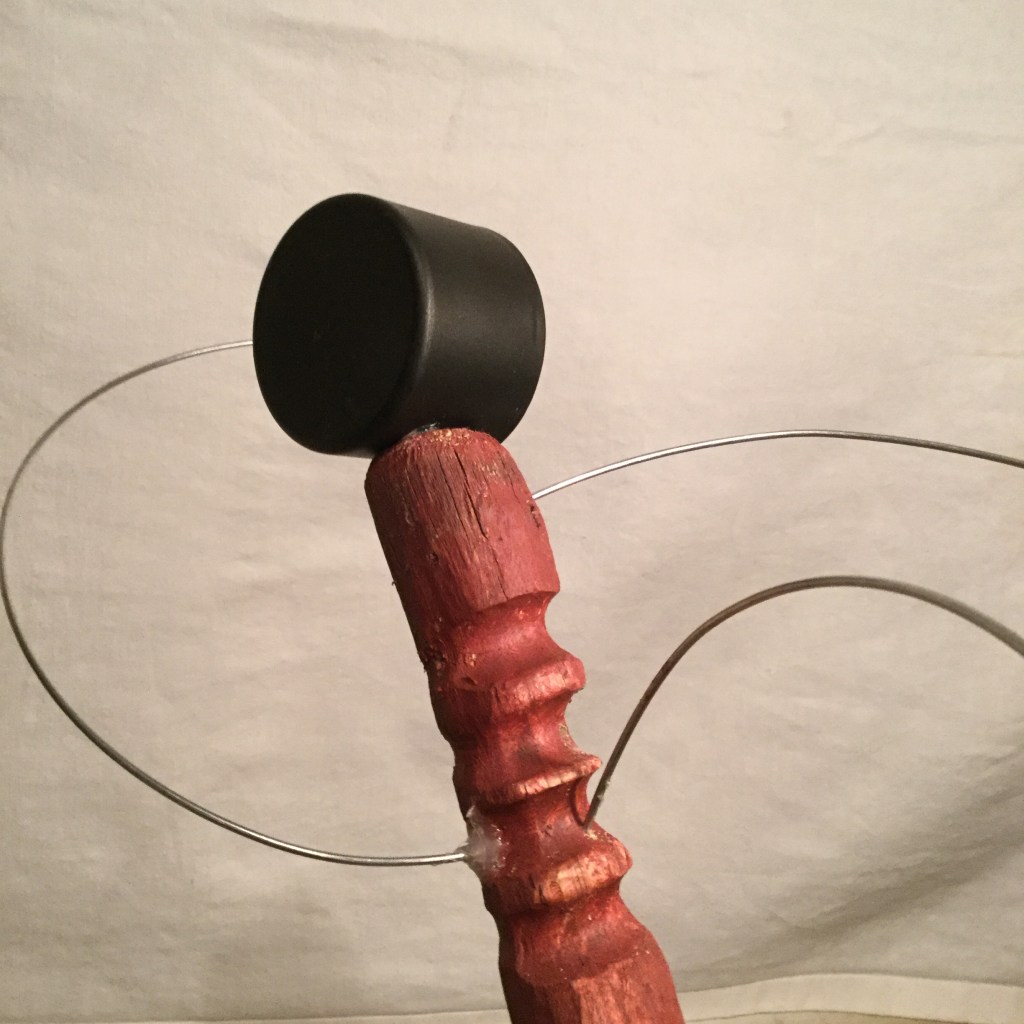
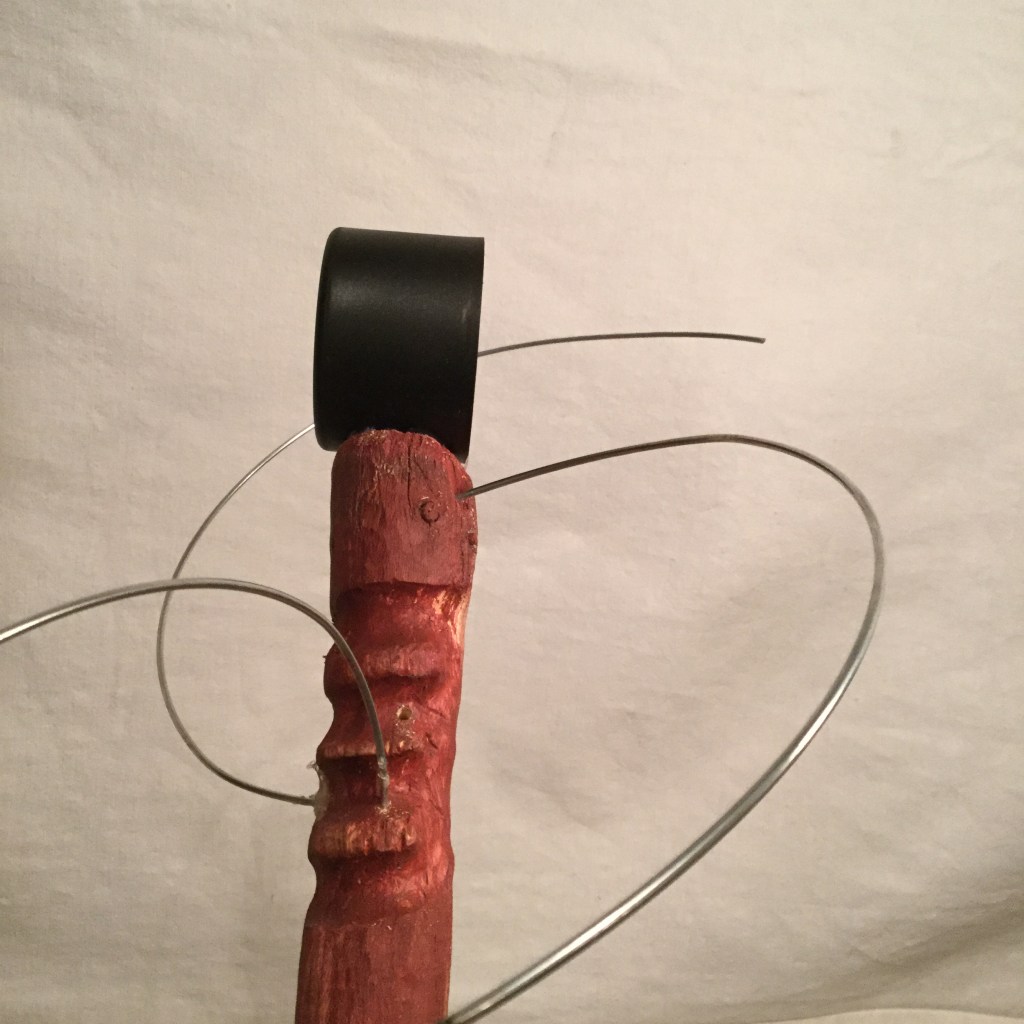
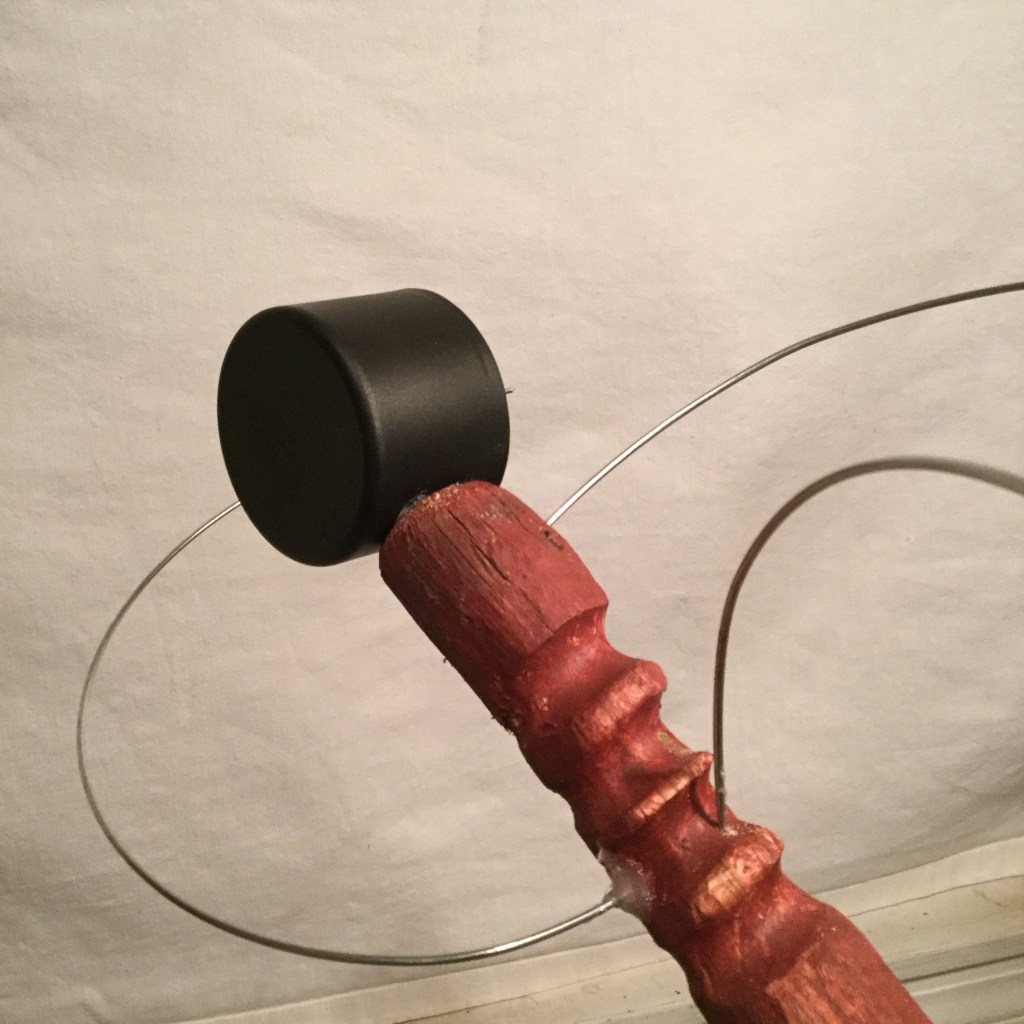
Once the frustration has passed, I decided to do a simple stacked sculpture. I joined the carved piece of wood to spring steel and then I joined the two parts to a base. I painted it red and attached a black aerosol cap on top and some wire pieces to the side.
Second larger sculpture (shape shifting)
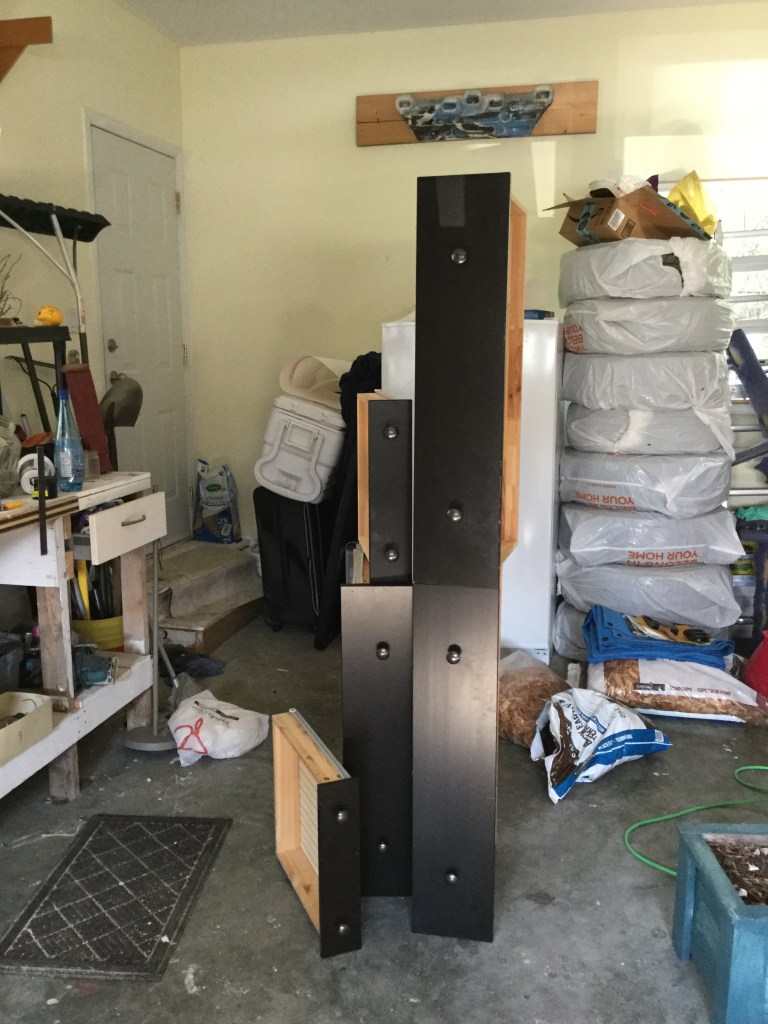
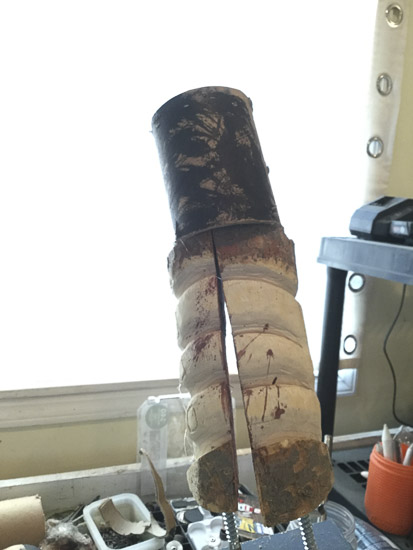
For my second large sculpture, I had the fortune to be able to use an old Ikea drawer that we weren’t using anymore. I was very excited about this new kind of wood: all black and ready for being recycled into a sculpture!
One of the first ideas for this sculpture was to create a tall column with other wood pieces and attached to its side, something like an obelisk: tall, static and ugly. However, after struggling a bit, fixing the first piece of wood to a base, I changed my mind.
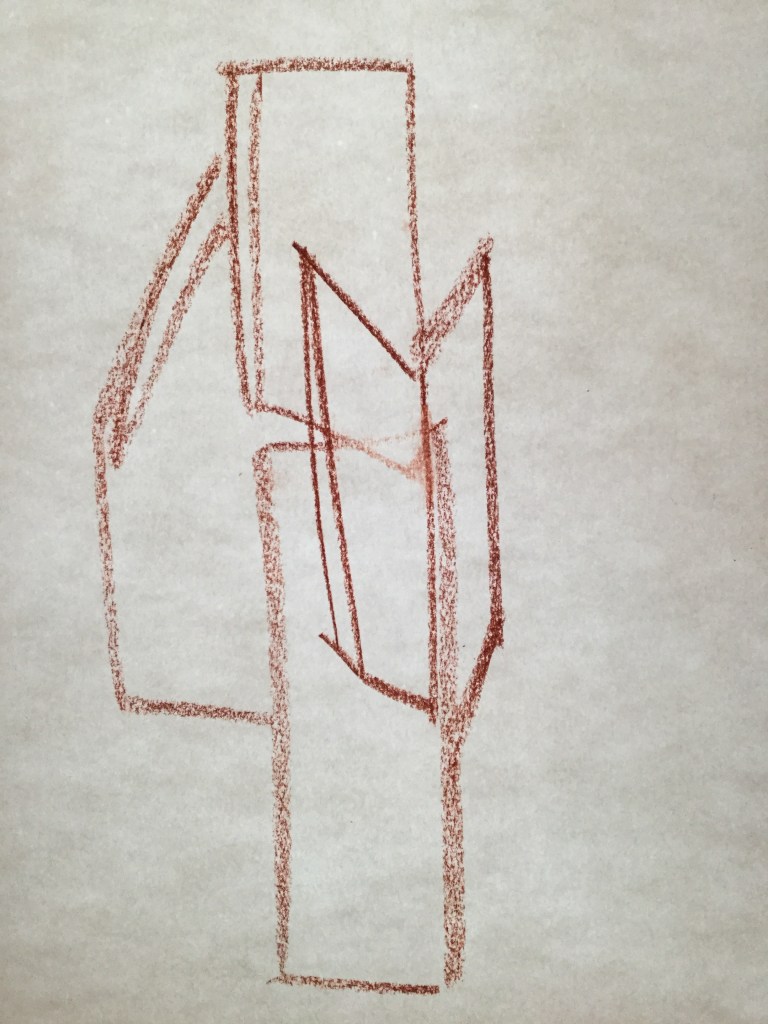
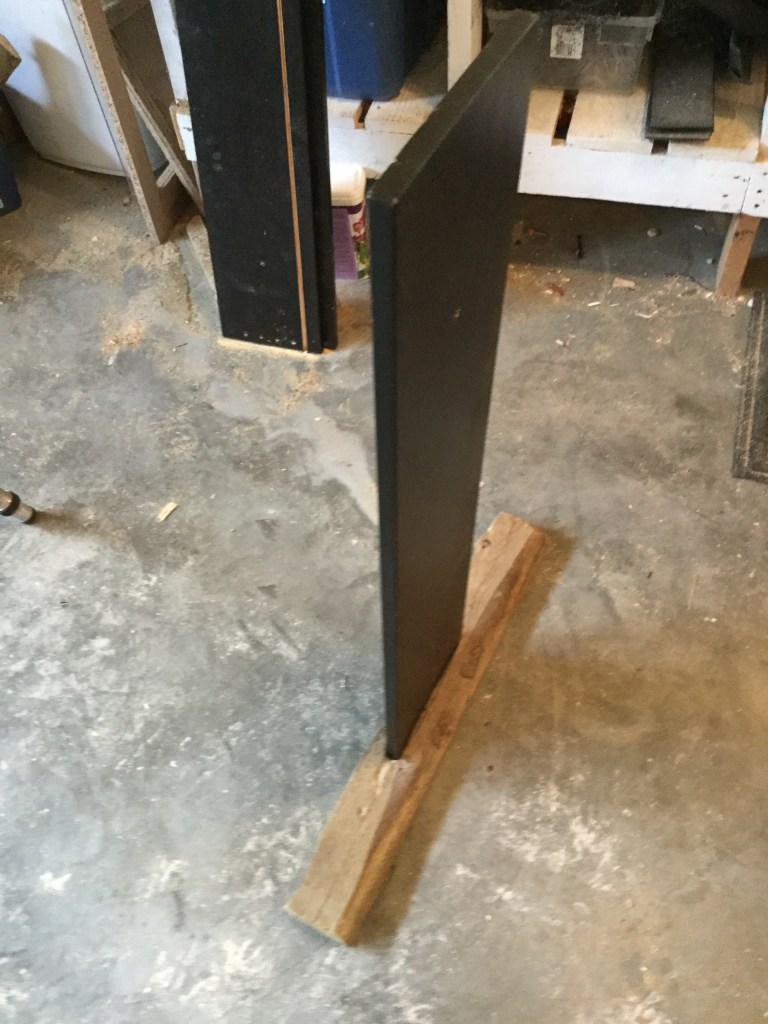
Fixing that first piece of wood to a base was complicated: I wanted it to stay in one place, but it moves in different directions all the time, so after this experience, I decided that what I wanted was to create a shape-shifting sculpture: something that moves on all different directions.
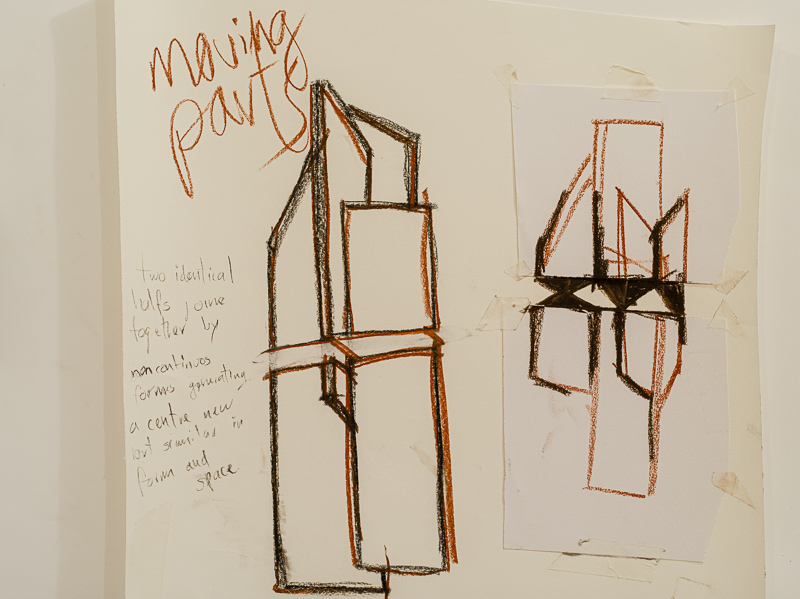
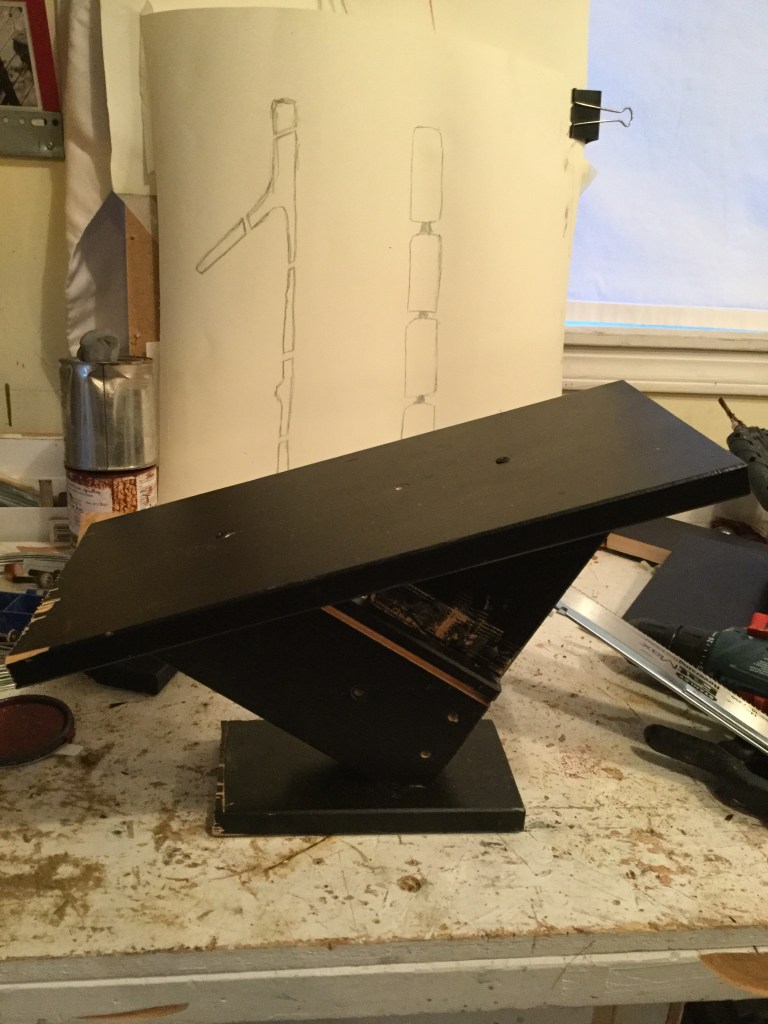
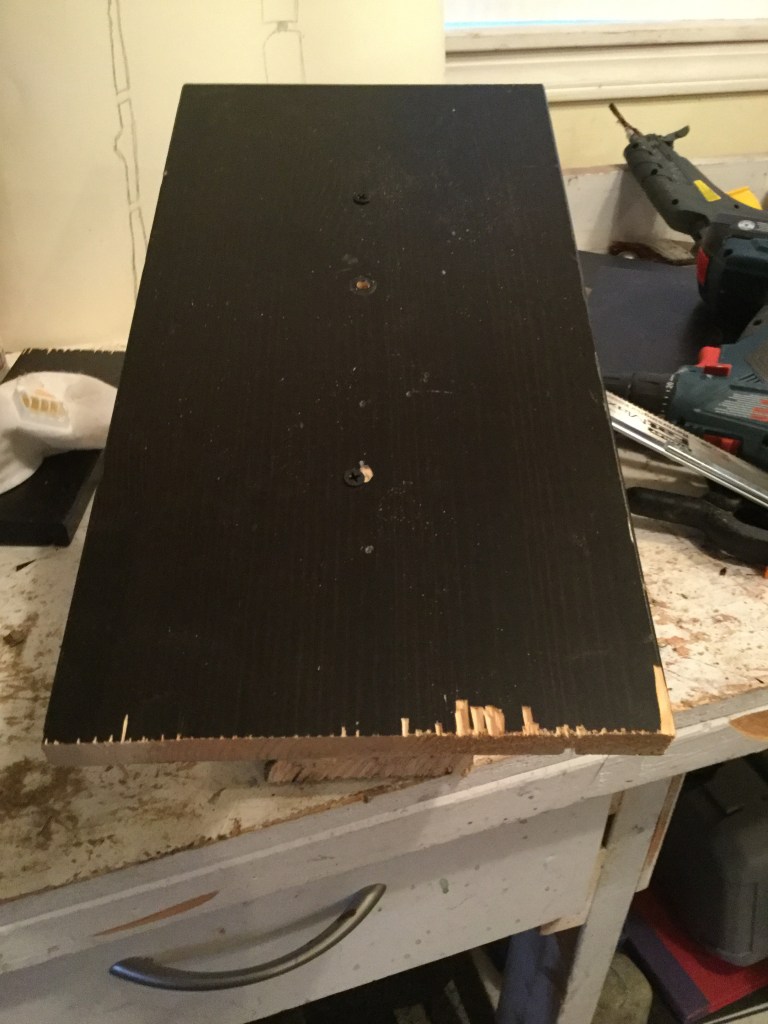
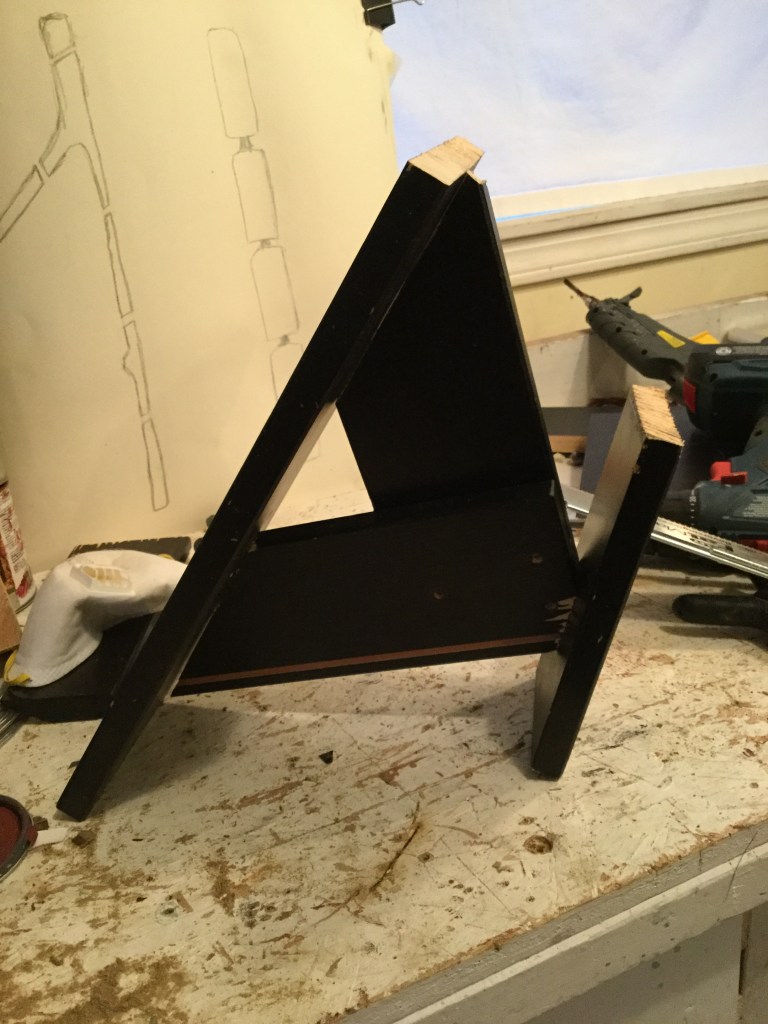
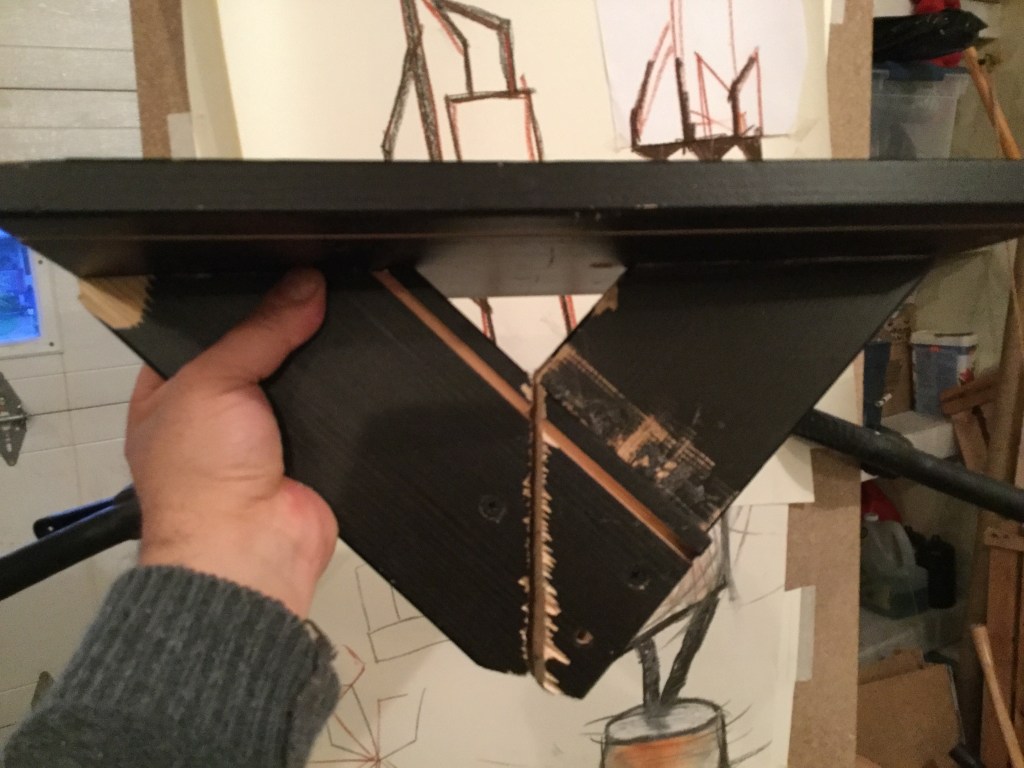
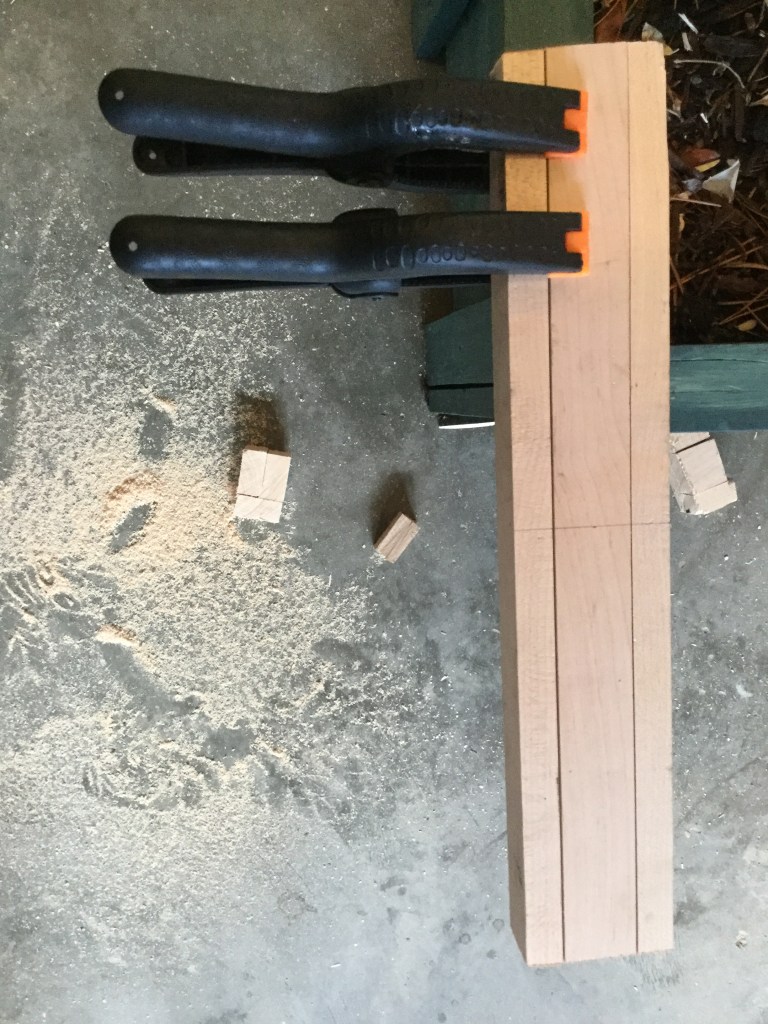
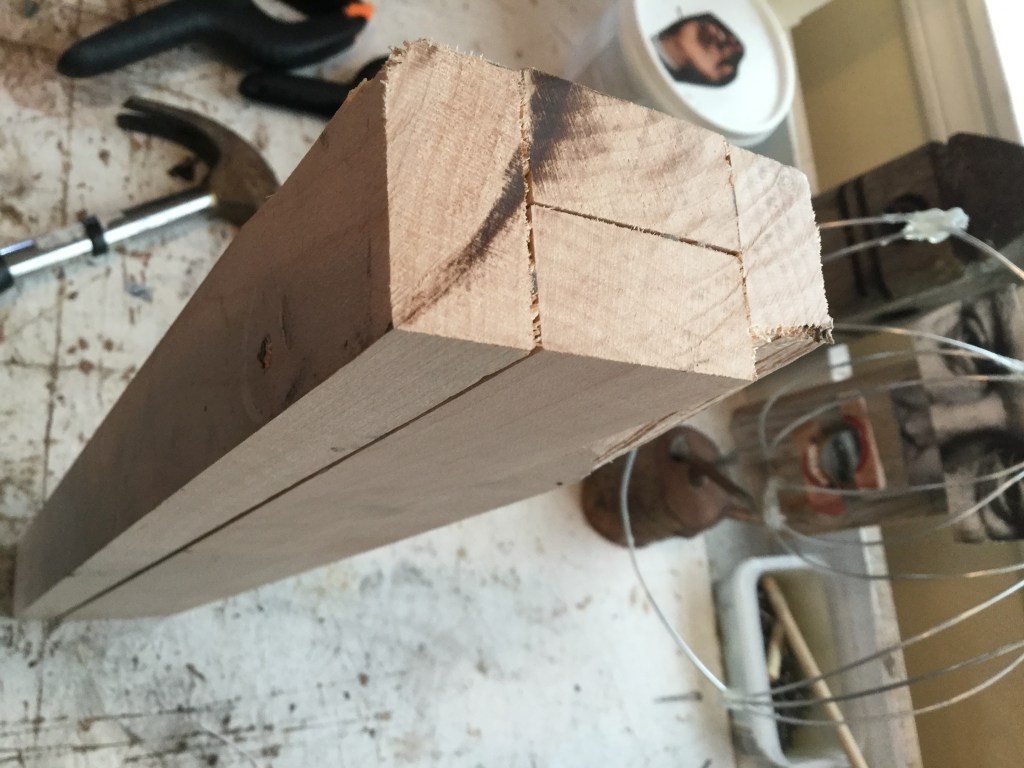
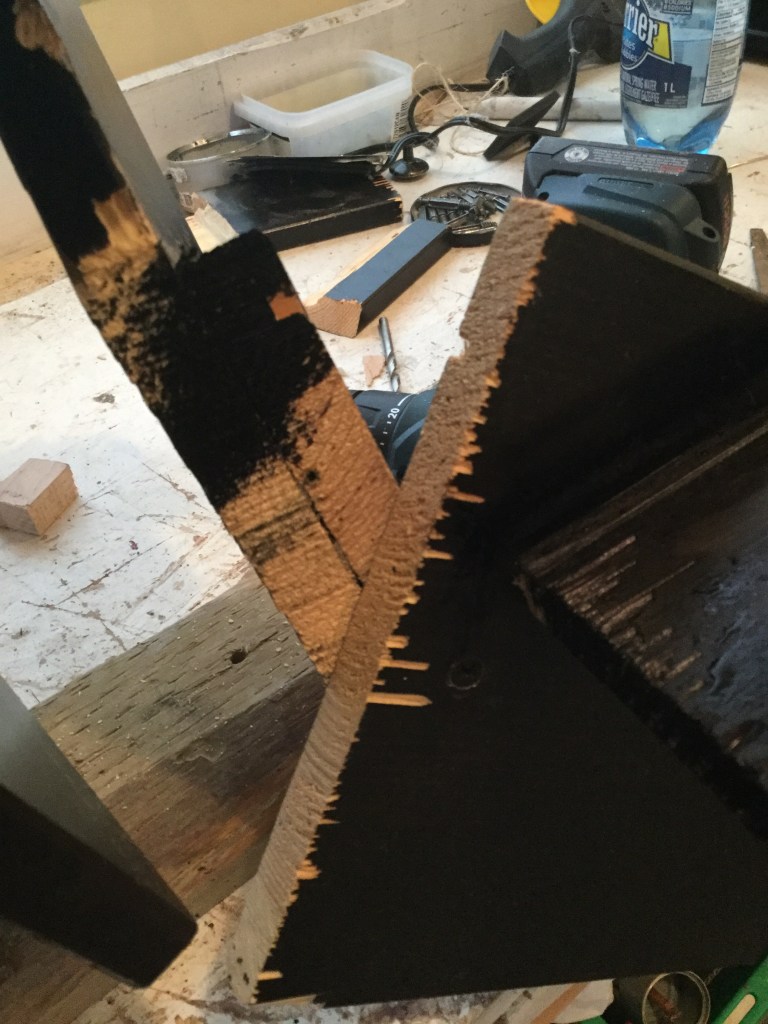
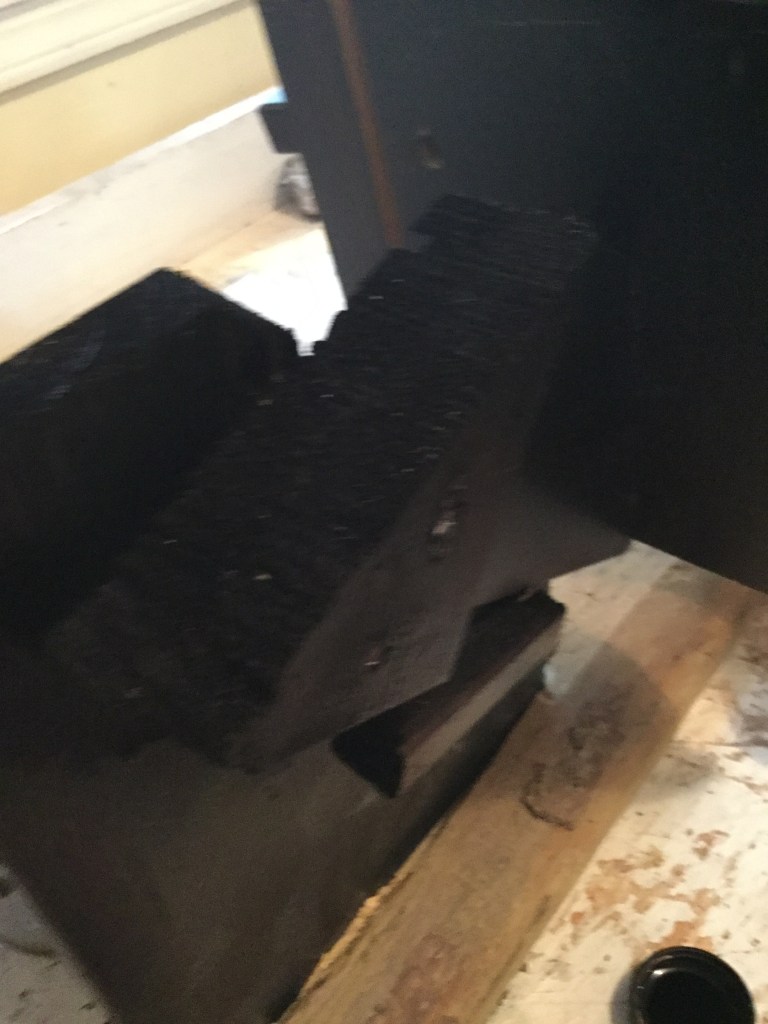
I cut the wood in small pieces and then I joined two pieces at 45 degrees with another piece on top. I built 4 of these structures, all different, and a stacked them together joining them with a long wood screw that was a bit loose to allow me to rotate the pieces in almost all directions.
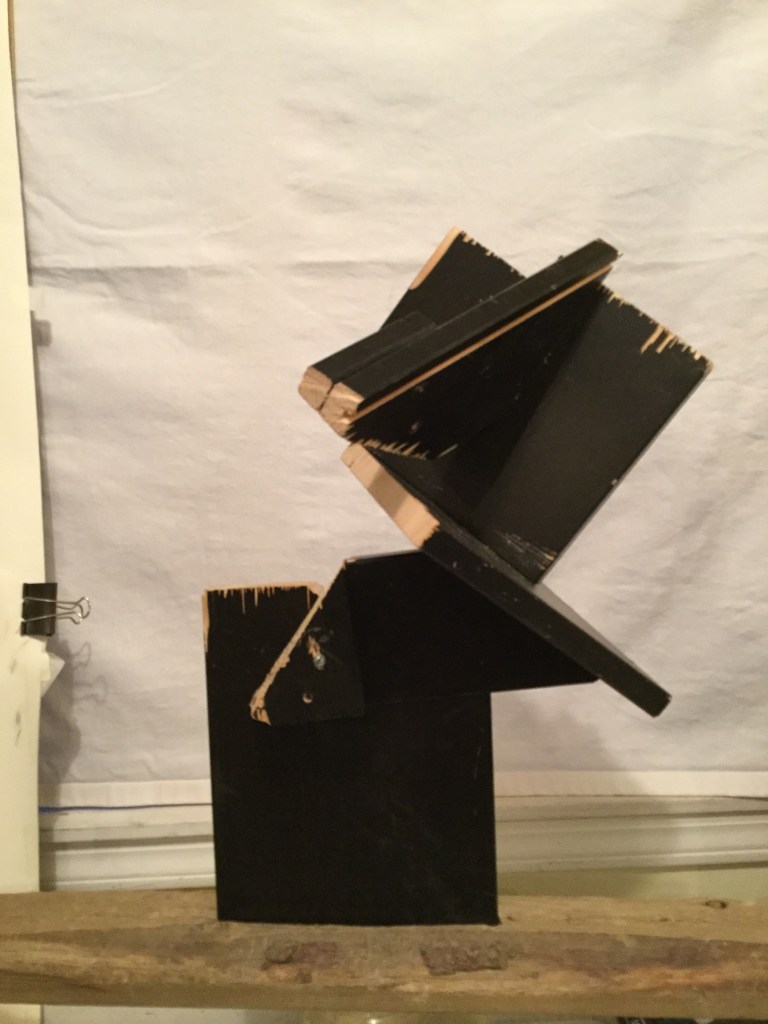
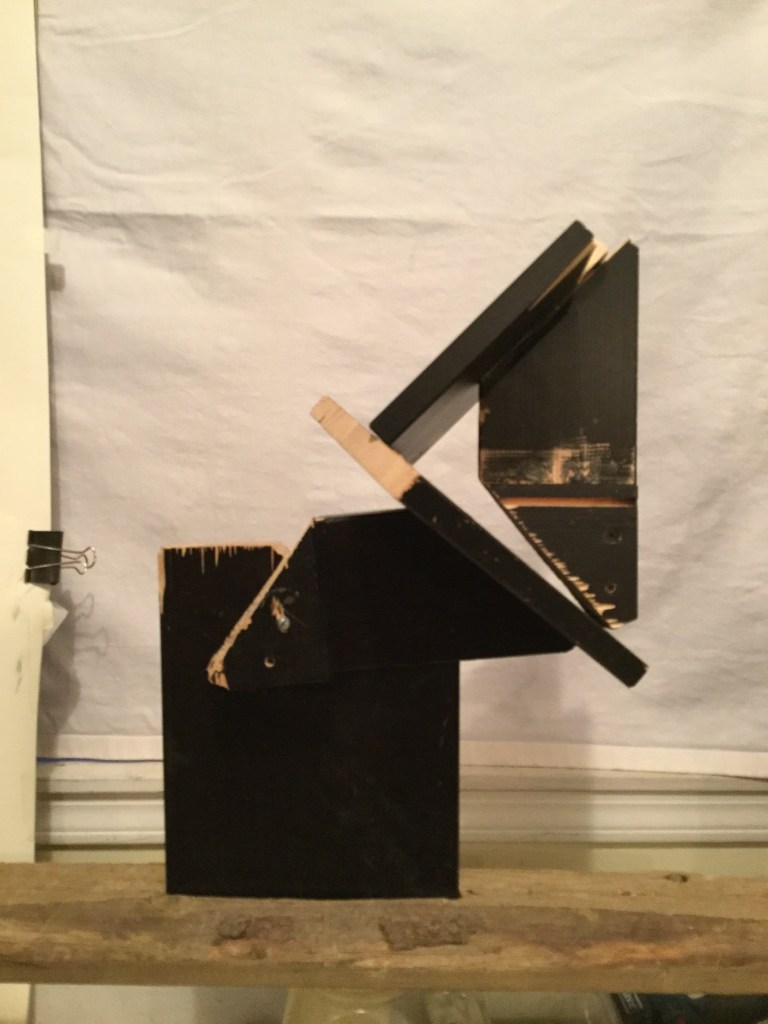
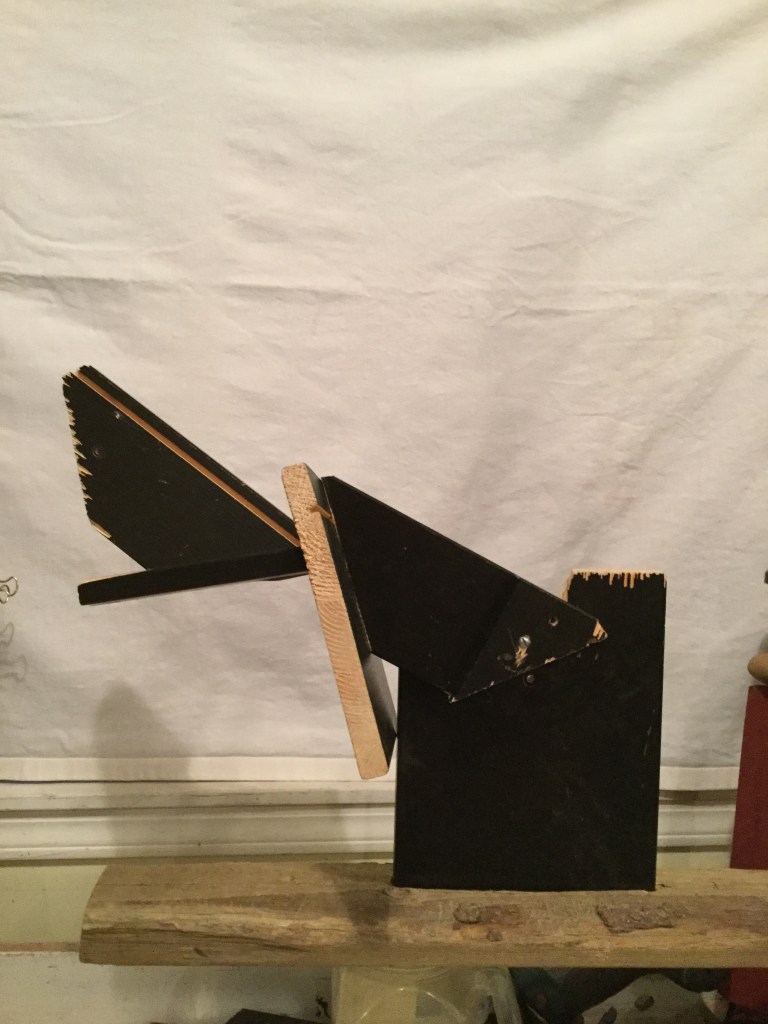
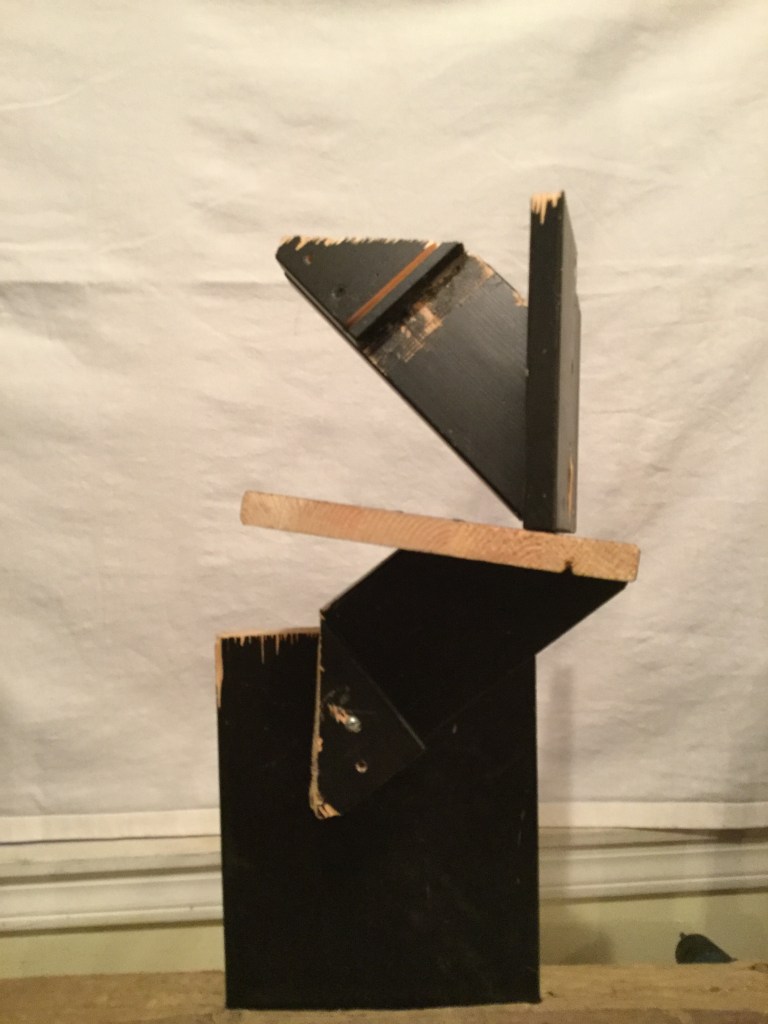
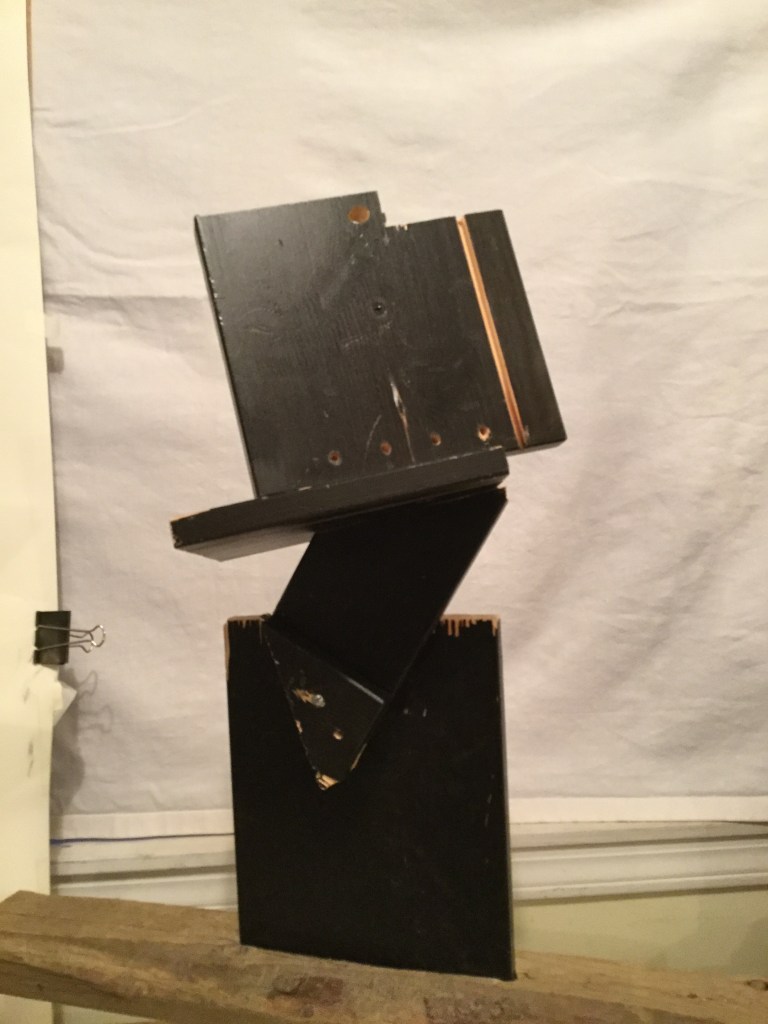
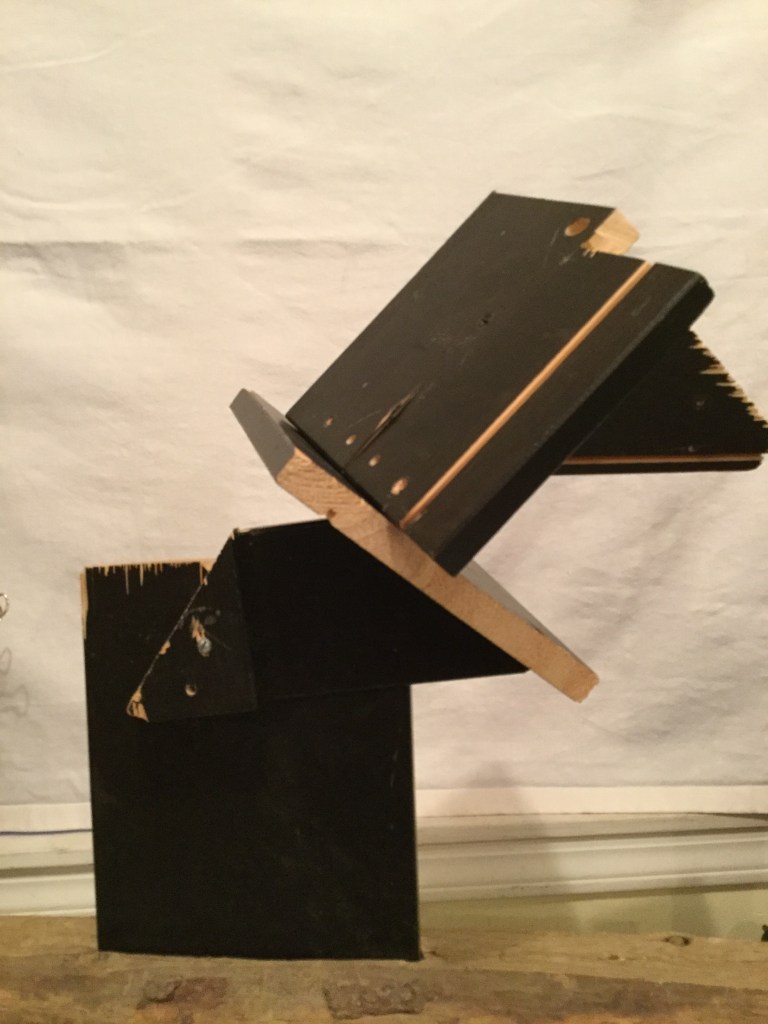
To finalize the sculpture I painted all the areas where I have sawn the wood black.
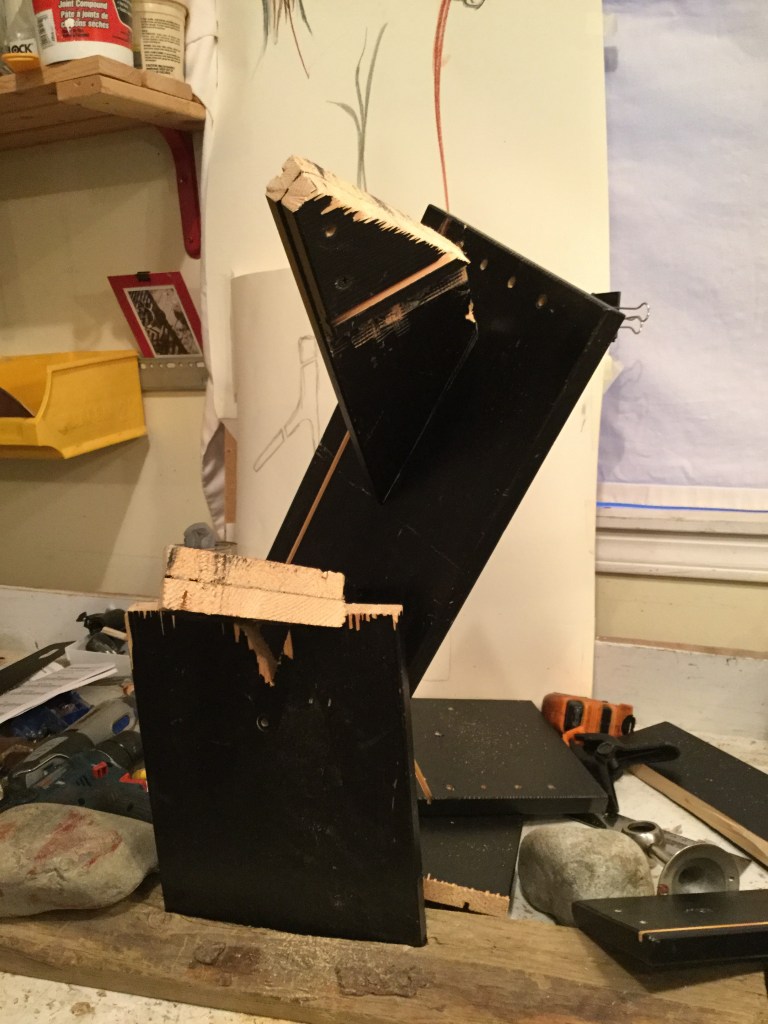
I have to say that I’m quite happy with the final result: the sculpture moves on all different directions adapting a different “pose” each time a piece of it is moved. However, the gravitational centre of the sculpture moves each time some part of the sculpture it is moved making it quite unstable at some “poses.”

Small four sculpture – Materialization of a hand III Pinky
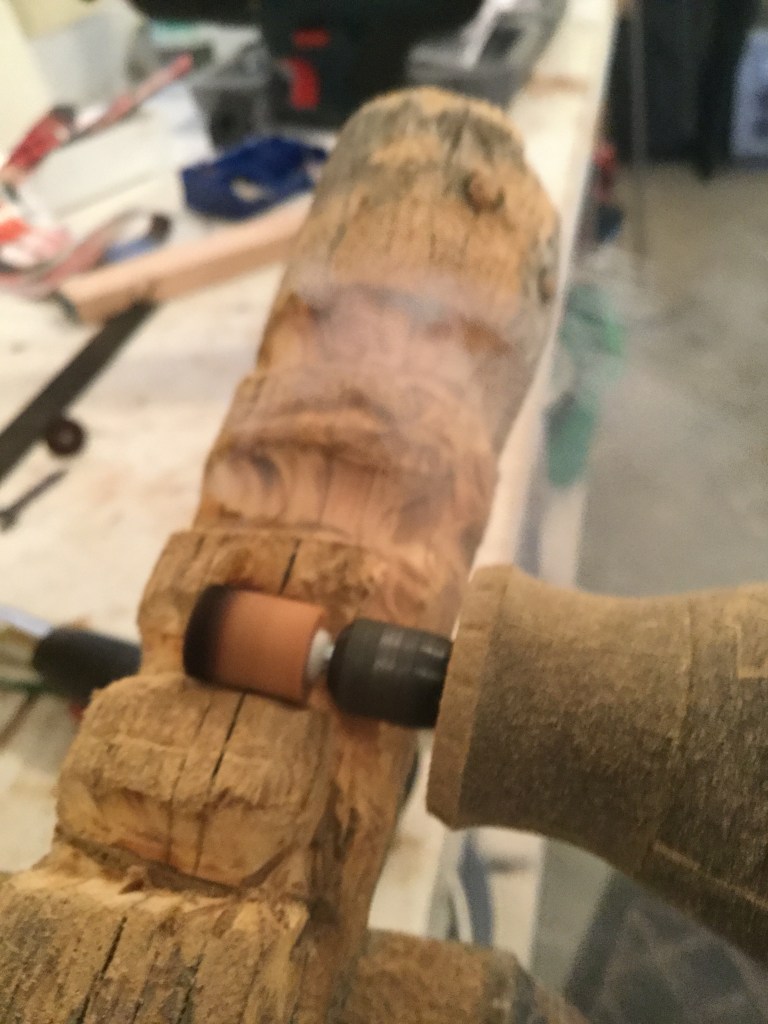
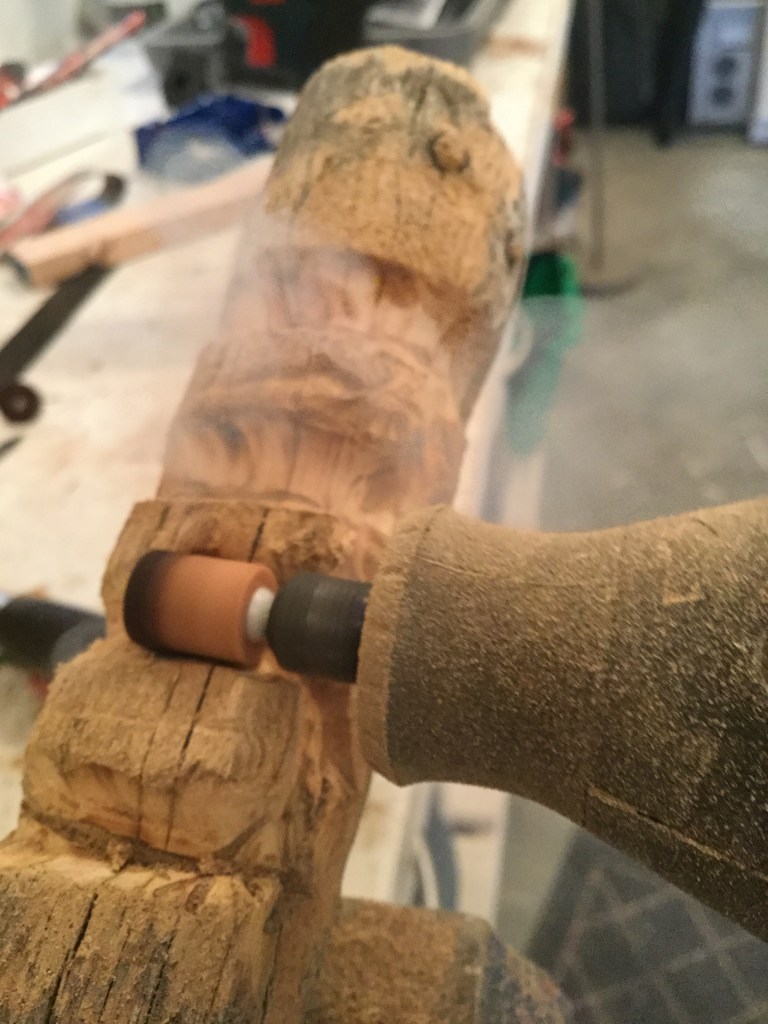
After my first and failed attempt to replicate this drawing into and sculptural form, I did not give up, and I came back for a second round!
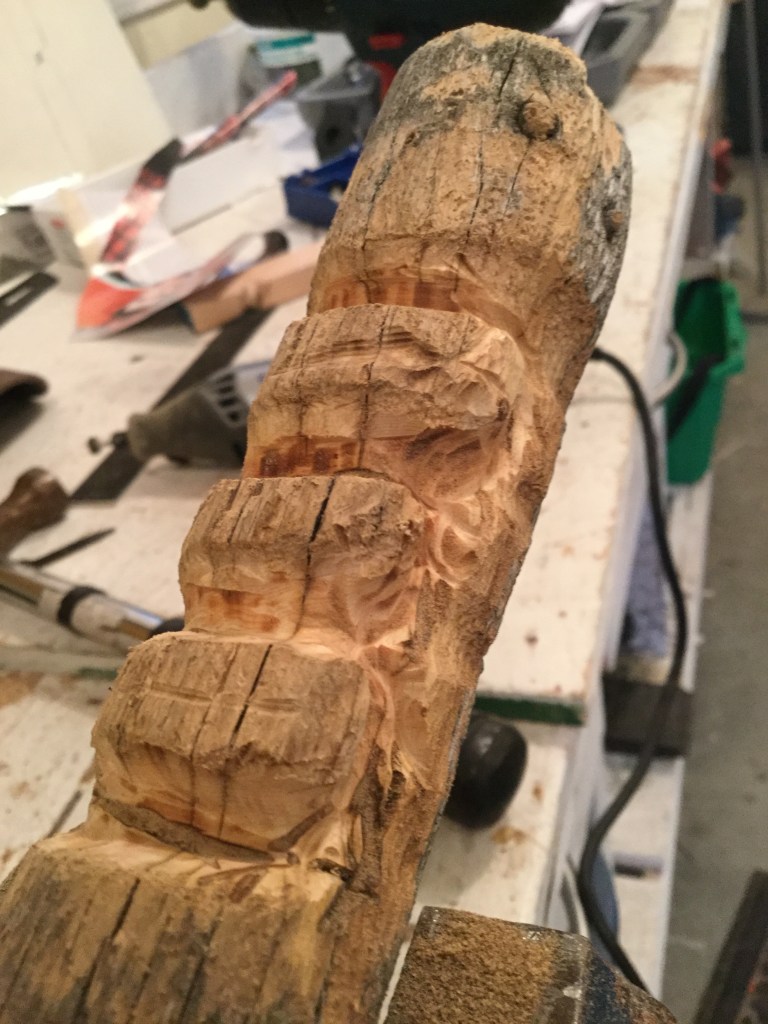
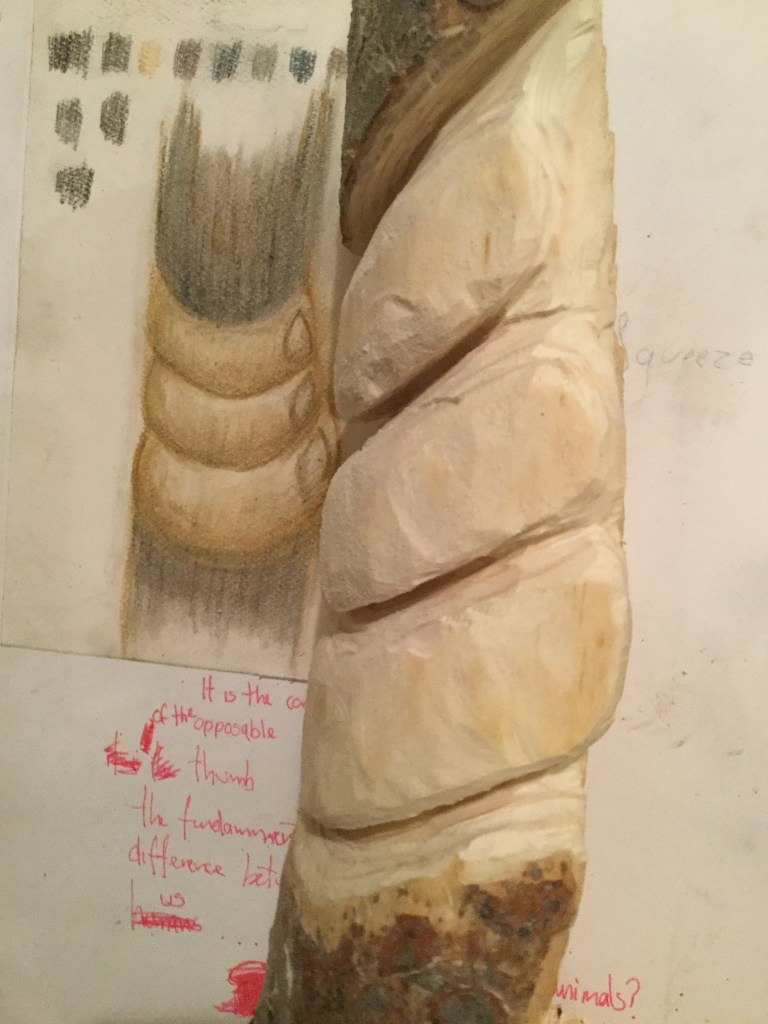
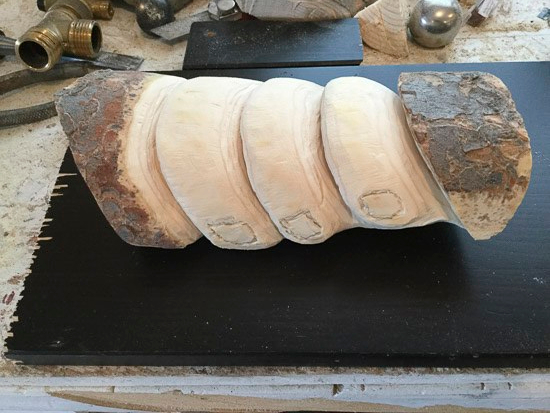
This time I learned from my previous mistakes: first I knew that a more significant piece of wood was need. I also knew what the tools I was working with were capable or not of doing. As you can see in the below image my second attempt started this time with the right foot, I was trilled.

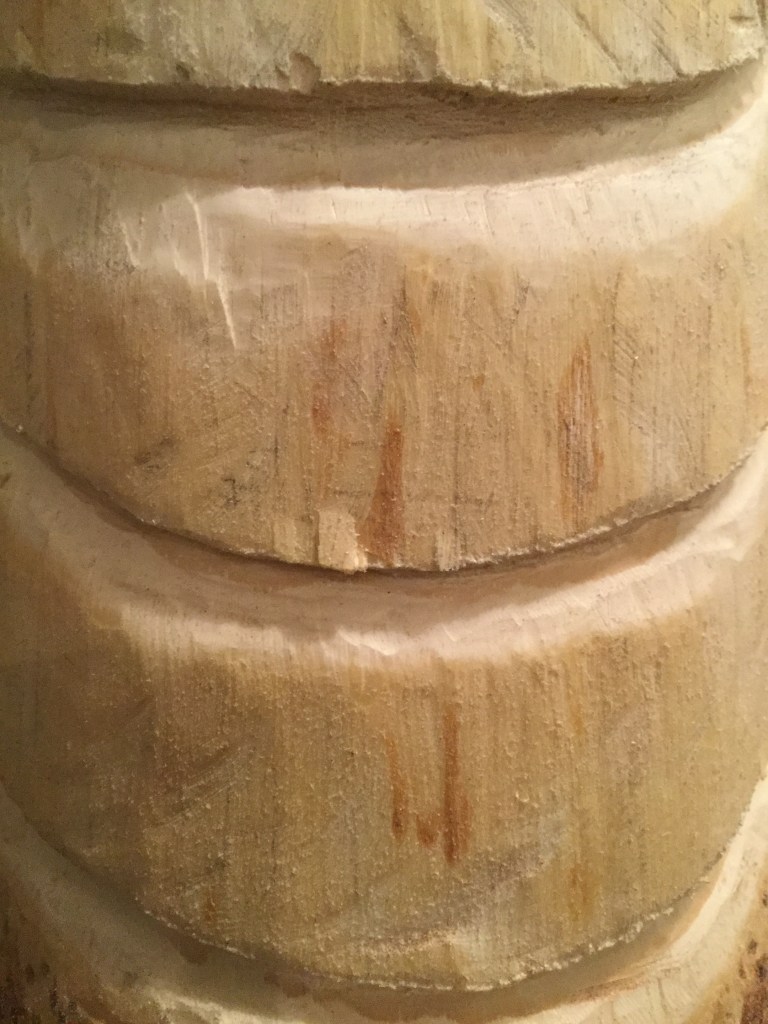
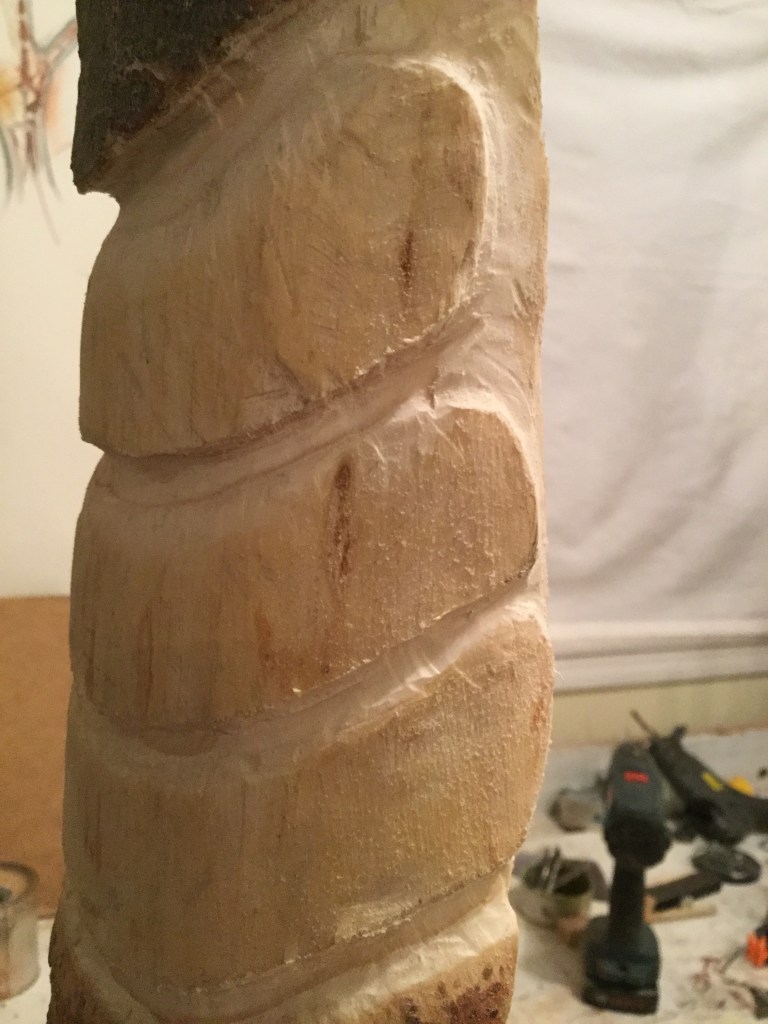
In the next step, I deeper the space between the fingers to make them look a little bit more rotund. Even though the nails are very badly done they look ok, I think they give the fingers that missing element that makes me recognize them as hand digits.
(Please refer to the section “Small Third sculpture” in this document for more research notes.)
Next, I cut them in half to make legs. To make this decision, I mimic with my hand the movement of a spider running at full speed in a straight line. The index, middle and ring finger do most of the job; the little finger helps but thumb not much.
Even if these three fingers are not as important in evolution term as the thumb and the pinky the action to transform the fingers functionality into a locomotive one was correct.
Everything was it is the right place.

For the last part of the sculpture, I added the two other fingers somehow to the sculpture. The thumb is the section just after the legs finish and the little finger comes right after. And of course a little Dada influence at the end with the eye.

Bibliography
Wikipedia.org (2019) at: https://en.wikipedia.org/wiki/Pareidolia
(Accessed on 019.07.19)
Cbc.ca (2018) at: https://www.cbc.ca/kidscbc2/the-feed/do-you-know-what-an-inukshuk-is (Accessed on 023.07.19)
Wilson, R. Frank (1999) The Hand: How Its Use Shapes the Brain, Language, and Human Culture” Toronto: Random House of Canada. Kindle Edition.

Hi Omar
Next week I will start sculpture 1 as my last unit for BA Painting level 1. Checking out your blog I am more convinced that it is perfect for me!
Great work – hope we can keep in touch!
LikeLike
Hi Roger,
Good luck with the course, it is a lot of fun. We’ll keep in touch, thanks!
Cheers!
LikeLike