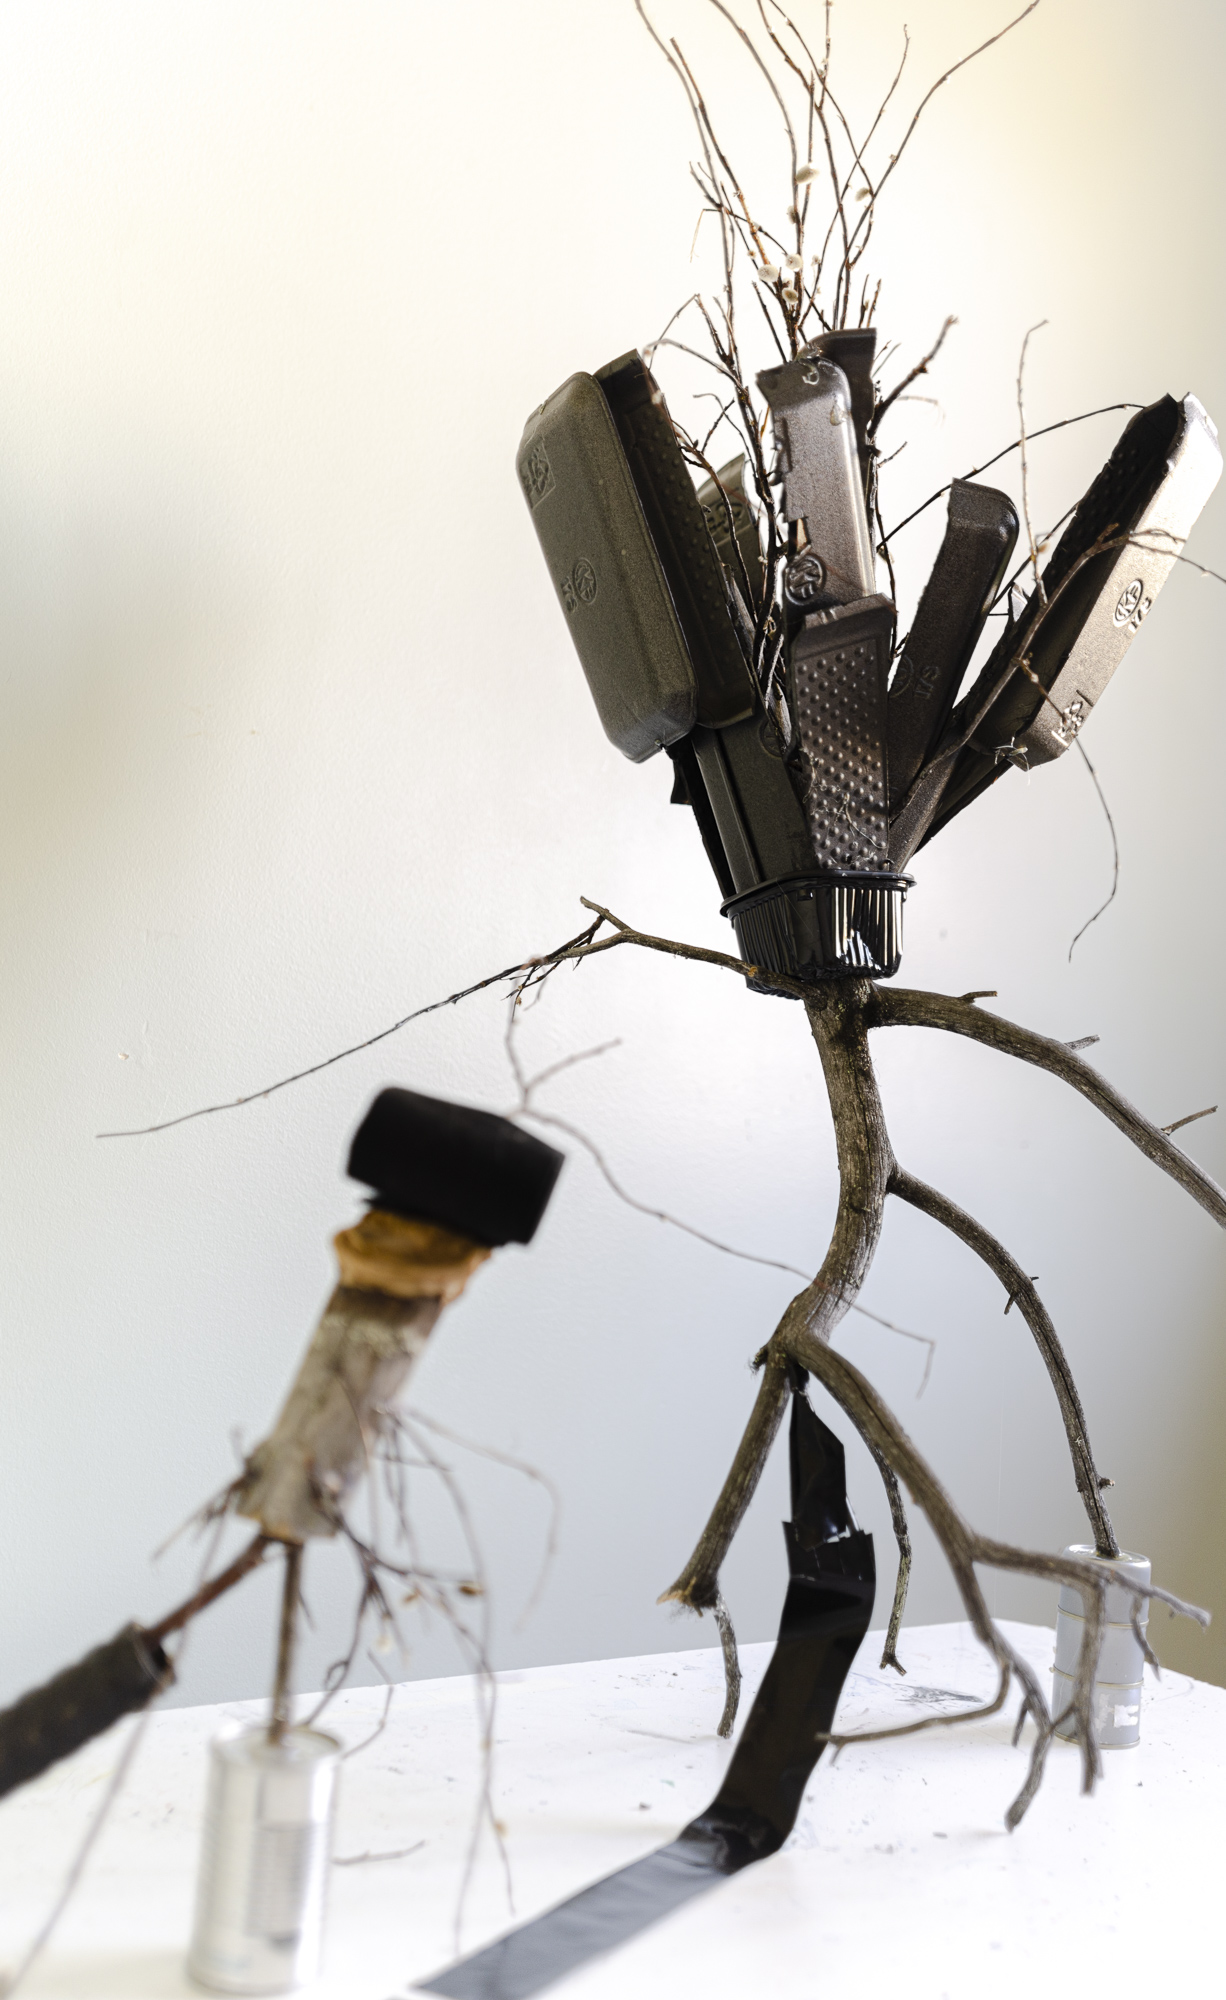
Shallow relief sculpture
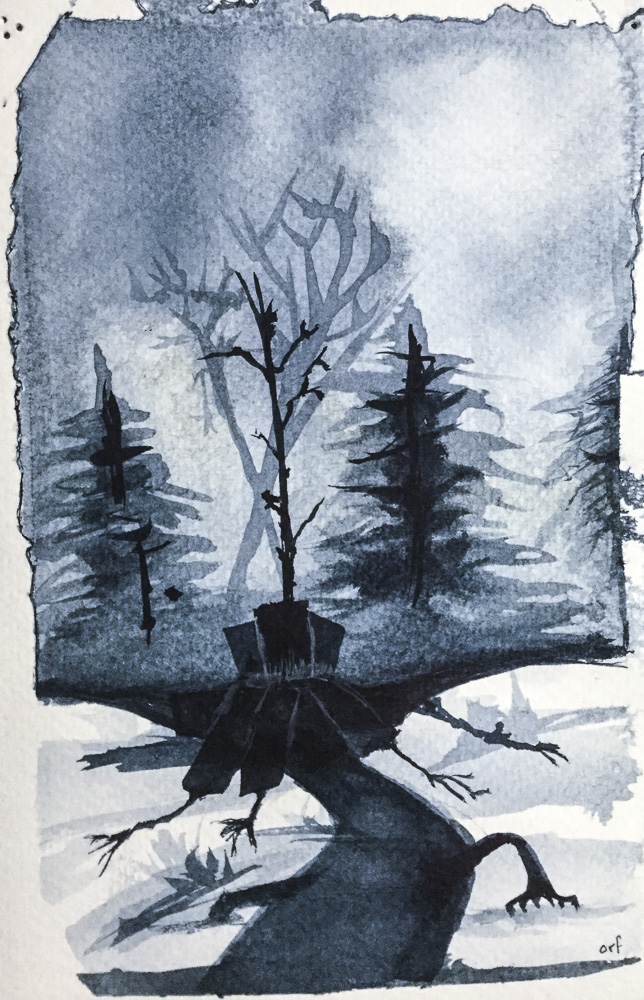
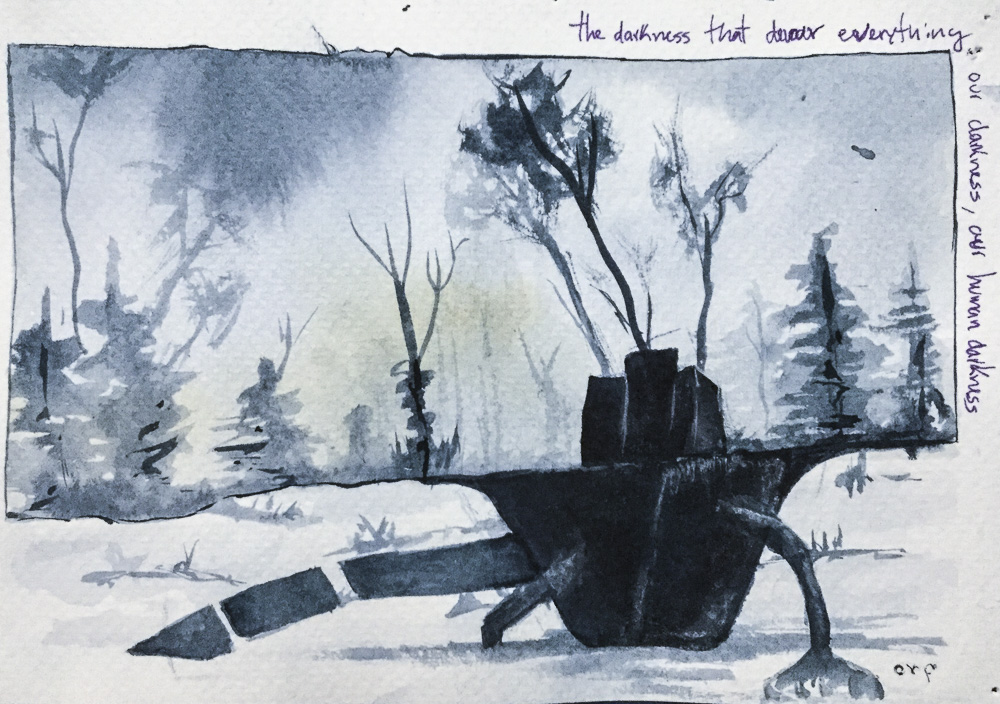
The source of inspiration for Project One came from the thinking I have been doing in the last year that has to do with darkness and human intelligence. Darkness as something that can do harm and intelligence as something highly cognitive complex, but without compassion and flexibility in our motivational structure (Metzinger, s.d, as cited in Ananthaswamy, 2015). One of the first encounters that I had with these two ideas was when reading the book Gestures of Vilém Flusser, chapter The gesture of making : …hands are monsters, for their insatiable craving, their curiosity, subverts any order. Within the order of things, hands are in fact agents of provocation and subversion. They have infiltrated nature to subvert it, and, being unnatural, they become unsettling, even repulsive. And very obviously, hands are one of the ways we humans are in the world. (Flusser, 2014)
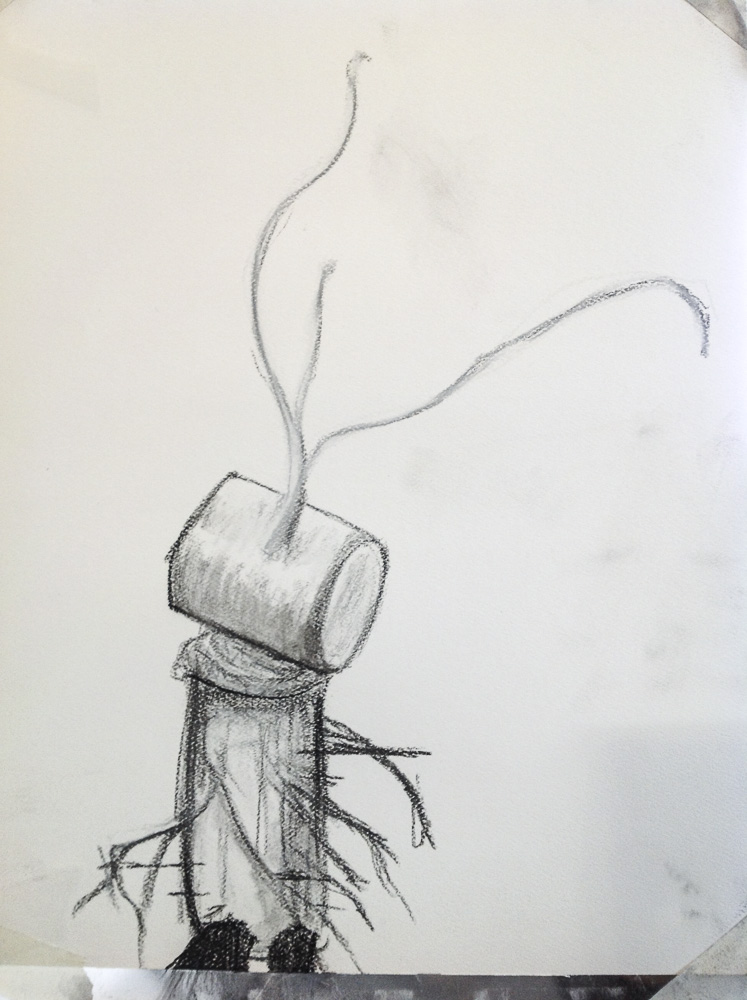
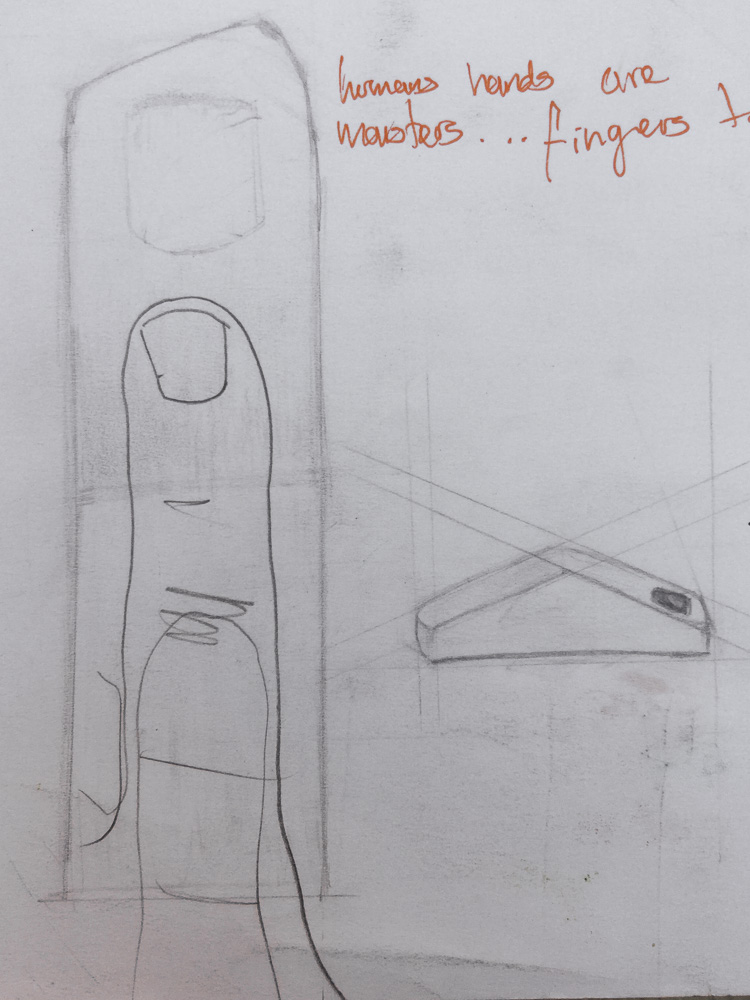
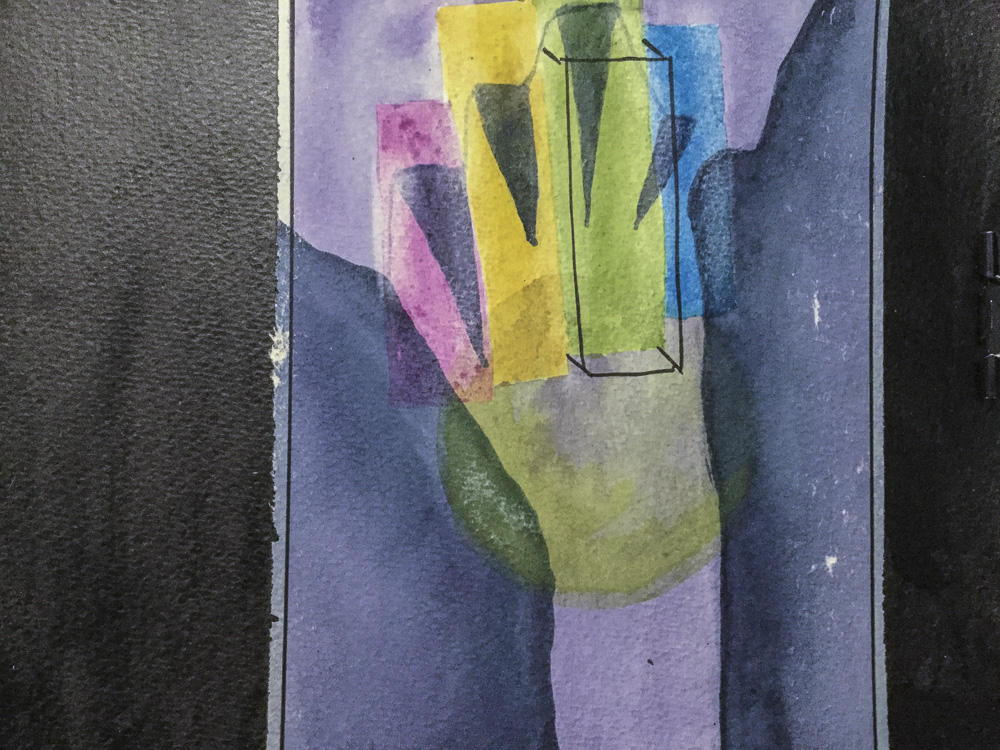
An un-feasible idea

The figurative character of the above drawing depicting an intertwined hand was an earlier idea for the shallow relief sculpture. This idea was discarded for its complexity and my limited knowledge of construction. The instructions for Project One was to do something entirely different, with simple geometrical forms and non-figurative.
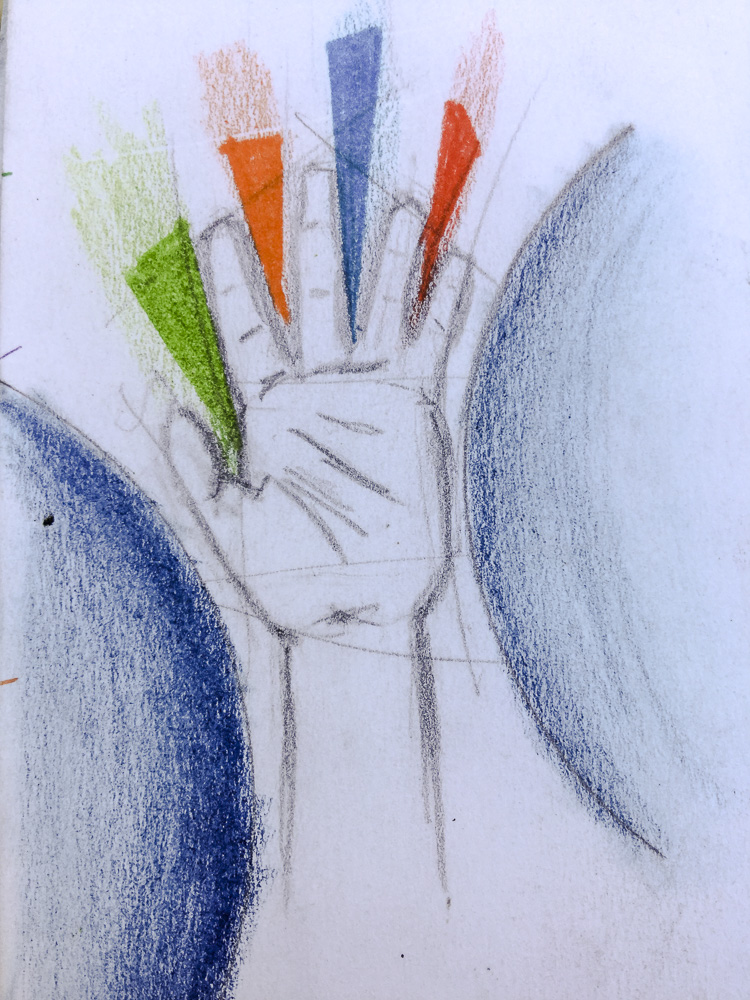
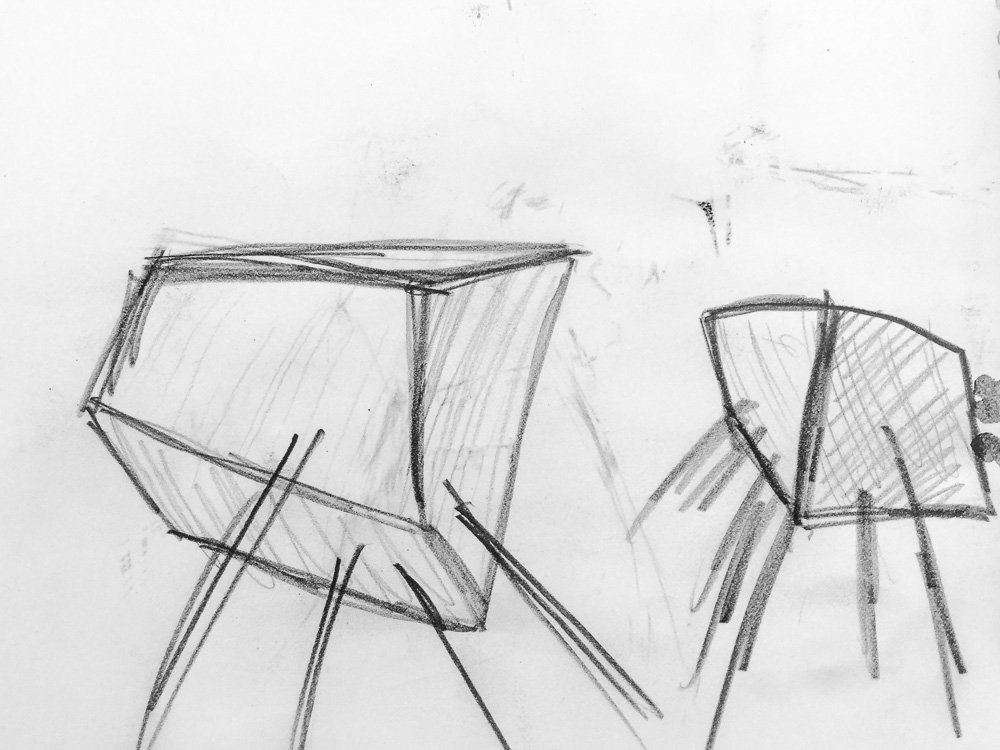
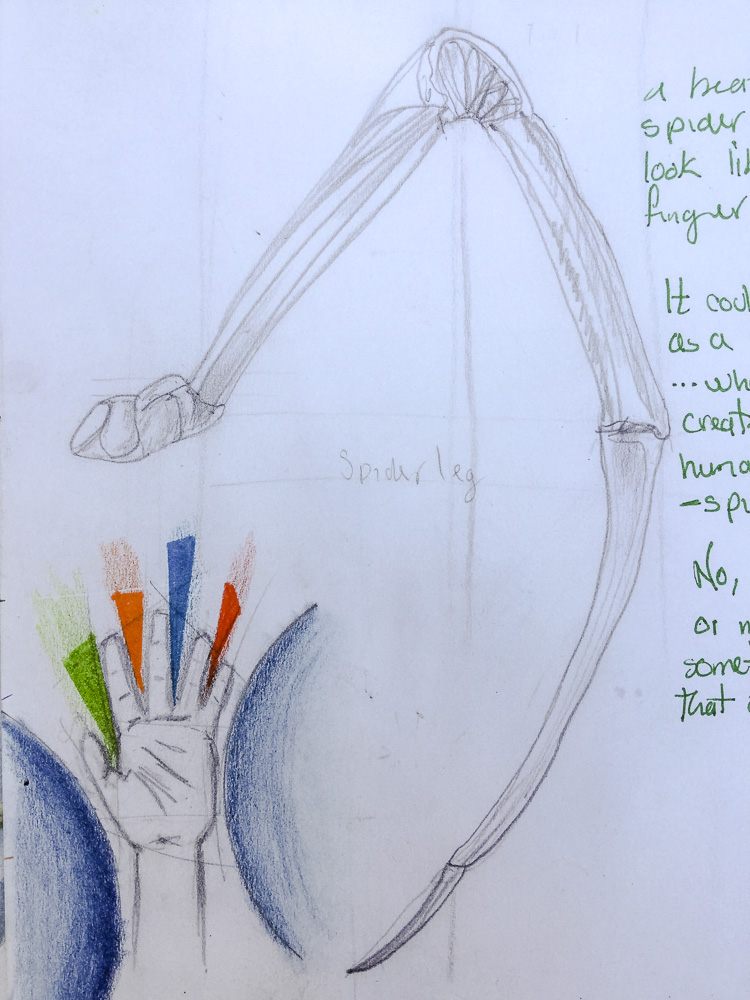
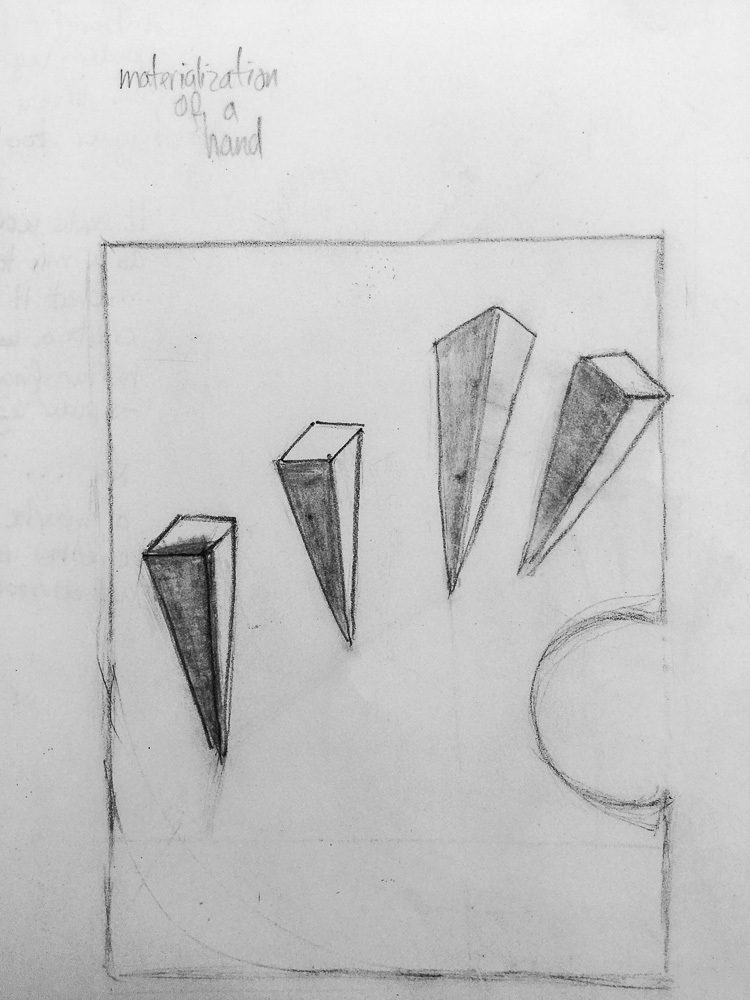
Further exploration of the idea of a hand as the main element of my sculpture led me to the above image, in which I drew triangular shapes in the middle of the fingers and decided I wanted to evoke the sense of a hand from the negative space between the fingers – Naum Gabor is an inspiration here. I believe that in this way I kept the sculpture geometrical and abstract enough to meet the course requirements.
Exploration of an idea
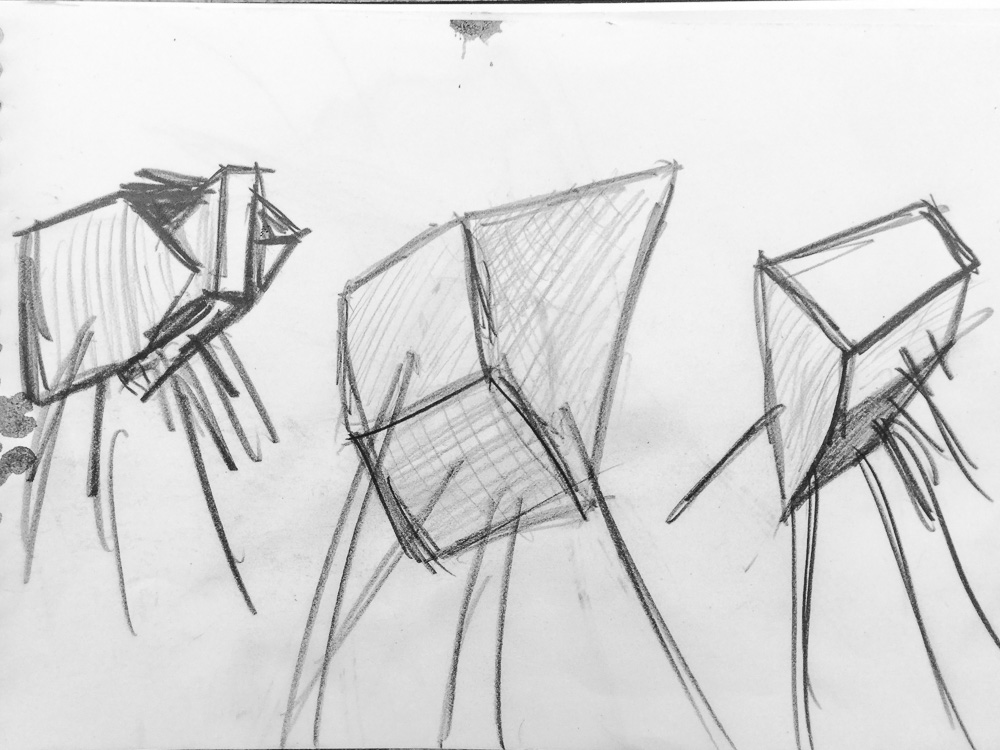
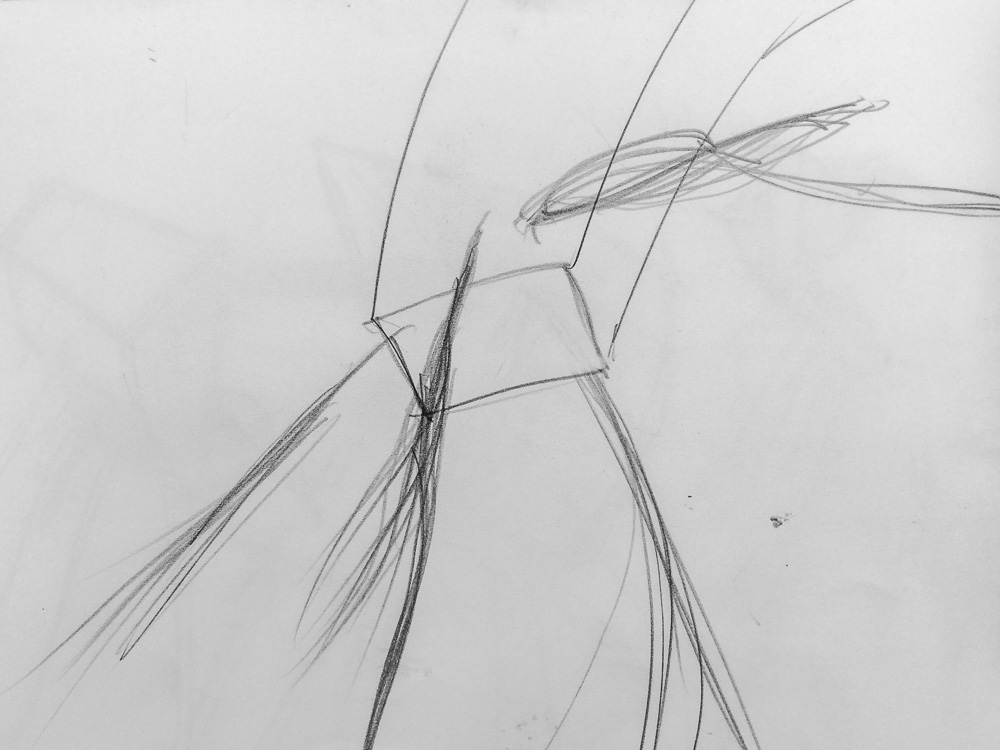
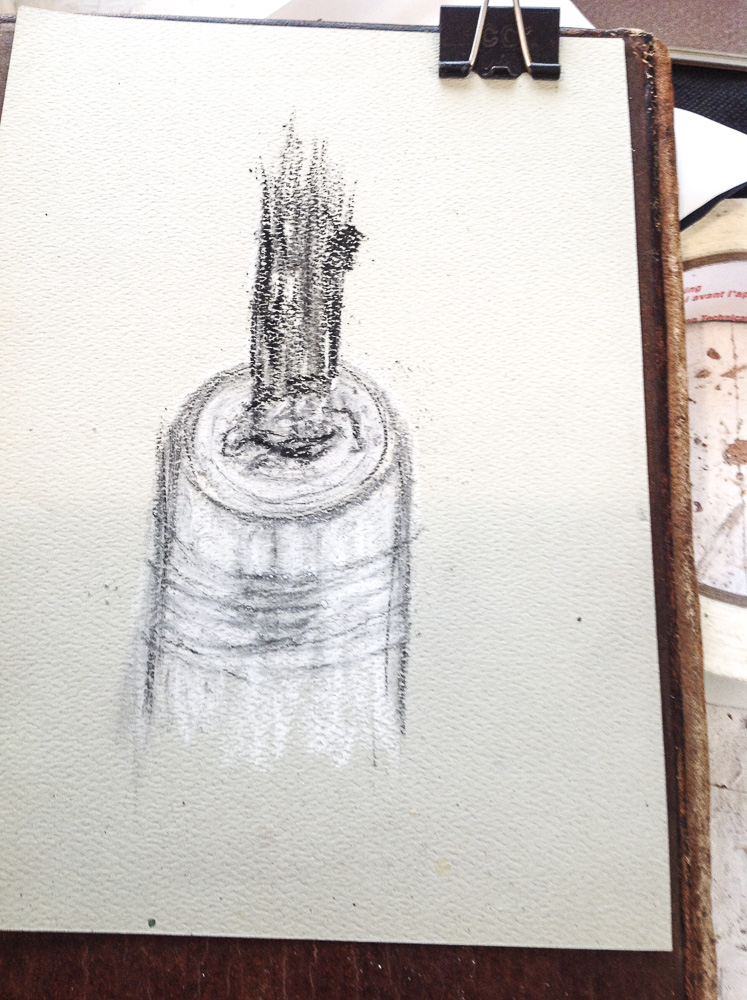
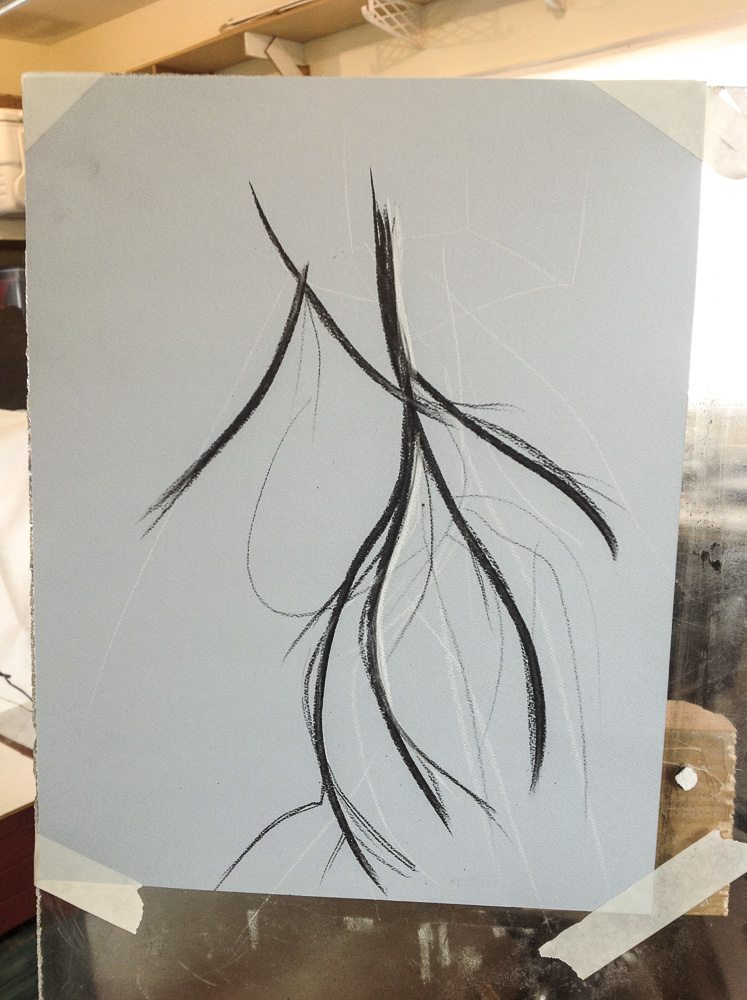
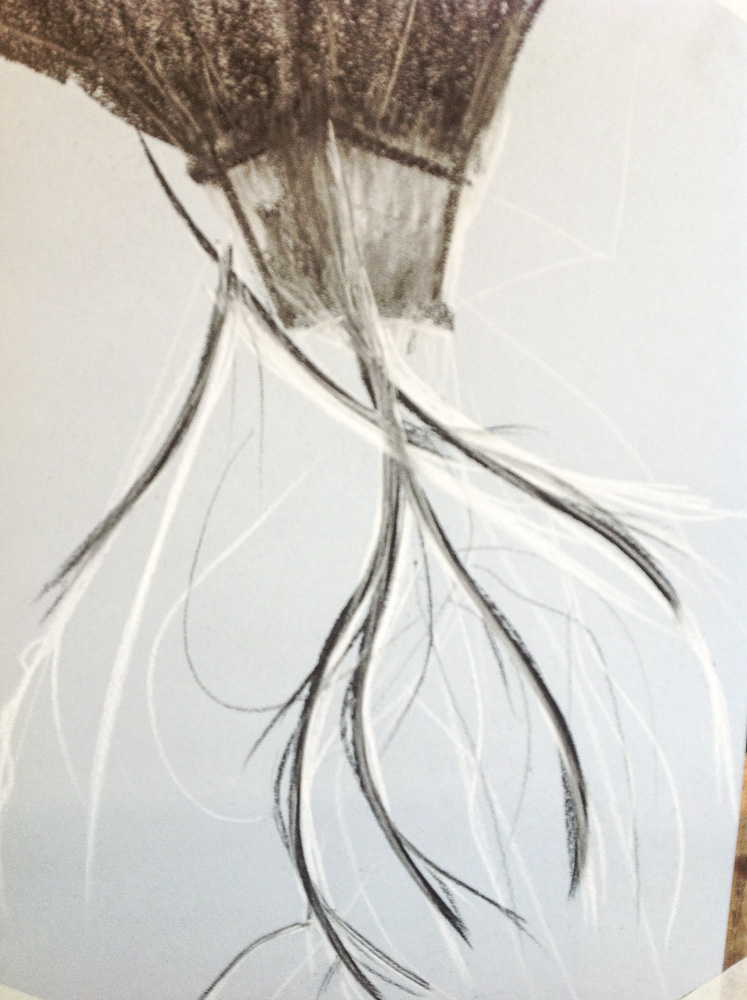
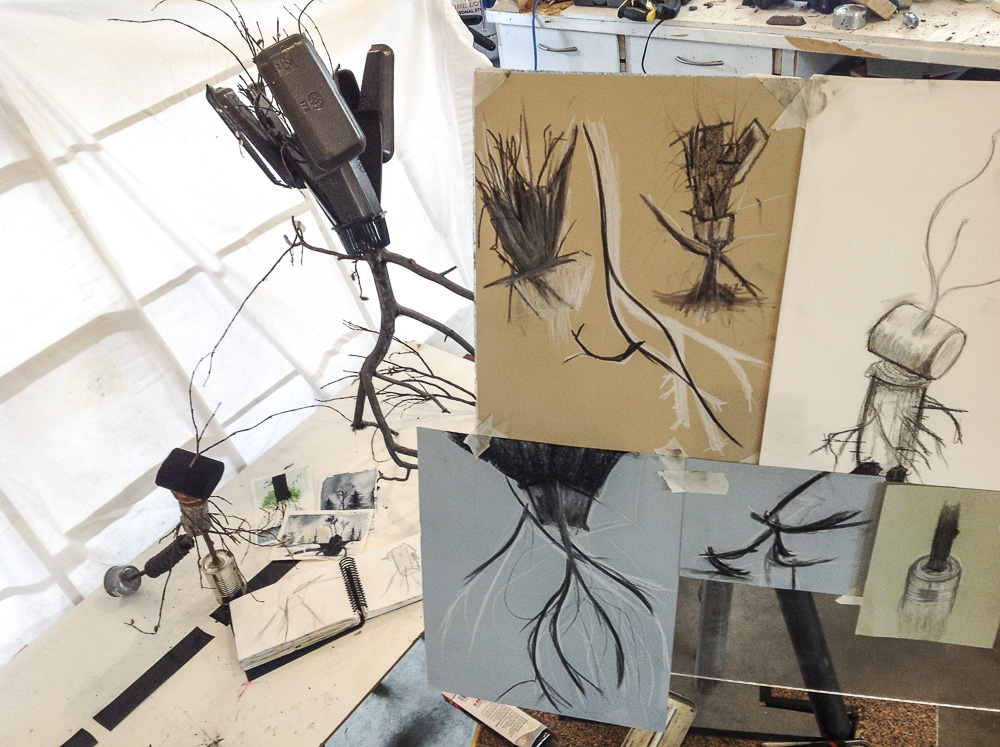
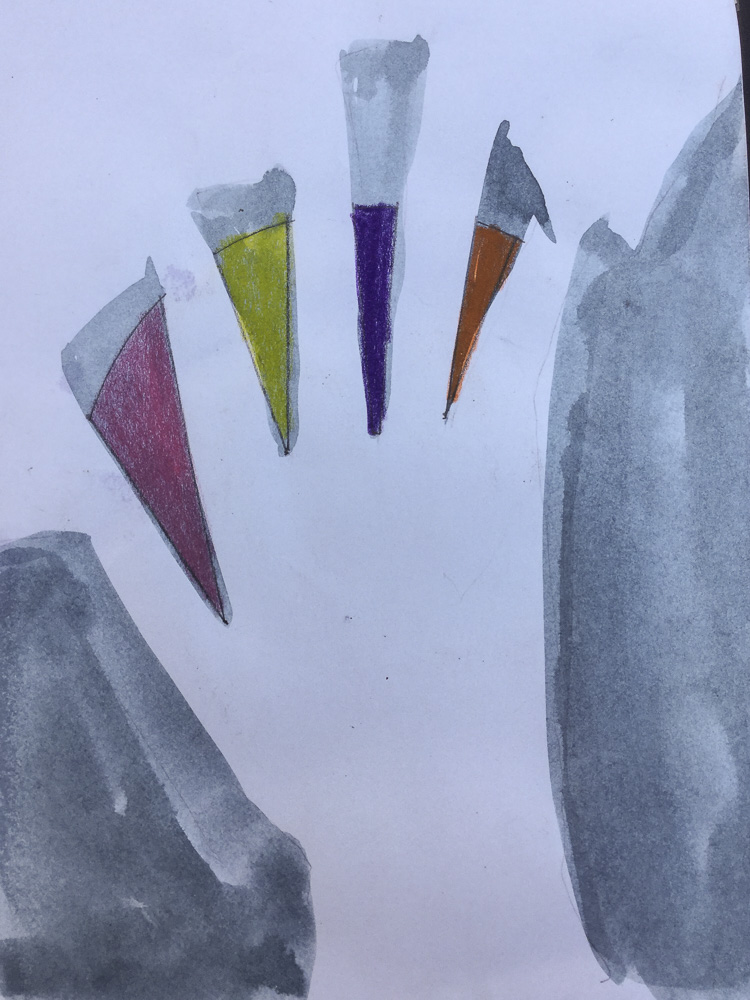
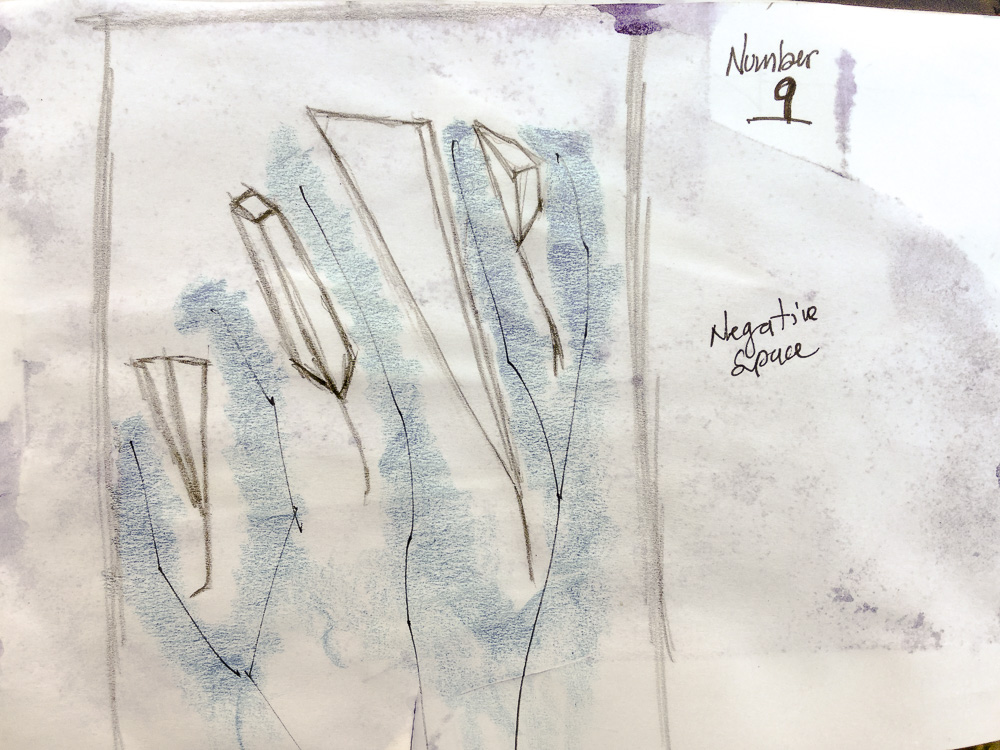
The below image gallery shows the process from the early sketches to the latest one before its constriction.
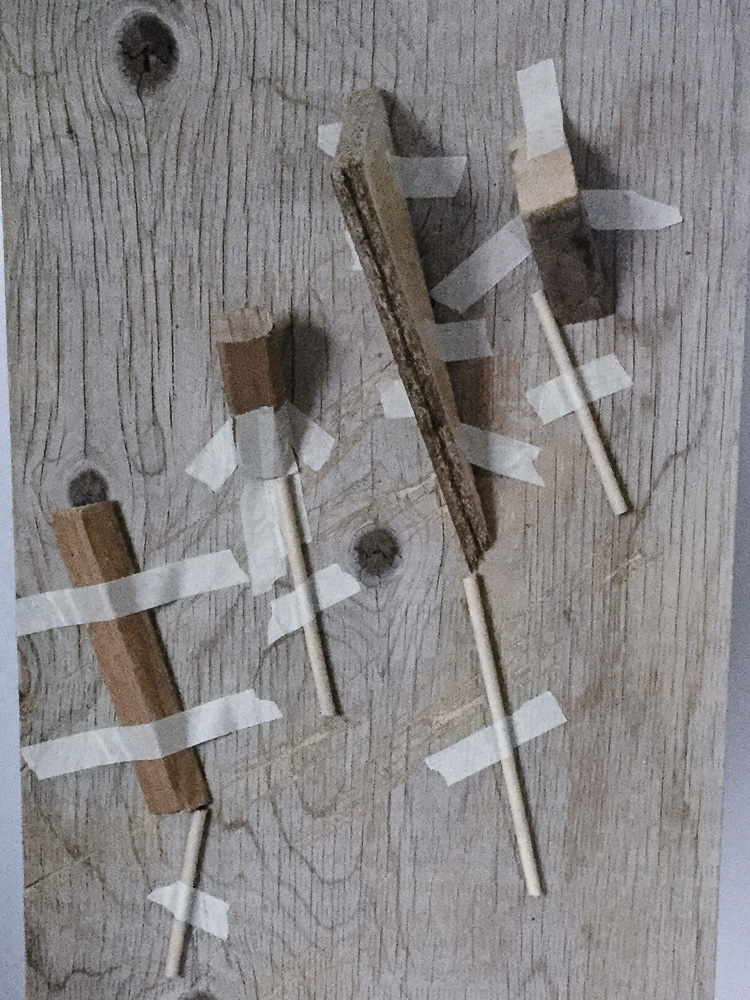
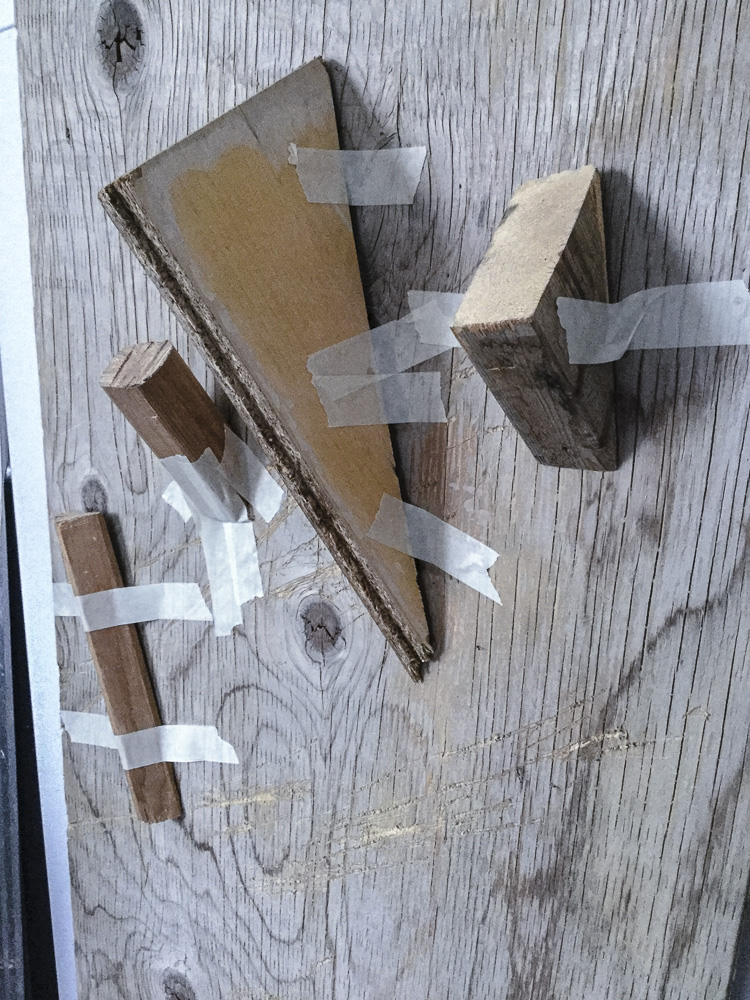
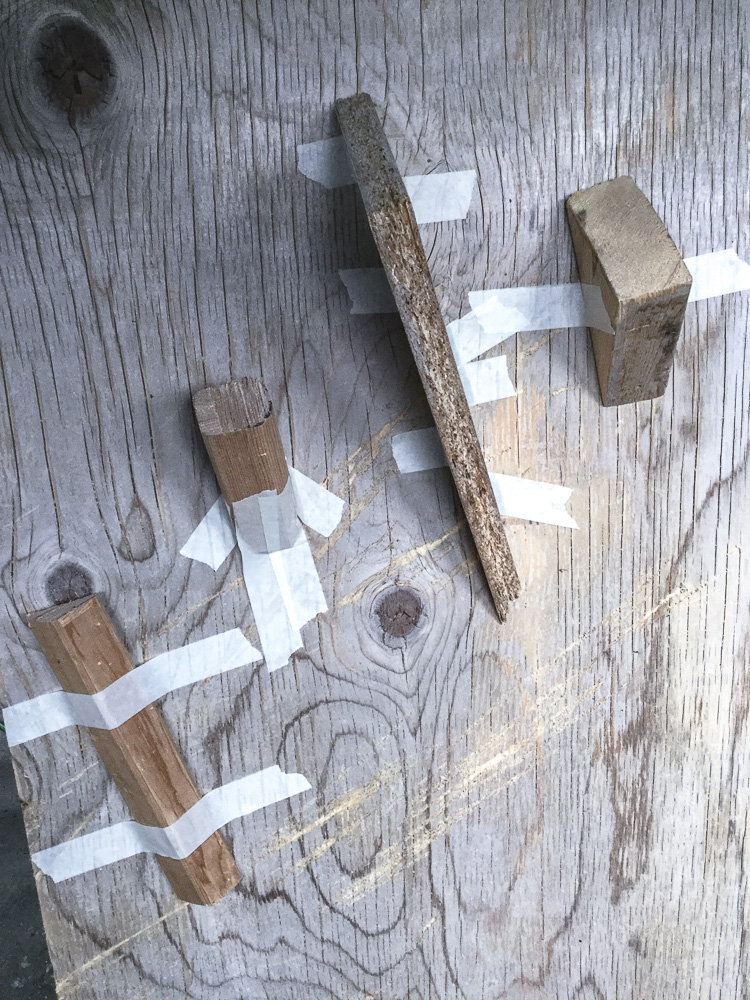
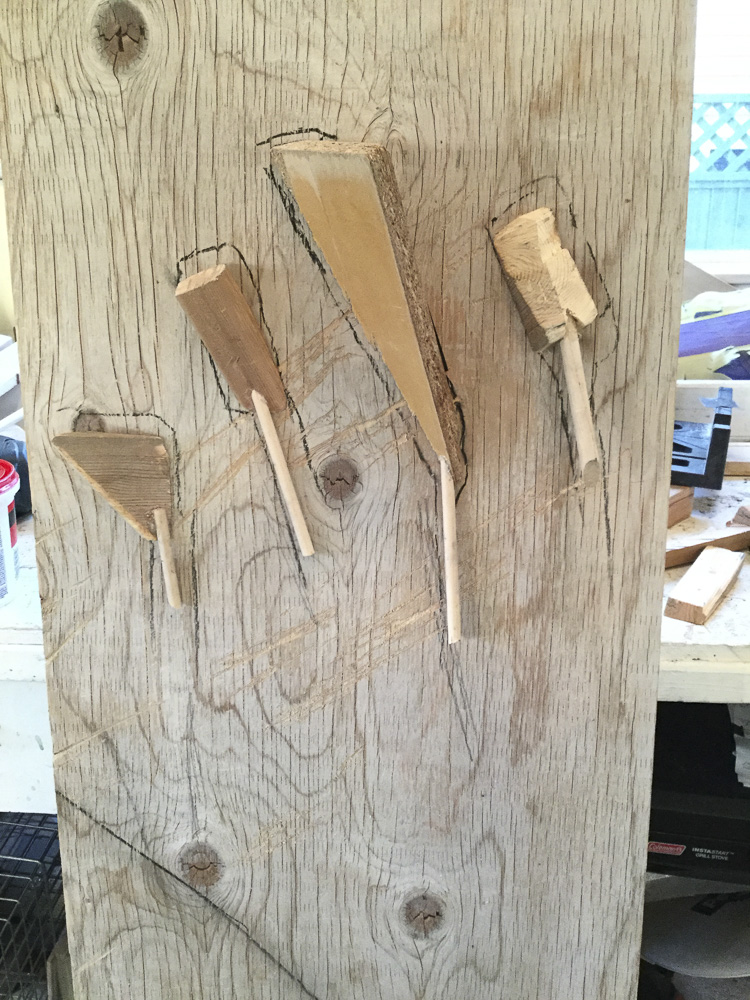
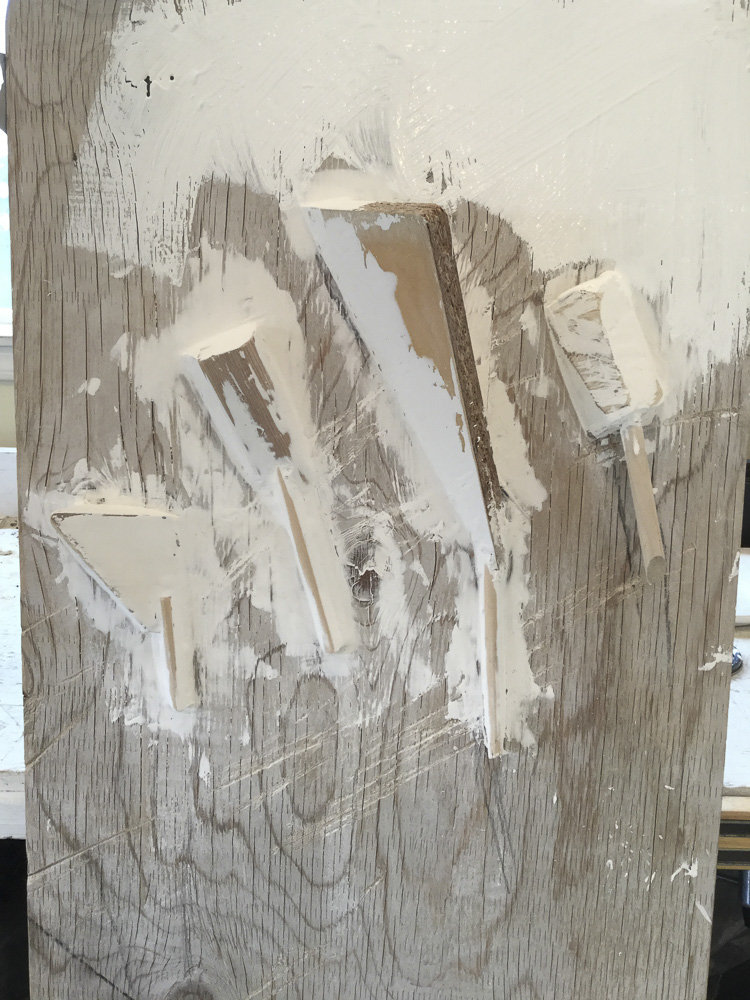
Construction begins
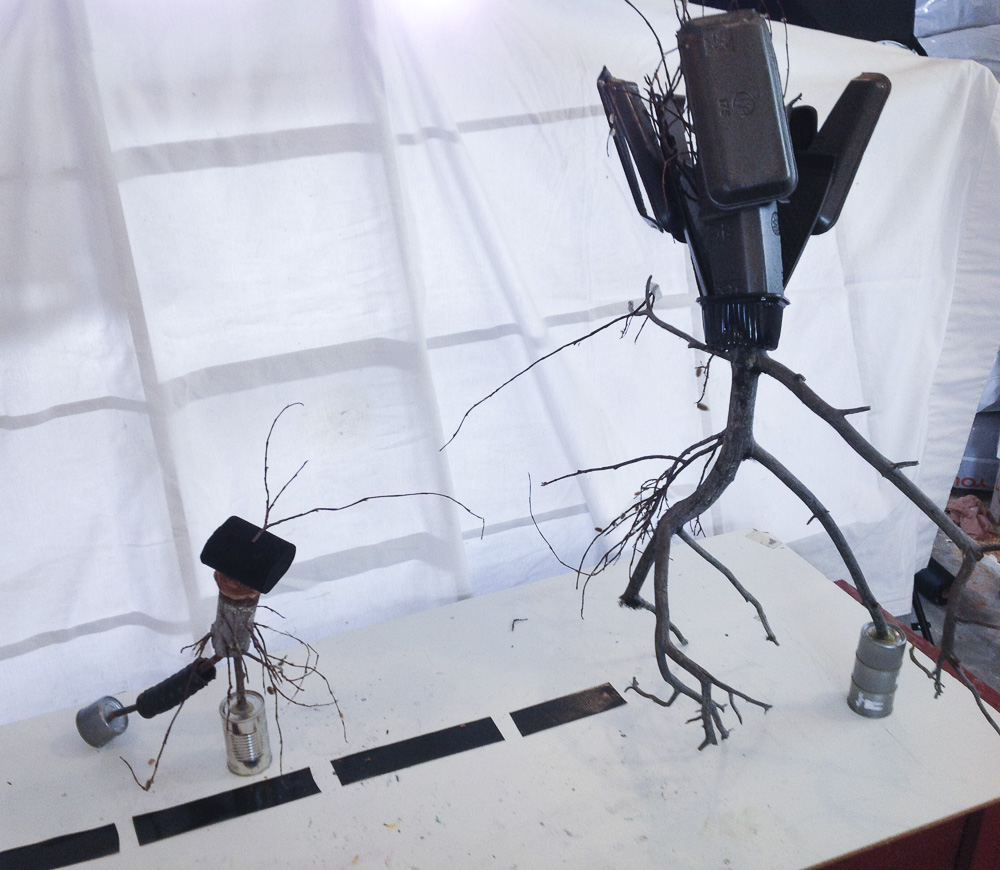
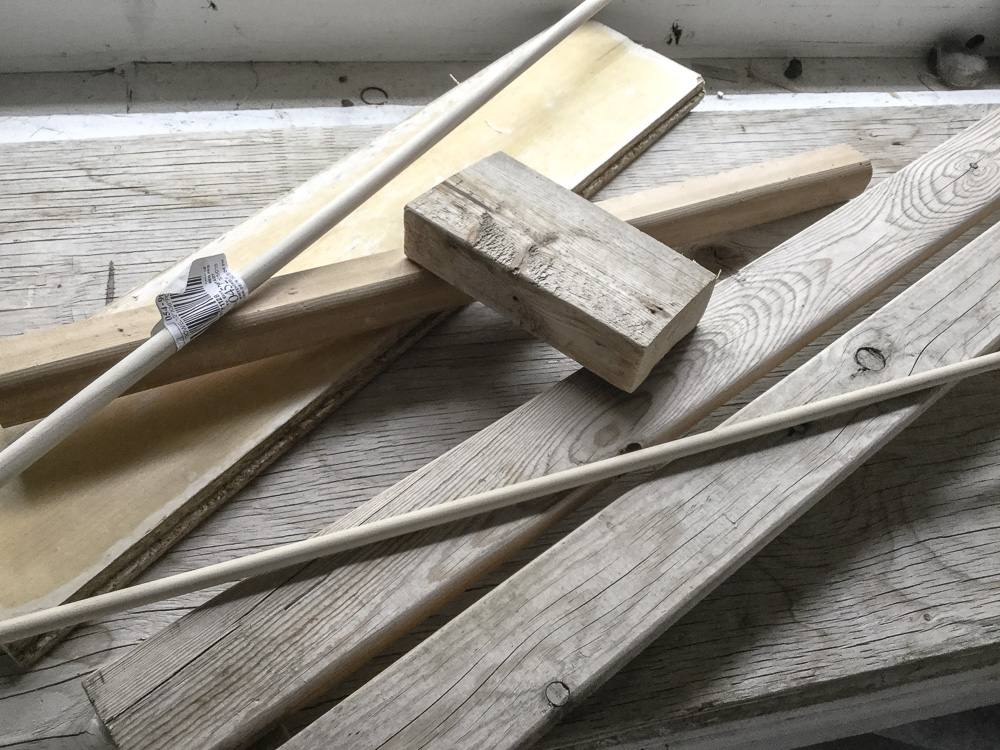
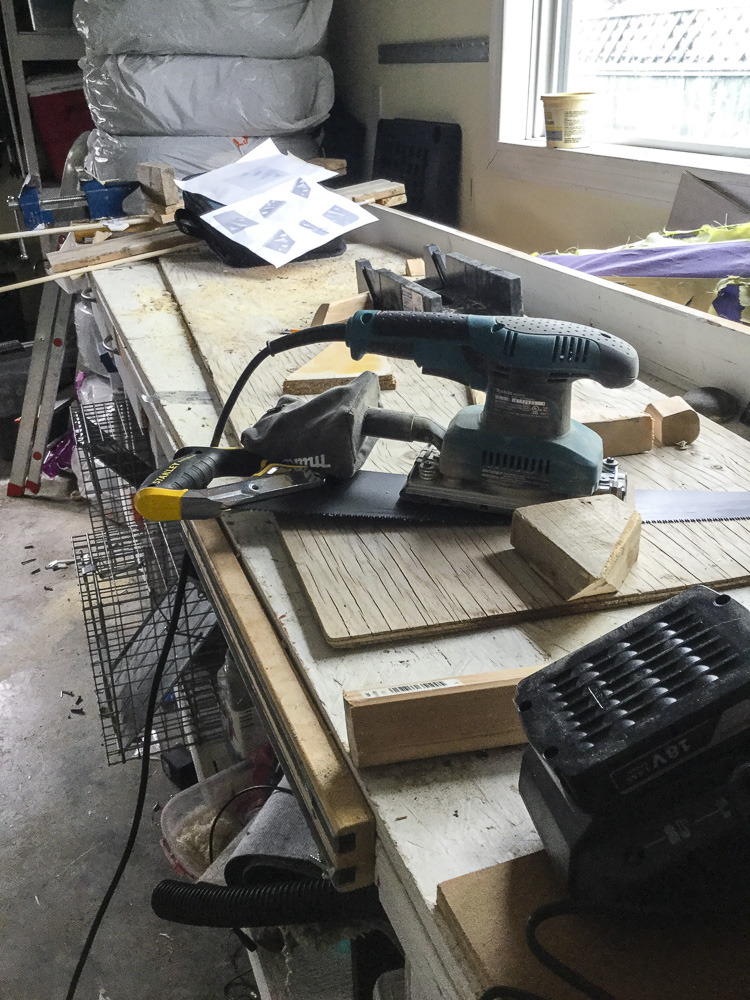
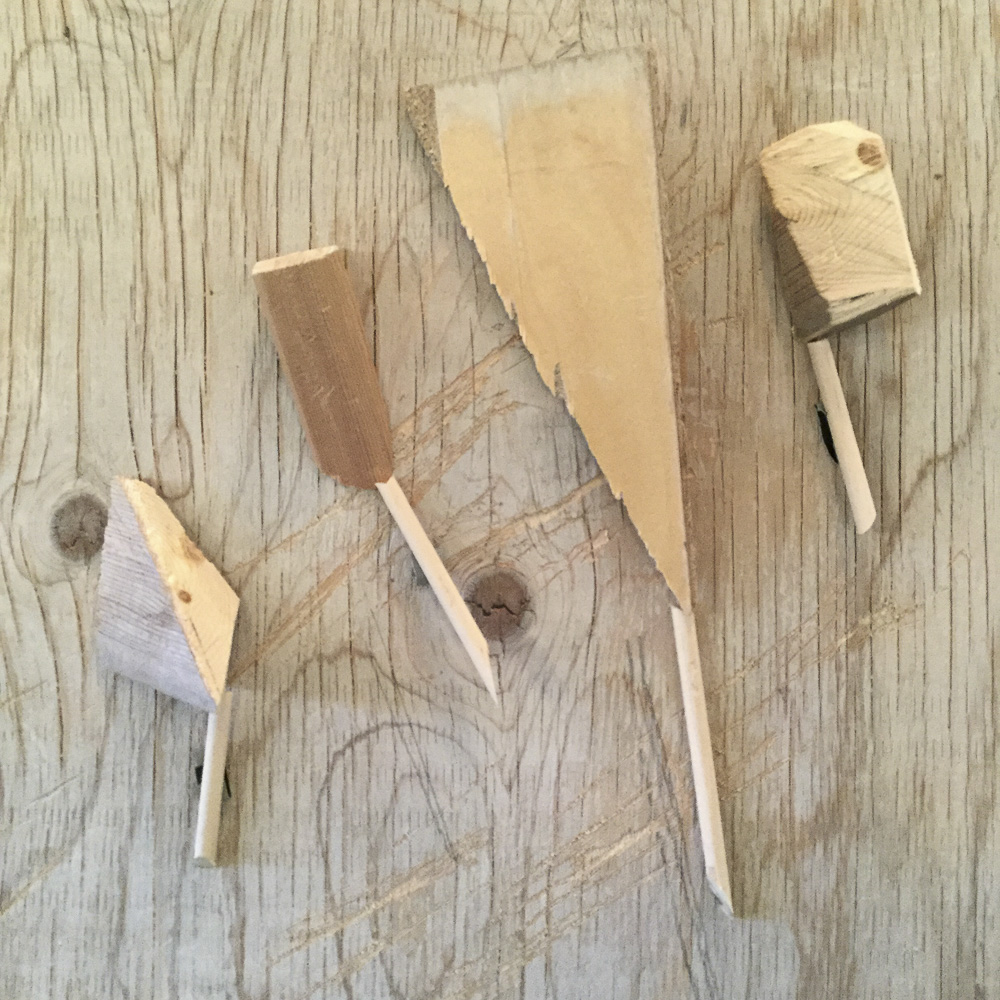
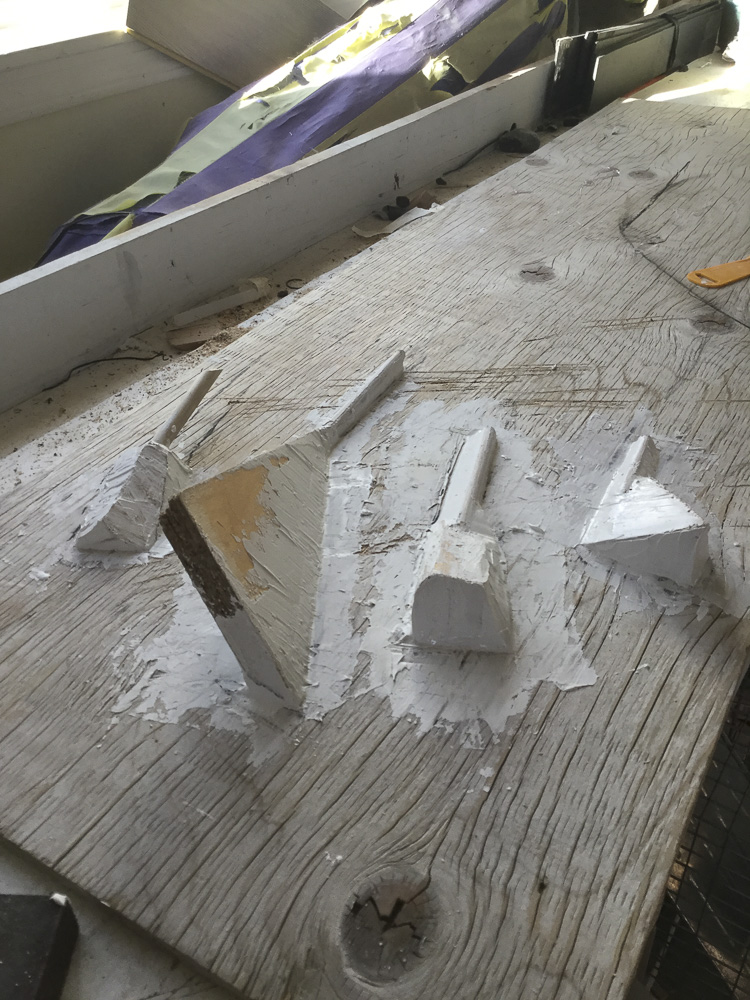
The first step in the construction process was to collect all the materials I needed for my sculpture and it just happened that almost everything that I required was in my garage: pieces of wood of different shapes and sizes and even a wood baseboard for the base of my sculpture. It is impressive the number of things one can keep throughout the years besides the recycling bins of different kinds of rubbish, so the offer was interesting.
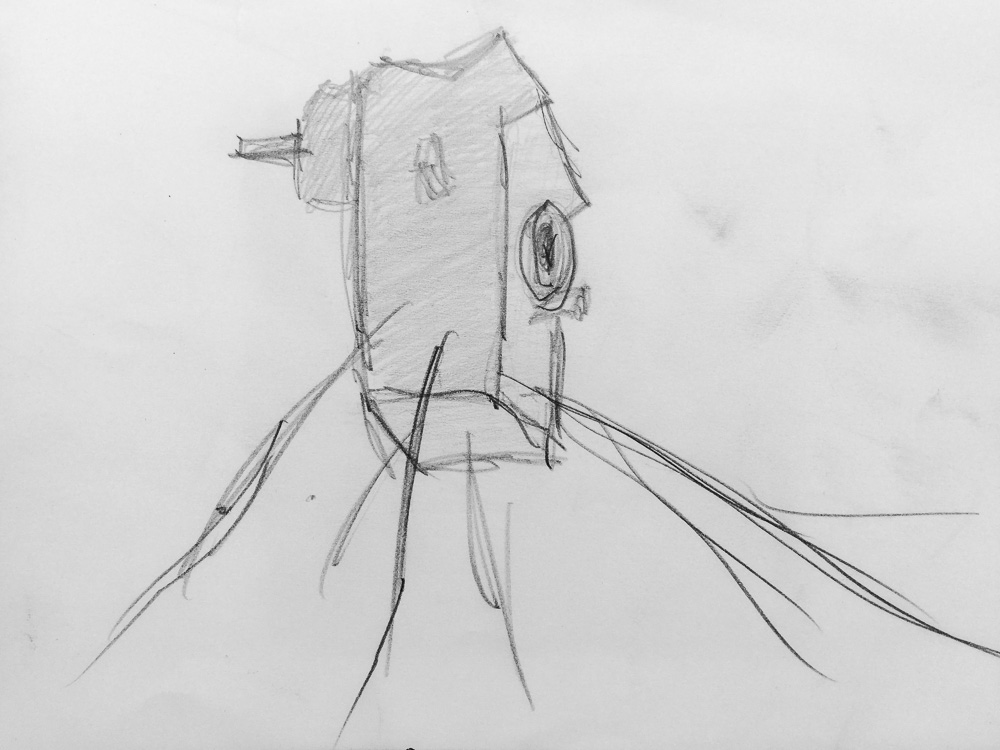
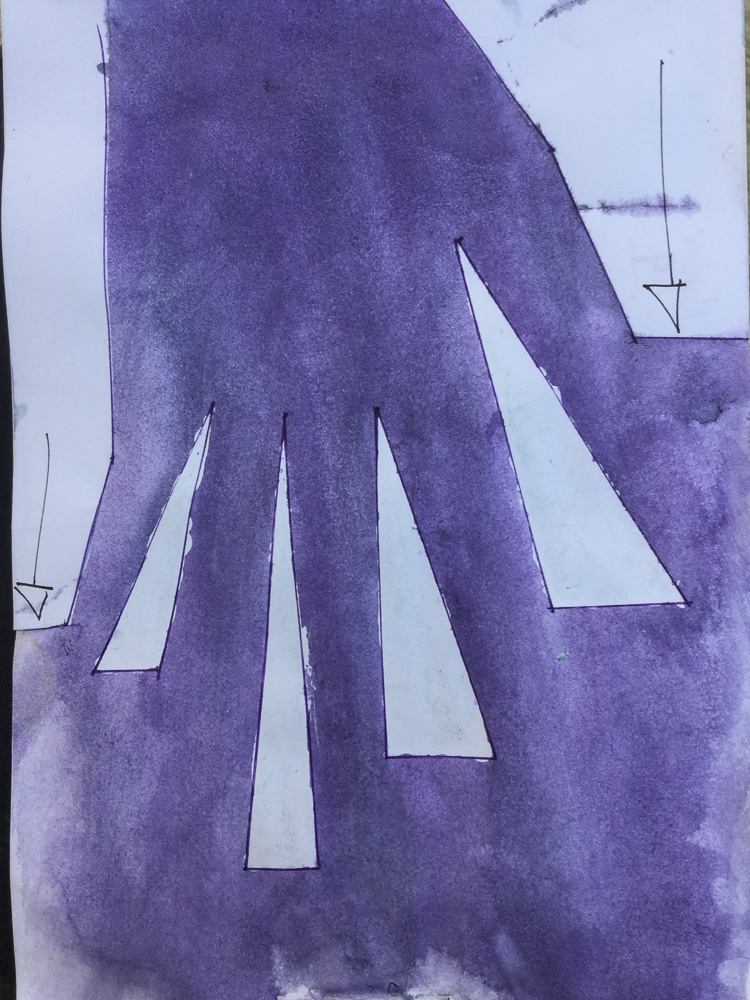
I created the below drawing after gathering all the materials. It has a very close resemblance to the final sculpture and this is because, with all the wood pieces in front of me I was able to know how the construction was going to look like.
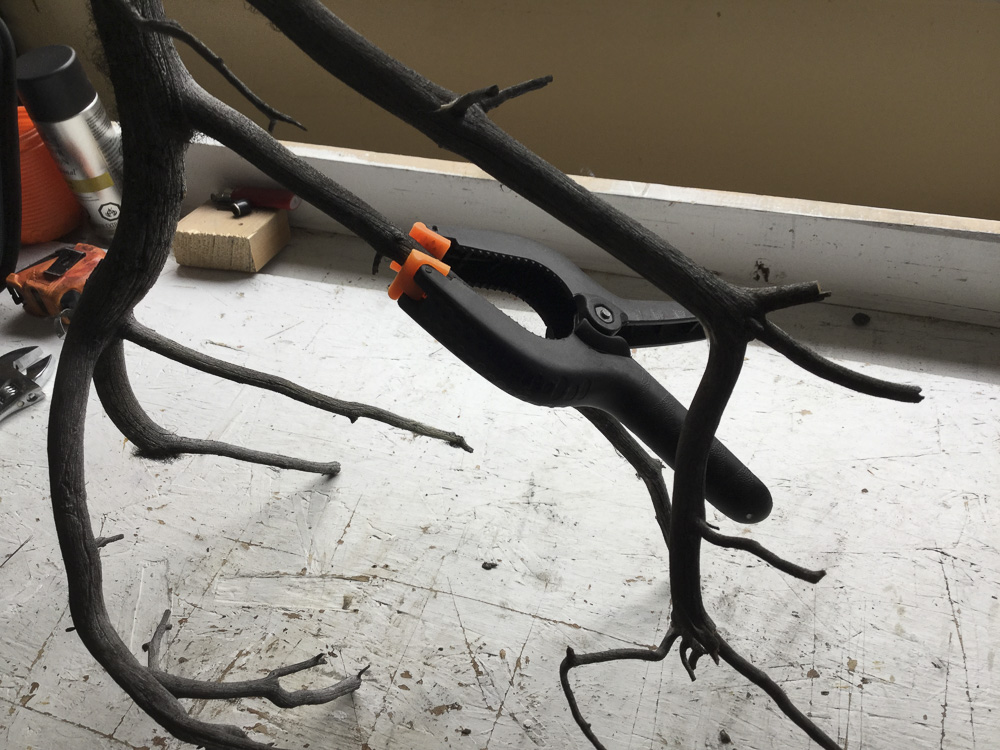
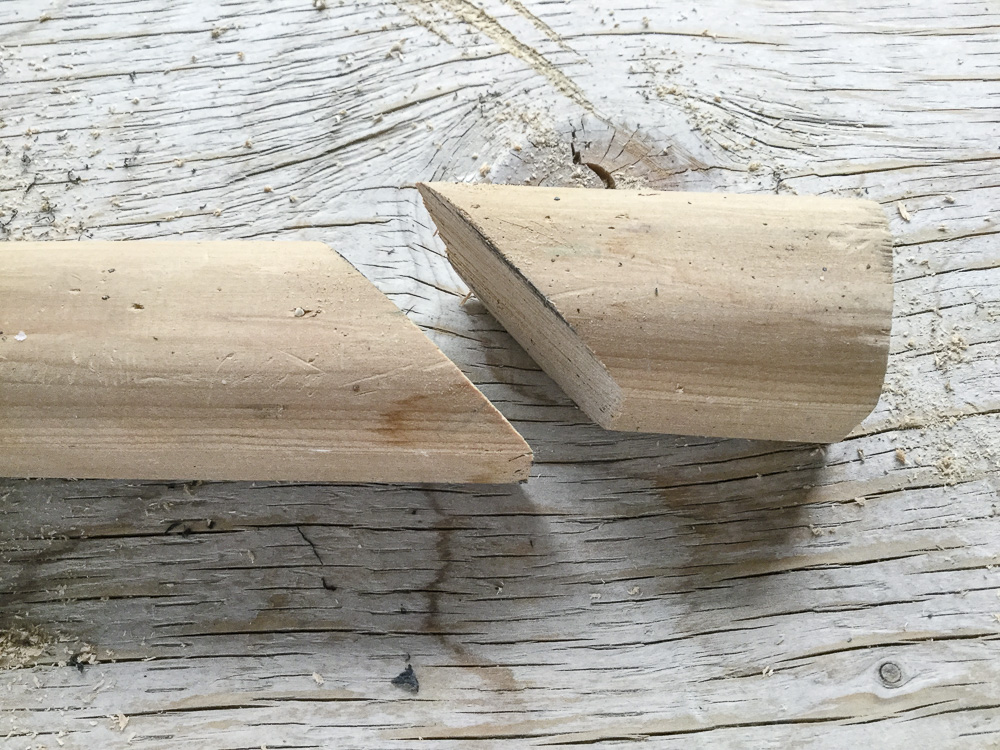
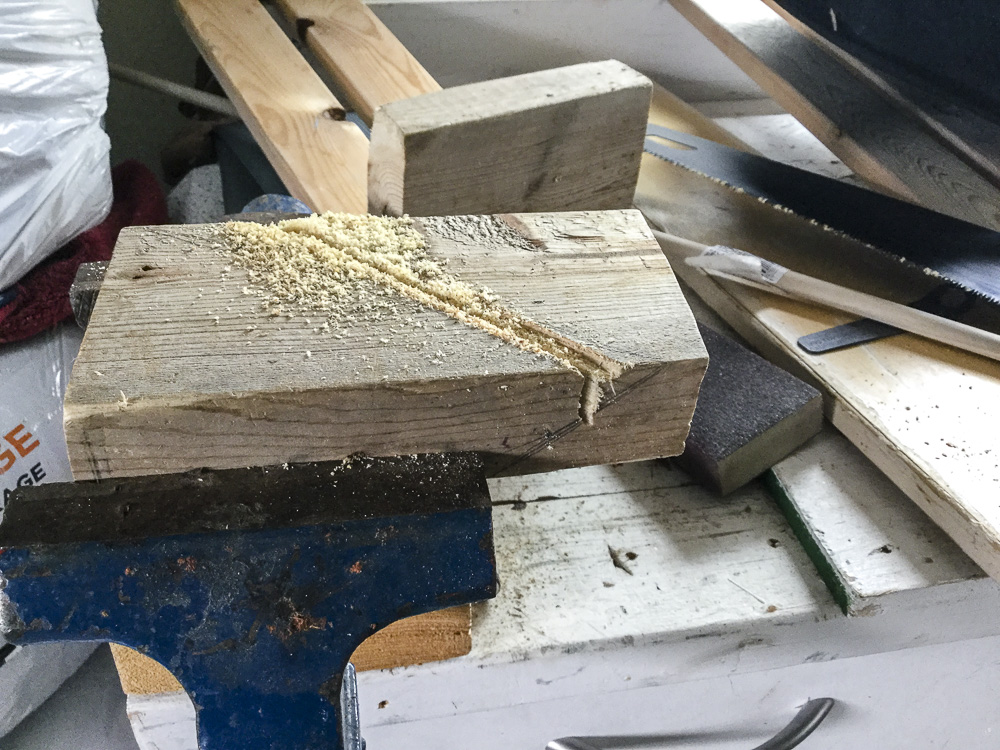
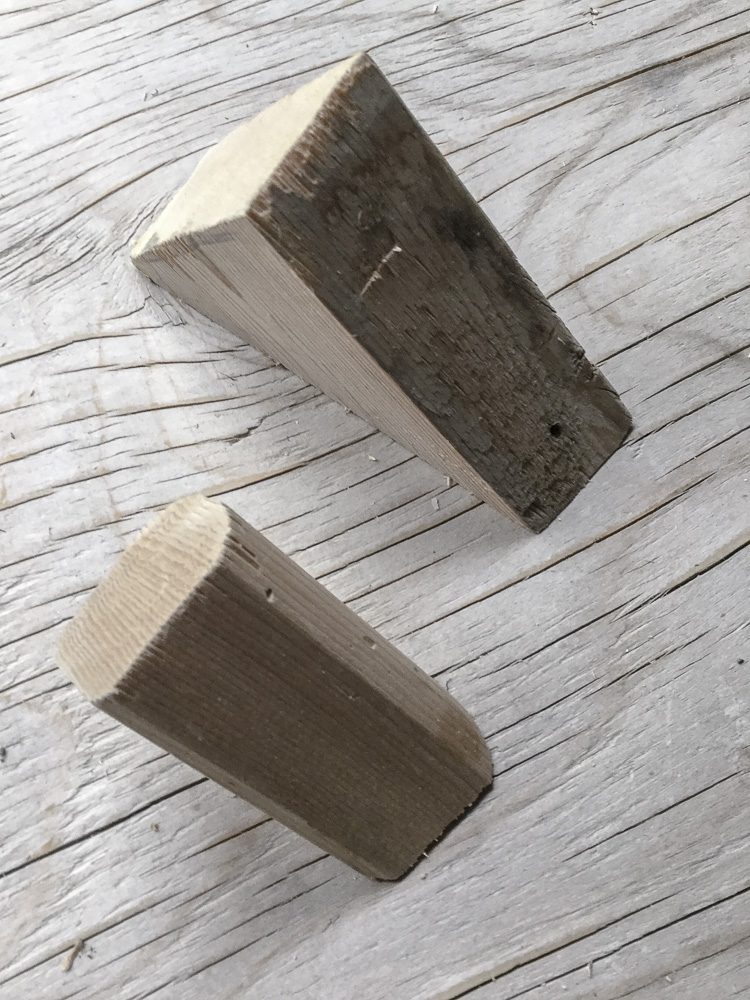
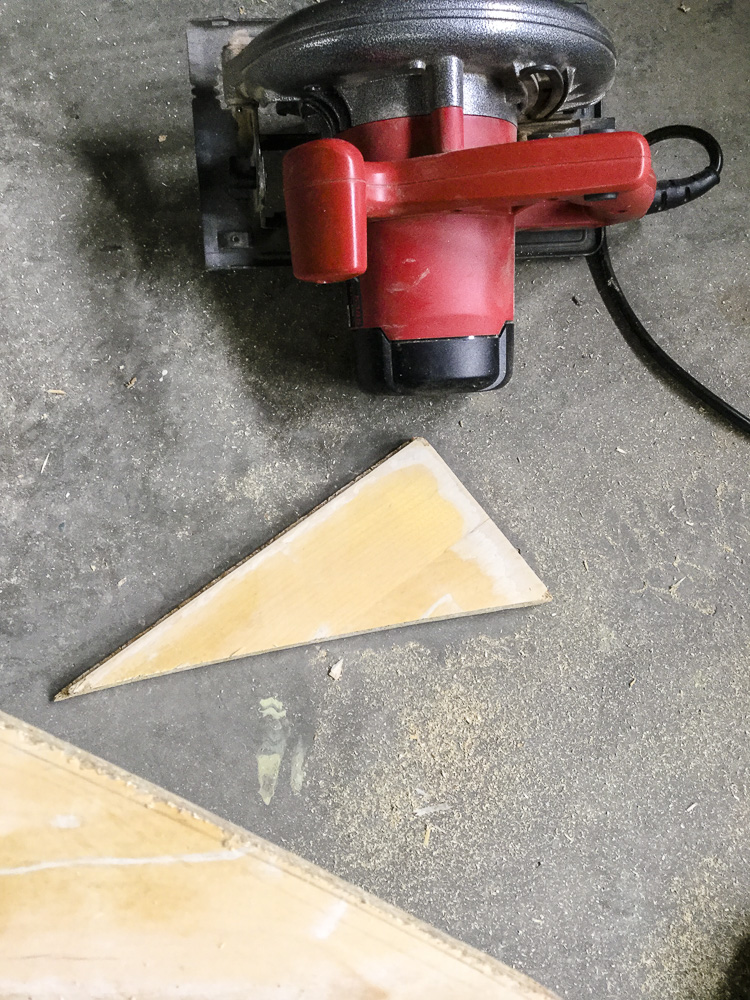
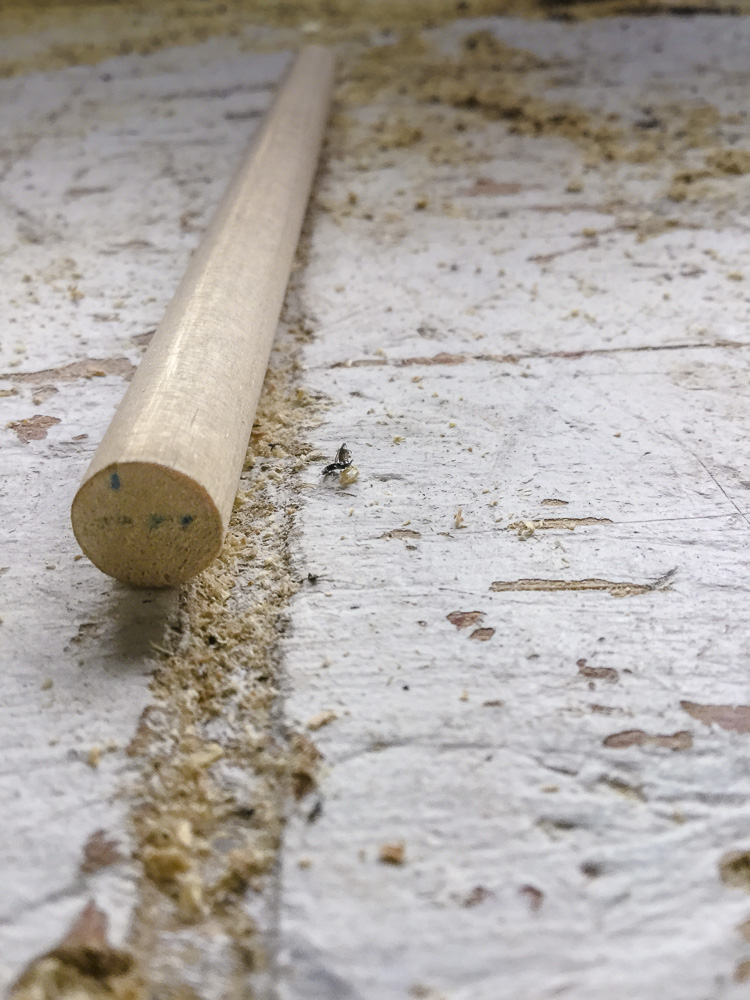
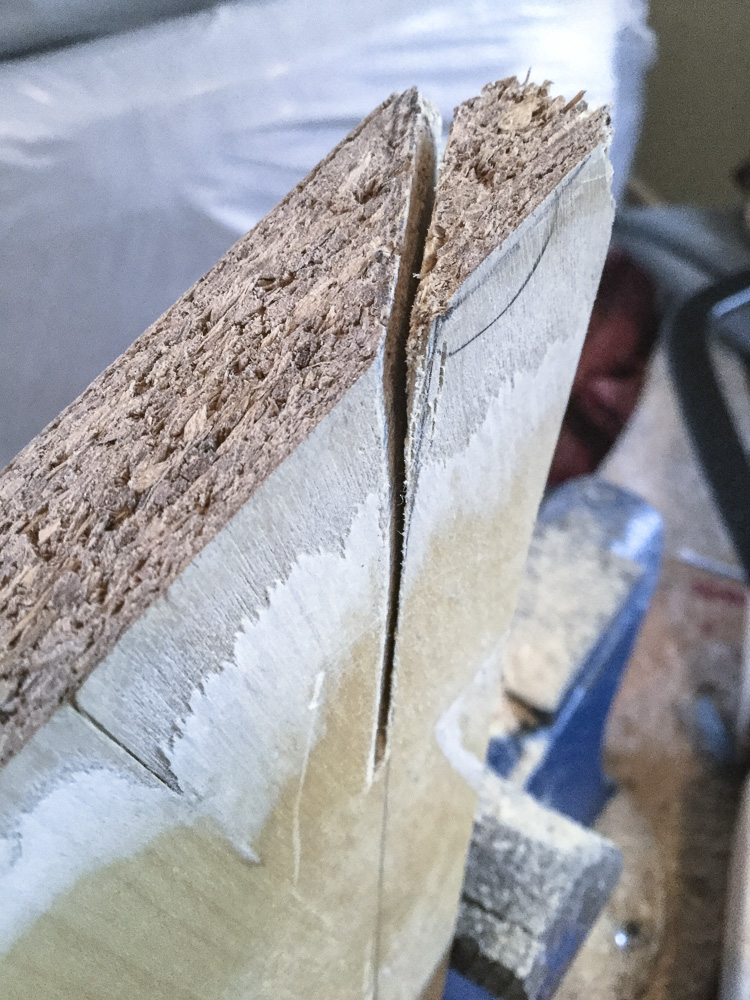
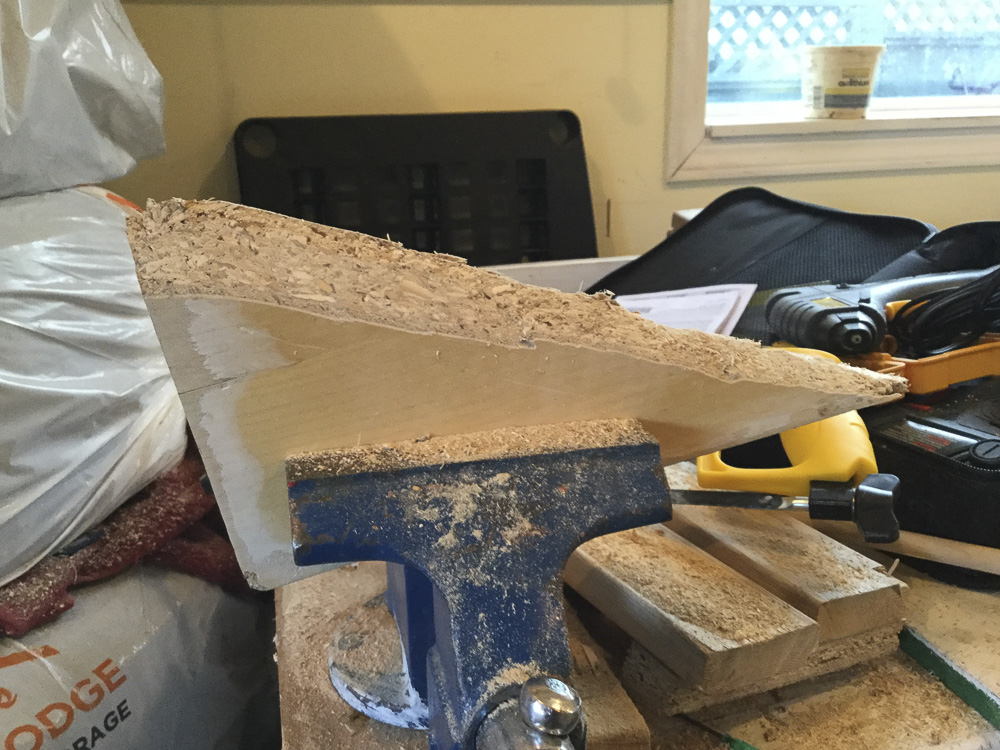
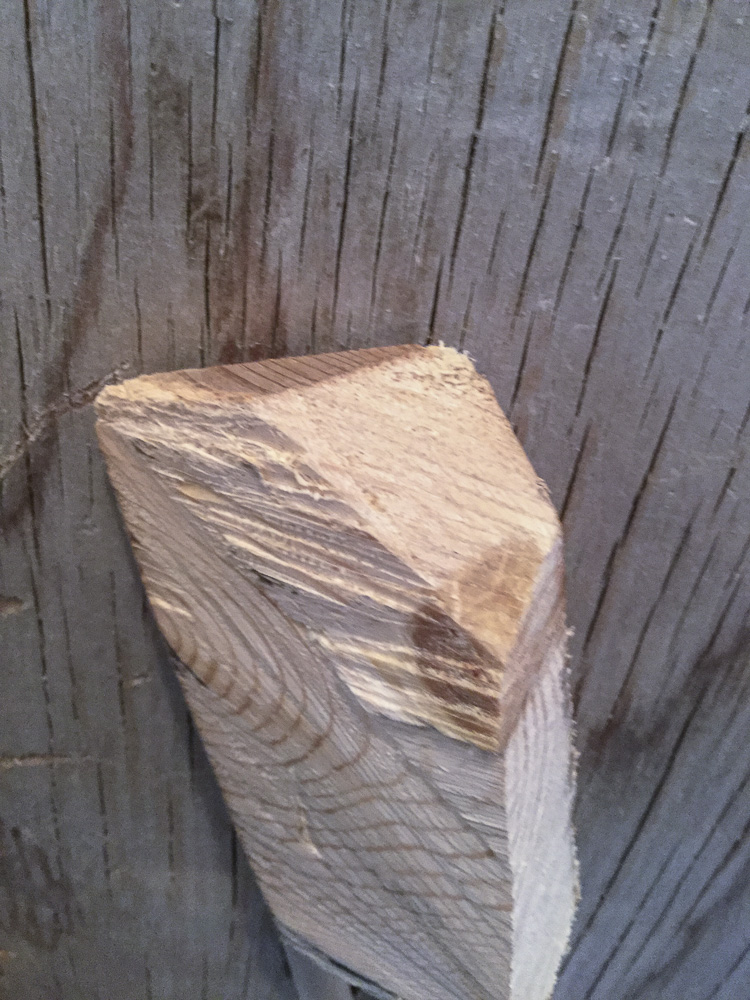
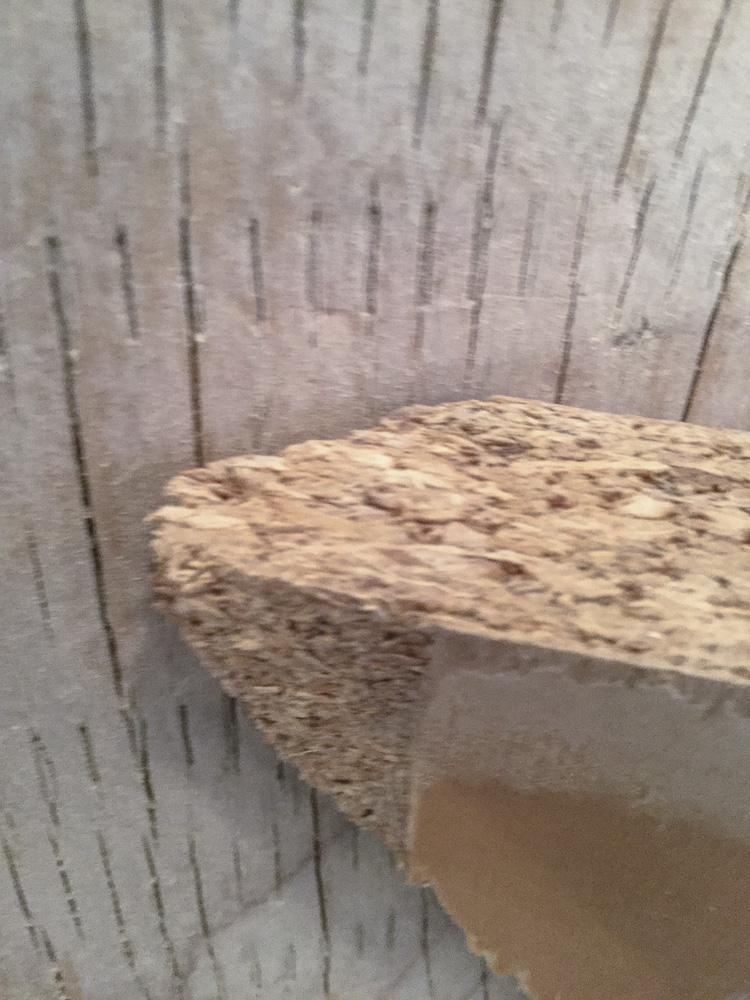
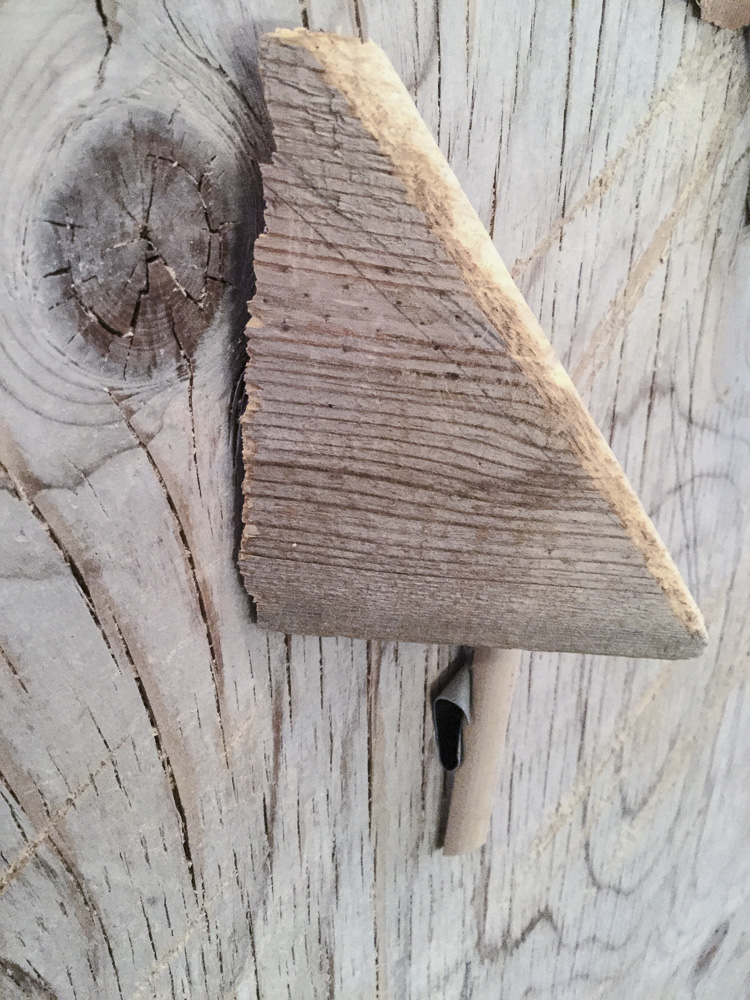
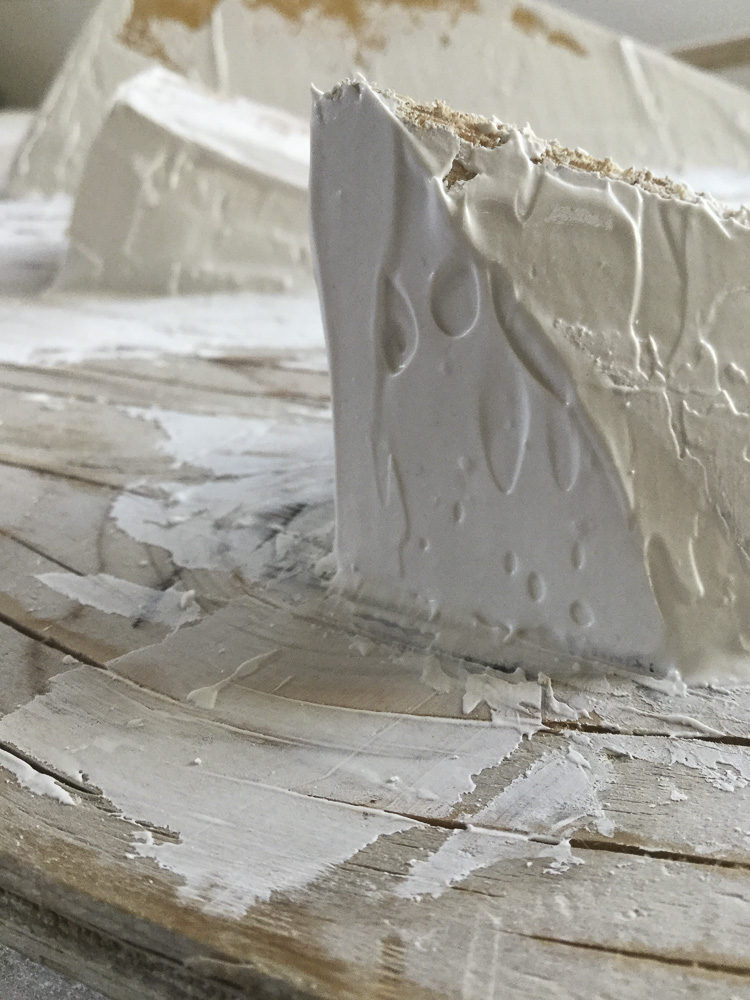
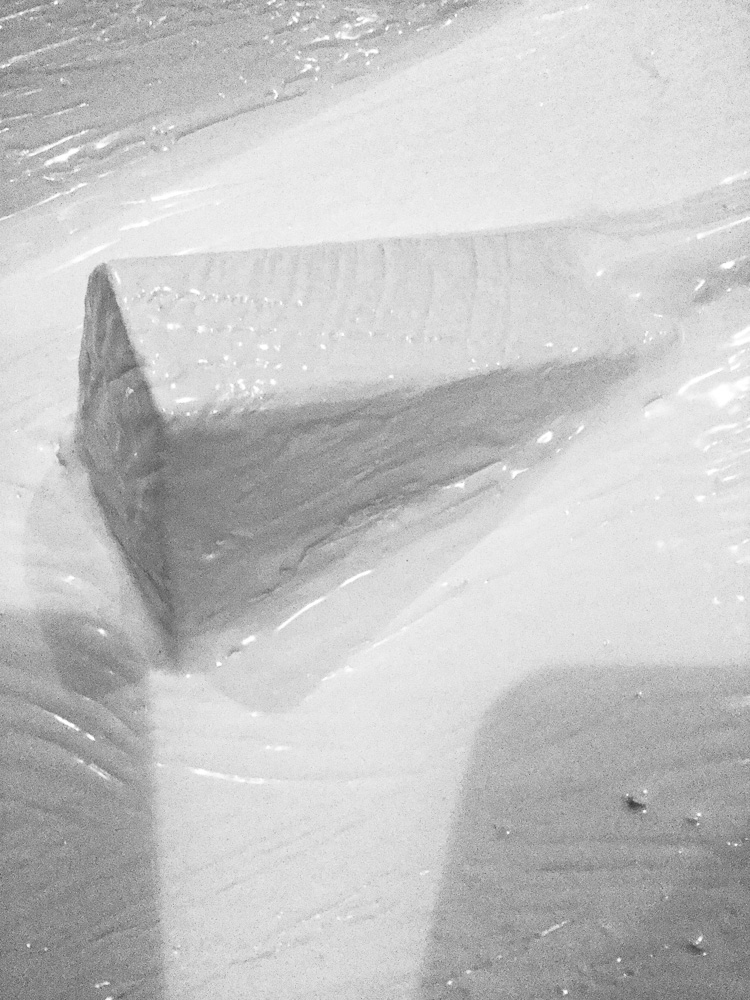
Building a sculpture referencing a drawing is an exciting process, especially if its your first time, like it was mine. One of the initial challenges I faced was to cut the wood pieces at different angles. Some of them were cut at 45 degrees, and some others required more that one sawn. One of them, the big triangle in the last photo of the below gallery, required an extra step: to file down the cut edge to make it fit flat on the wood board.
Assembling the pieces
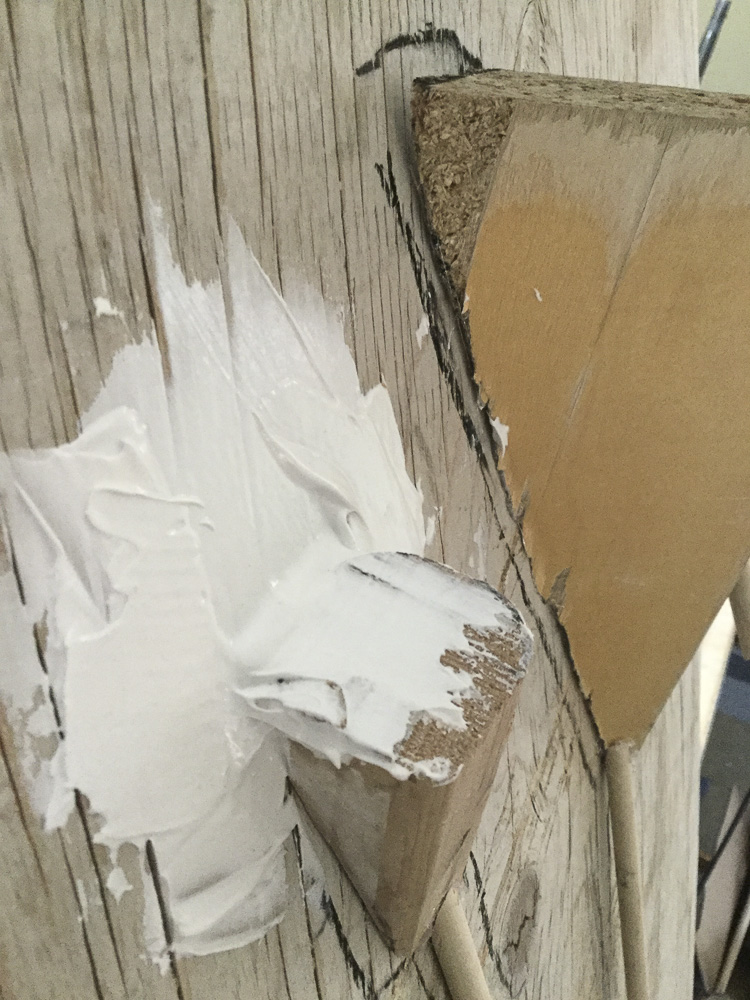
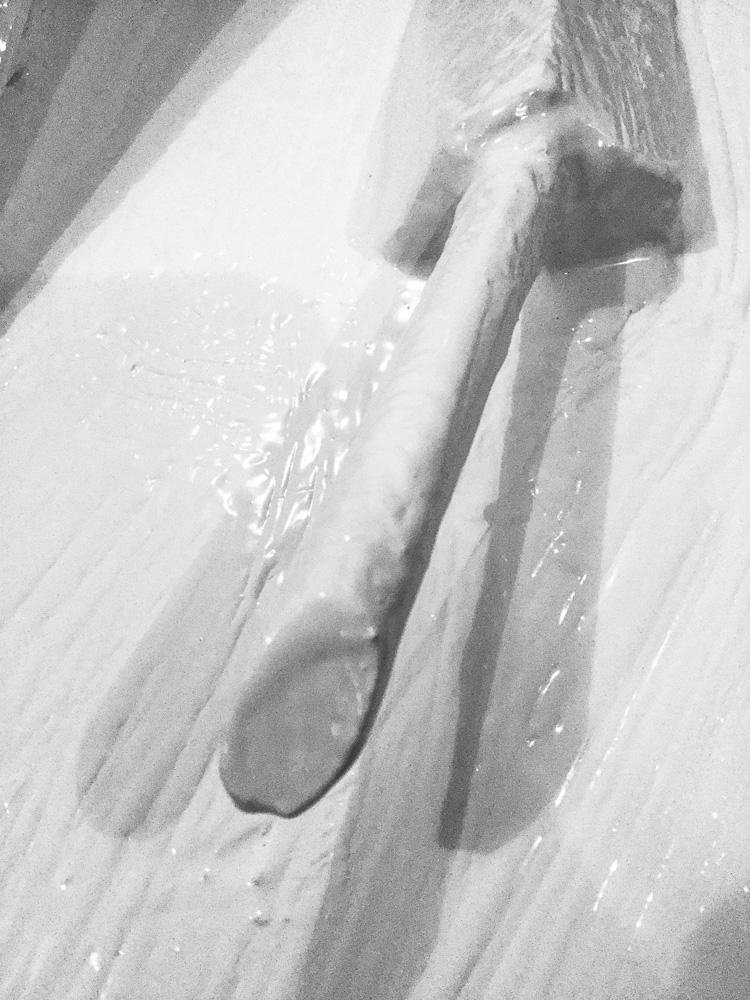
The next step was to put all the pieces together. Initially, I used masking tape to fix the wood pieces onto the wood board, as you can see in the first photos of the below gallery. Masking tape was not strong enough to fix the parts for a long time, after some minutes they started to fall down on the ground so I changed to Gorilla Tape (a product similar to Duck Tape) which is way more robust than the masking tape but with the inconvenience of not gluing nothing if the surface in which you’re going to use it is full of dust.
Once I was happy on how the wood pieces looked on the wood board, it was time to fix them permanently with the hot glue gun. This is my first time using this kind of glue, and I think it is fantastic.
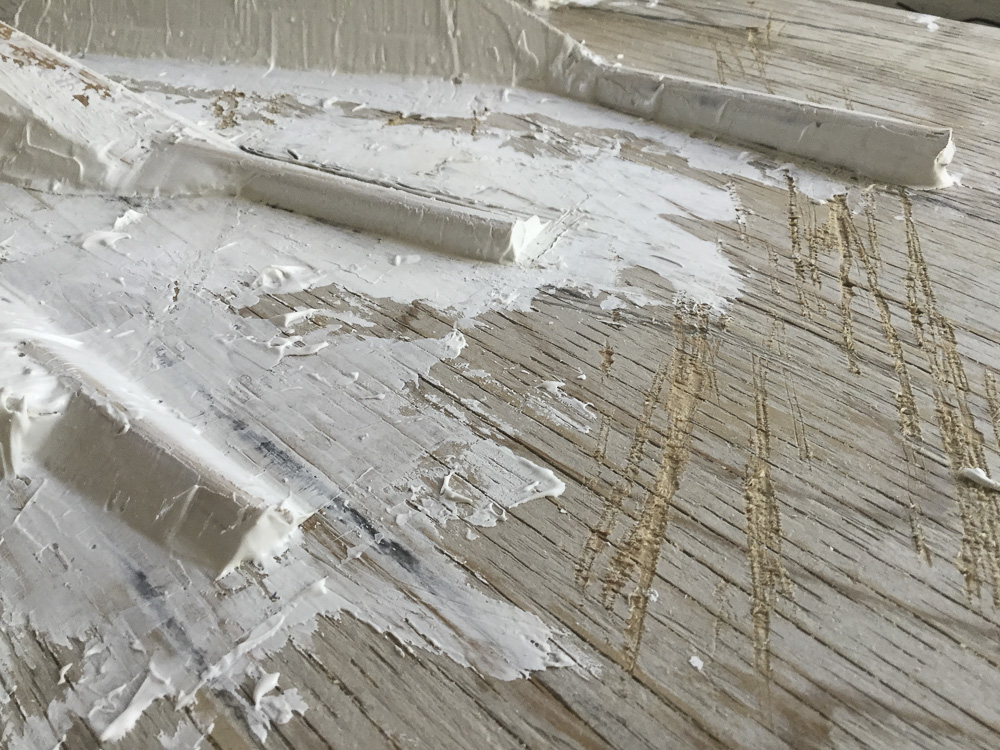
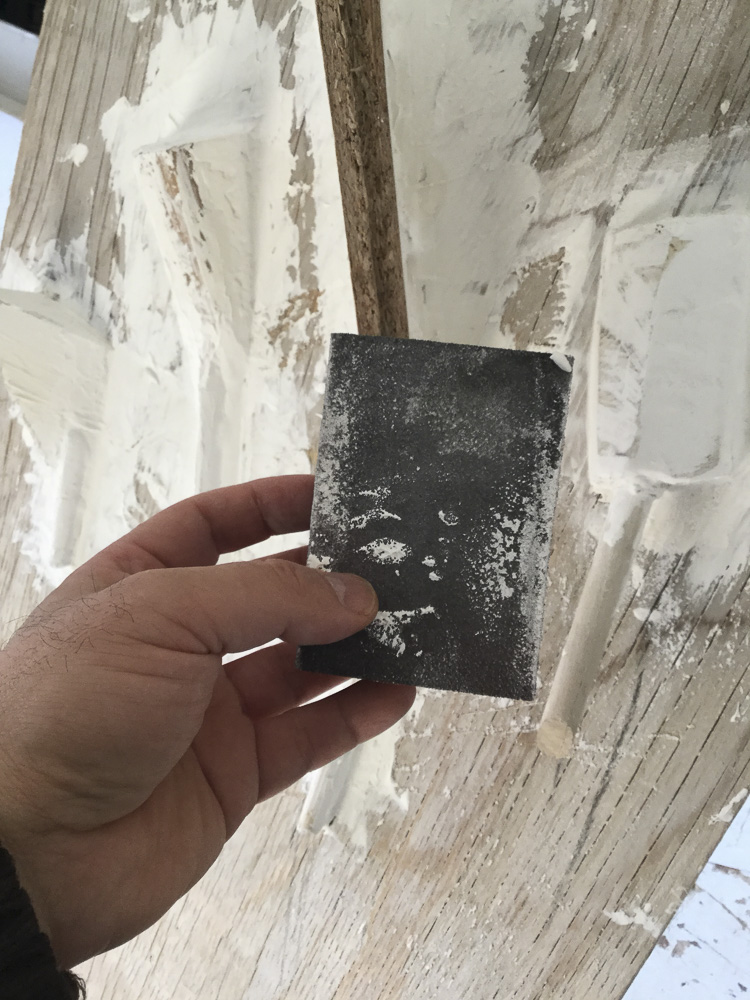
One thing to notice on the gallery photos in this section is how the pieces have a gap between them and the wood board. I used a big saw to cut the pieces, and the finished result was kind of rough also because some of the cuts were not done in a straight line but at an angle. Next time I’m going to use a more fine saw to cut small pieces of wood.
Filling gaps
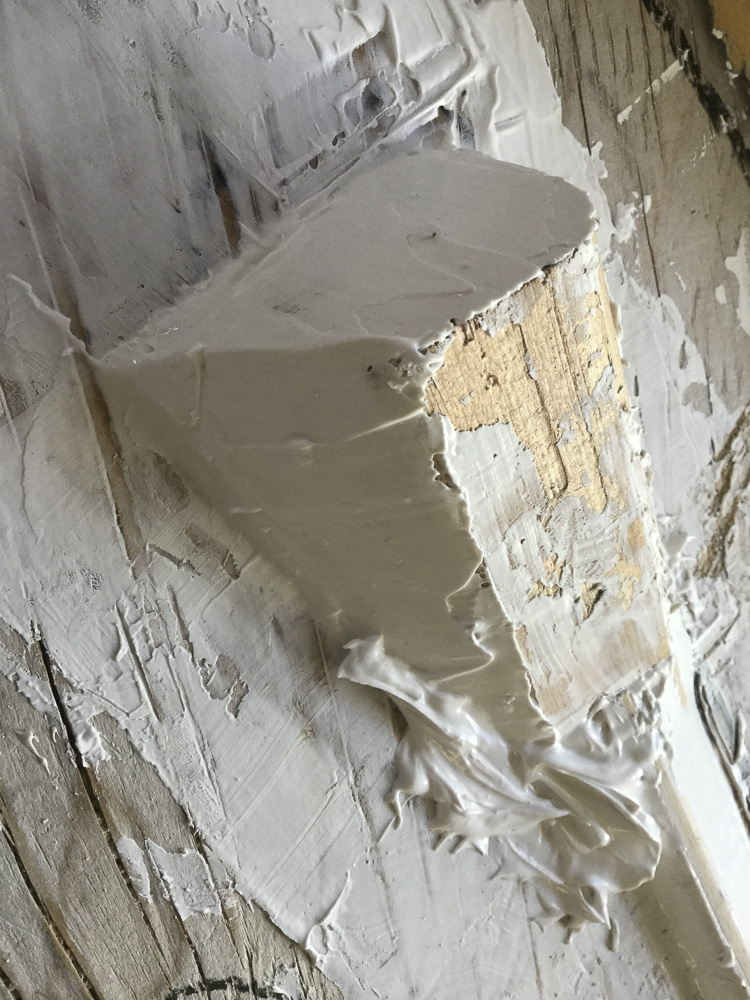
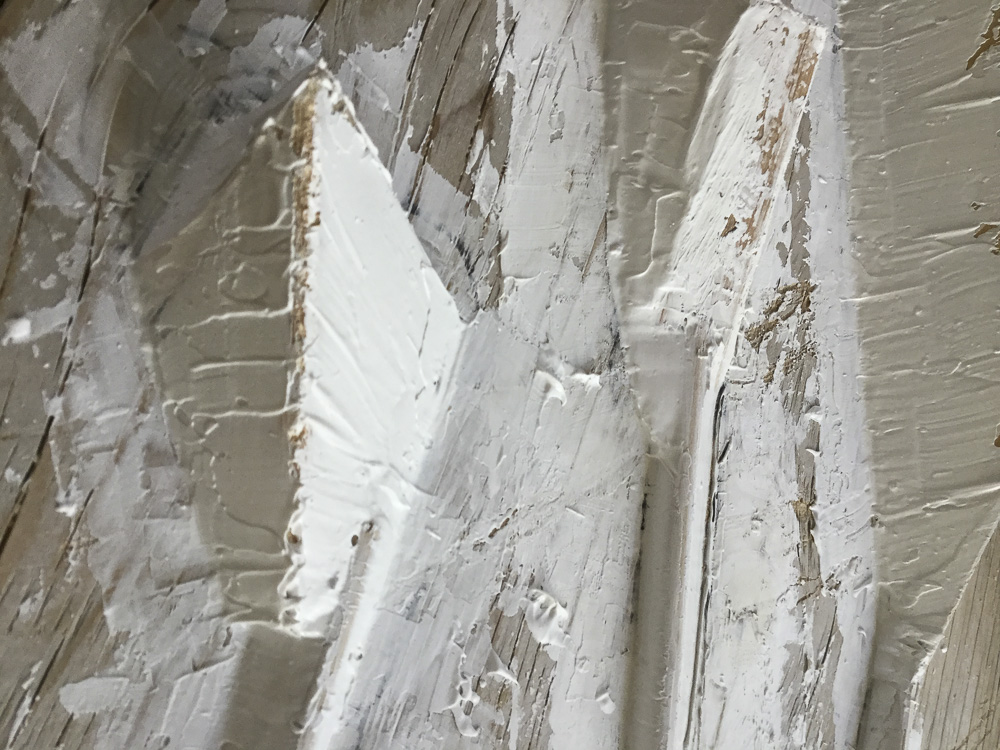
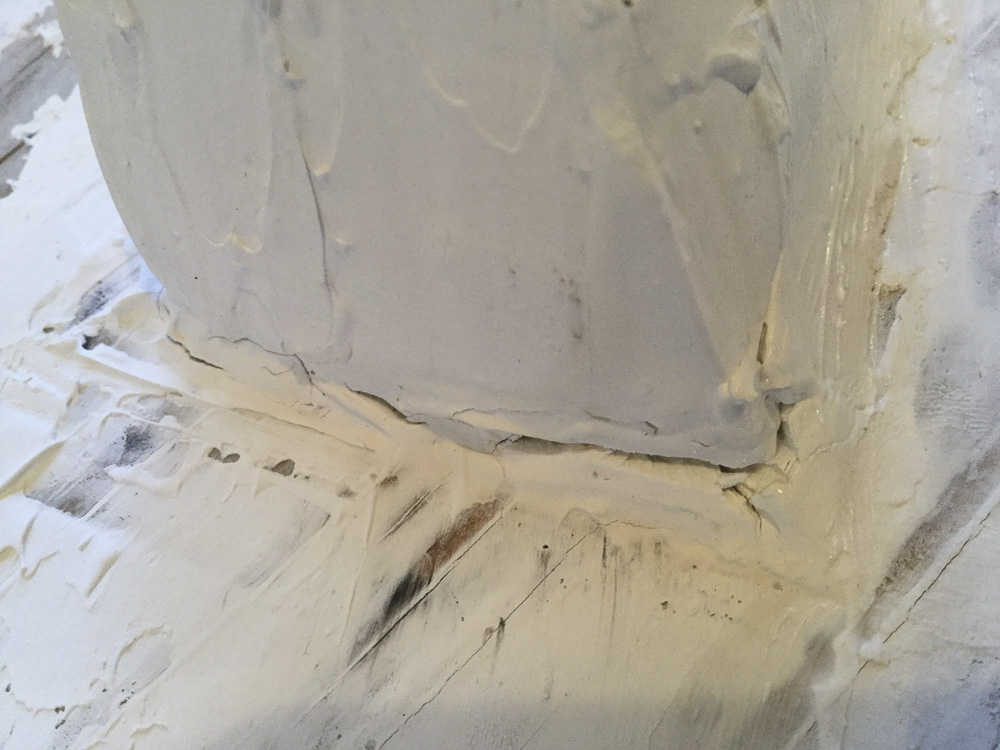
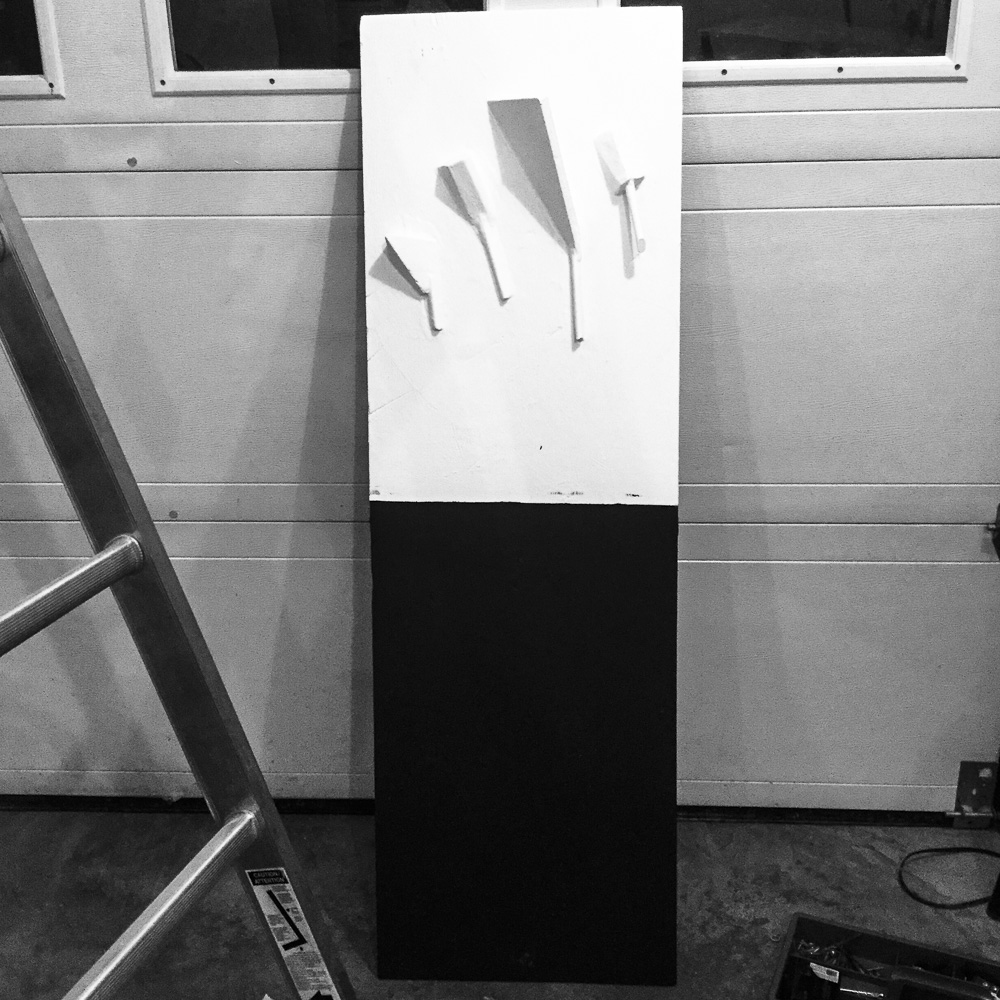
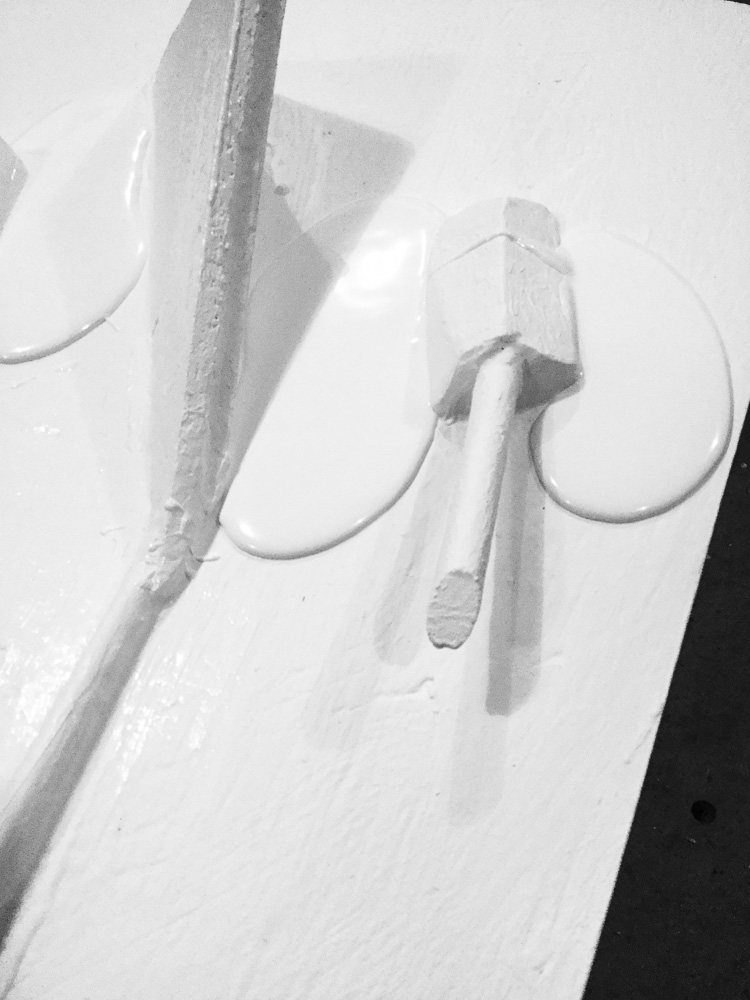
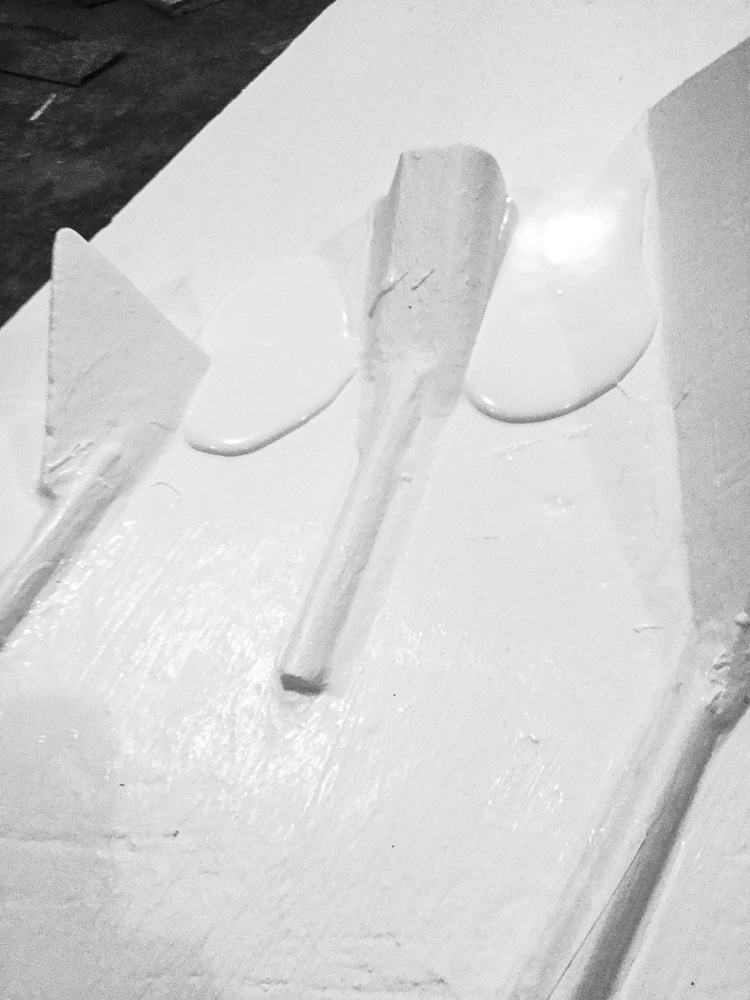
The title of this piece is “Materialization of a hand,” and with this idea, I decided to fill, with drywall, those unsightly gaps between the wood pieces and the board. I really wanted to give the impression that the pieces of wood were coming out from the wood board and not that they were just left there on top. I wanted unity on my piece, after-all I think that this is precisely what a relief sculpture is, a projection of a unity.
Relief sculpture is an art form that is midway between painting and sculpture in the round. It is a process in which the subject stands out or projects a surface from the background. The surface has several levels. It can be low relief or high relief (deep or almost round) or anywhere in between. The most common example of low relief is a coin where there is very little distance from the background to the top surface. Sculpture that projects from a wall or flat surface is called relief sculpture. (Lawrence, 2005)
Fixing, sanding and first painting coat
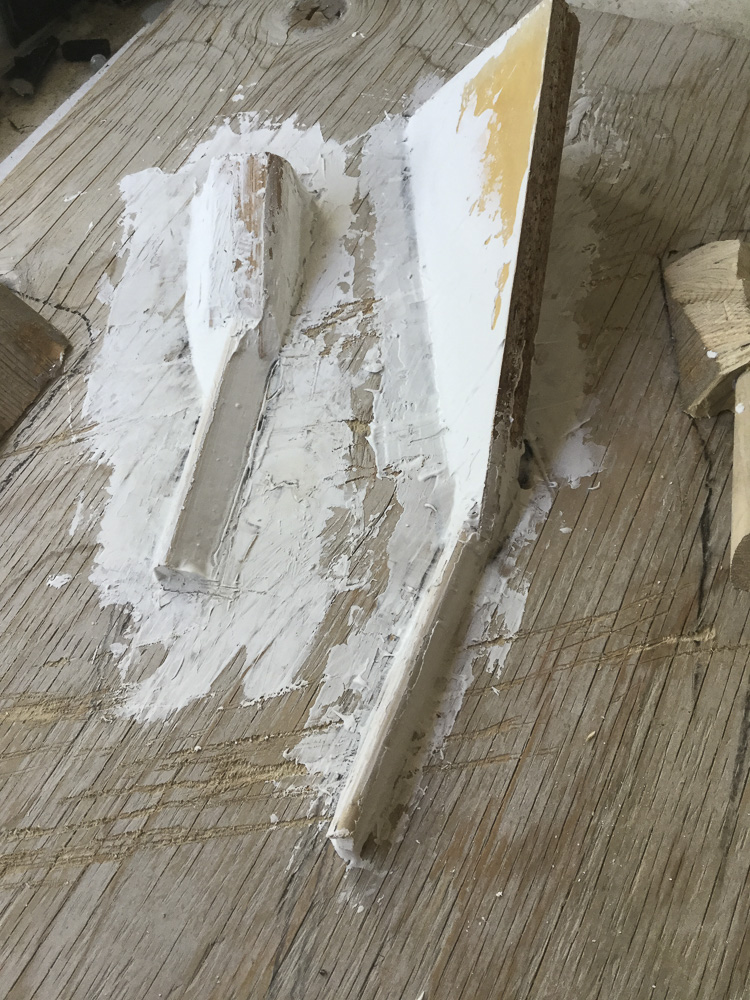
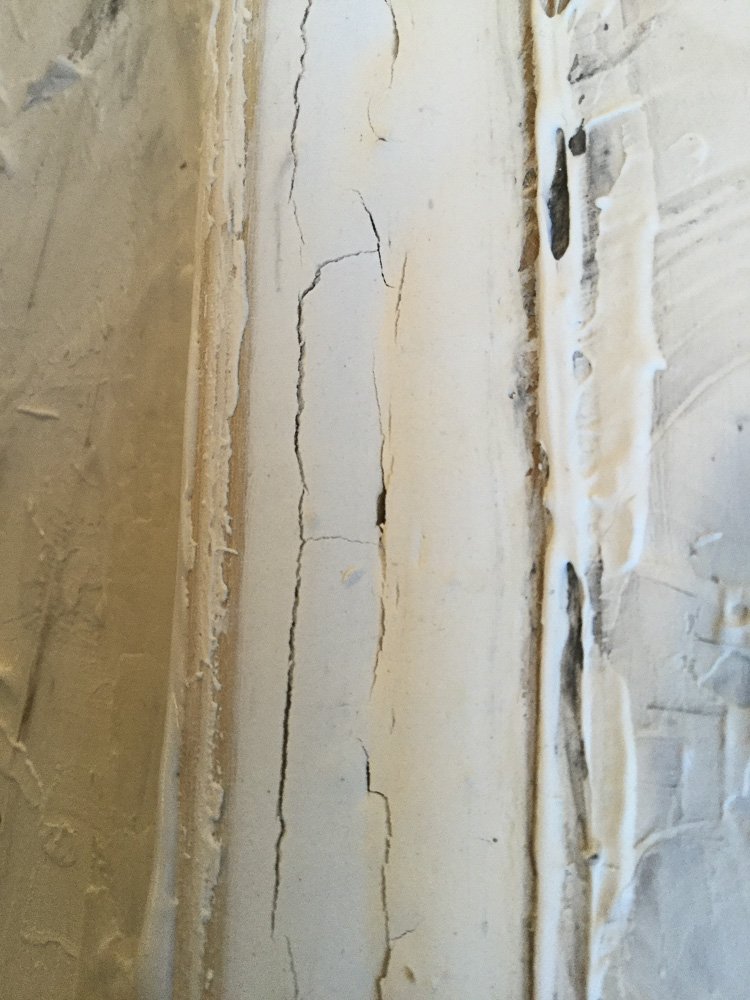
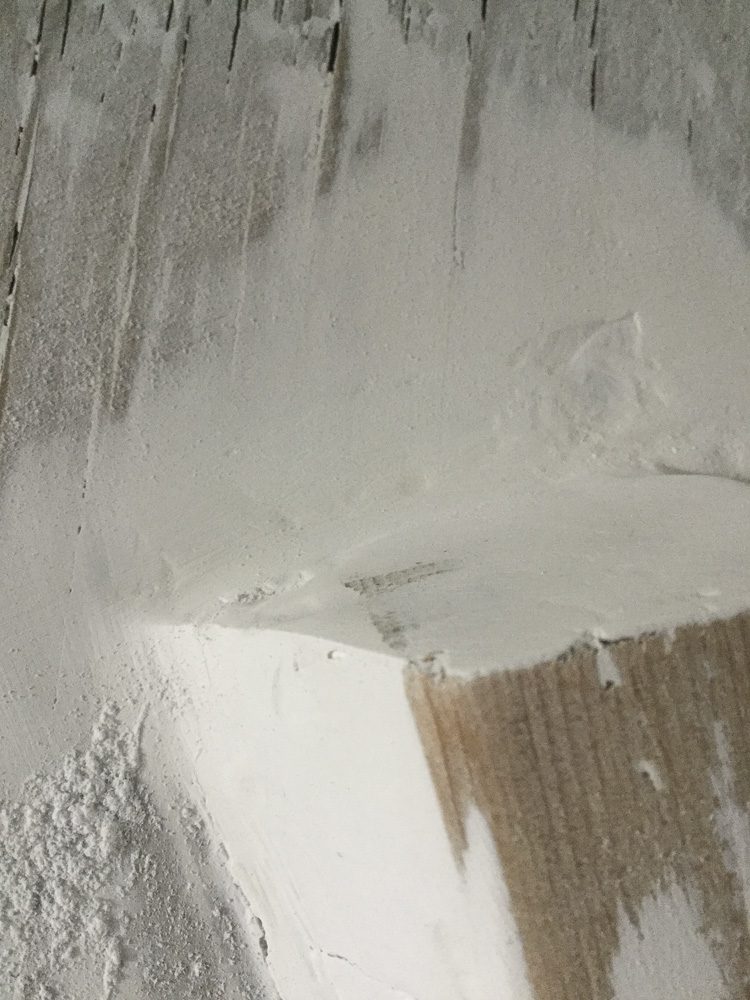
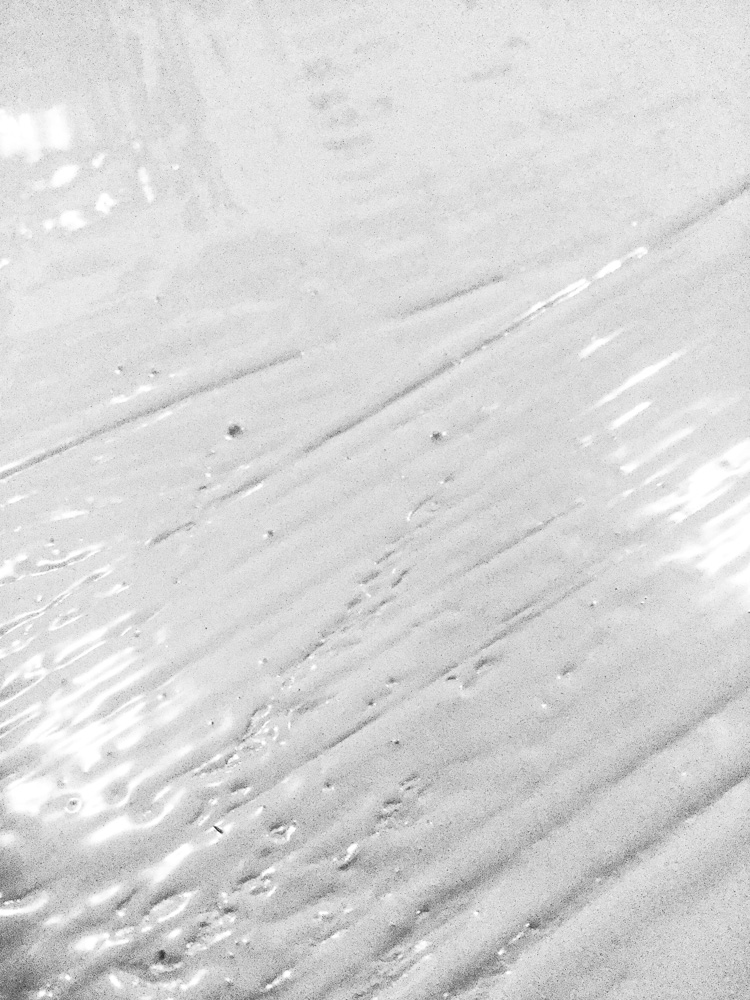
Working with drywall in this way was a first time experience. It took me just a little bit to get used to its materiality: texture, consistency, and even its smell. I think drywall was a great material to fill those gaps, however after the first dry I discovered cracks and some depressions on the drywall, perhaps it was too watery,… I really don’t know. Something to discover down the road, or maybe plaster it is better for sculpture? I’ll find out on Part Three.
So, I fixed the cracks, and I let them dry, and after that, finally, I was able to sand it and paint it. Once the first coat of paint dried I just thought: this is not complete yet. One coat of paint was not enough, it looked a little washout and not with enough unity, and besides that I needed to decide what to do with the long baseboard, cut it out or paint it white all the way down?


Paint materiality
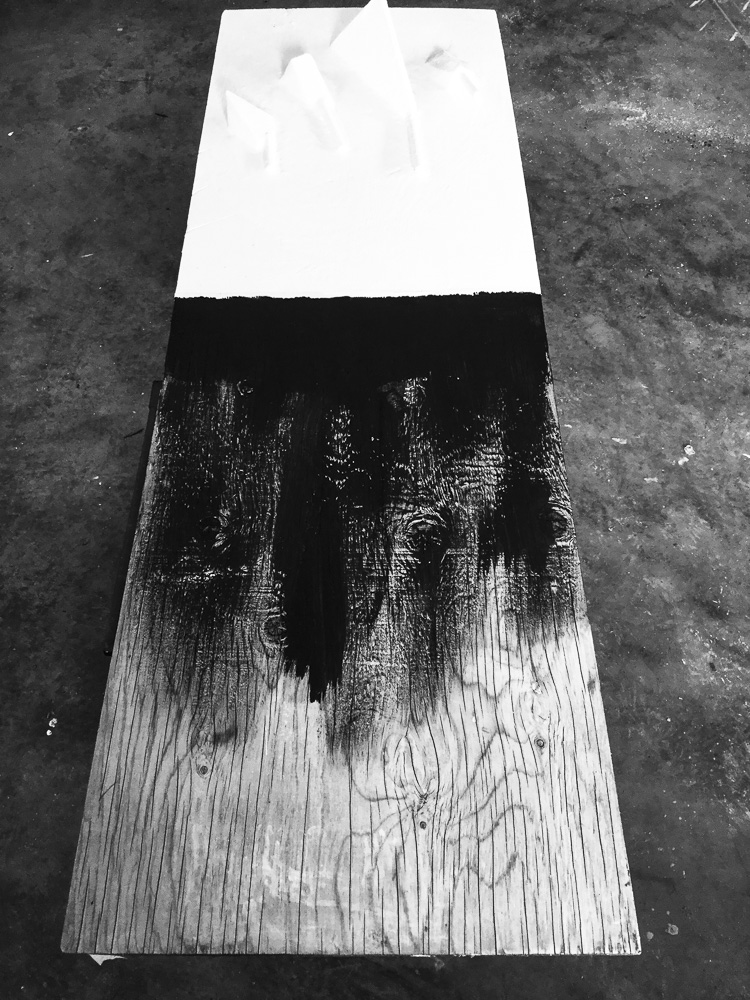
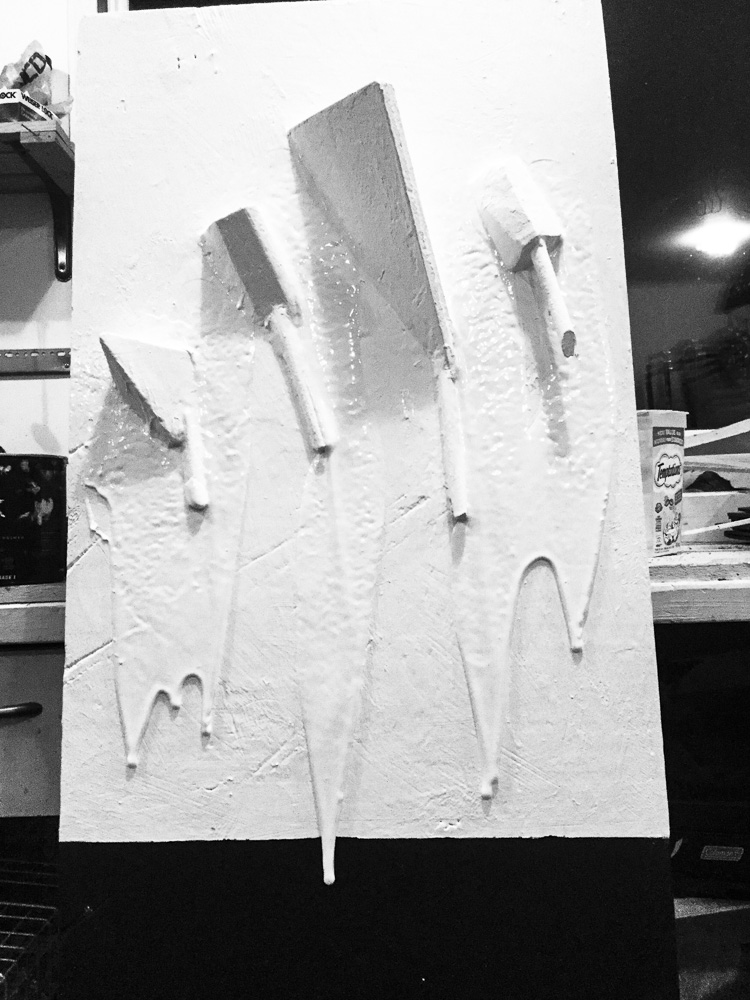
The second coat of paint was thick enough to cover little cuts and holes but not too thick to hide completely the character of an old wood. The sculpture was starting to look good and stable.
Because I was willing to experiment as much as I could fallowing a Constructivism’s path and its idea of Laboratory as a place to explore new ideas, I decided not to get rid out of the longboard of the sculpture and try to incorporate it as much as I could. I painted the board with the only dark colour that I had in hand: an intense purple
Now my sculpture was divided in two: one part white and one part purple. It was time to experiment once more. My next move was to pour the leftovers of half a litter can of white paint over the top part of the sculpture and let it drip all night, all the way down, in search of a coherence unity of the white entering the purple.
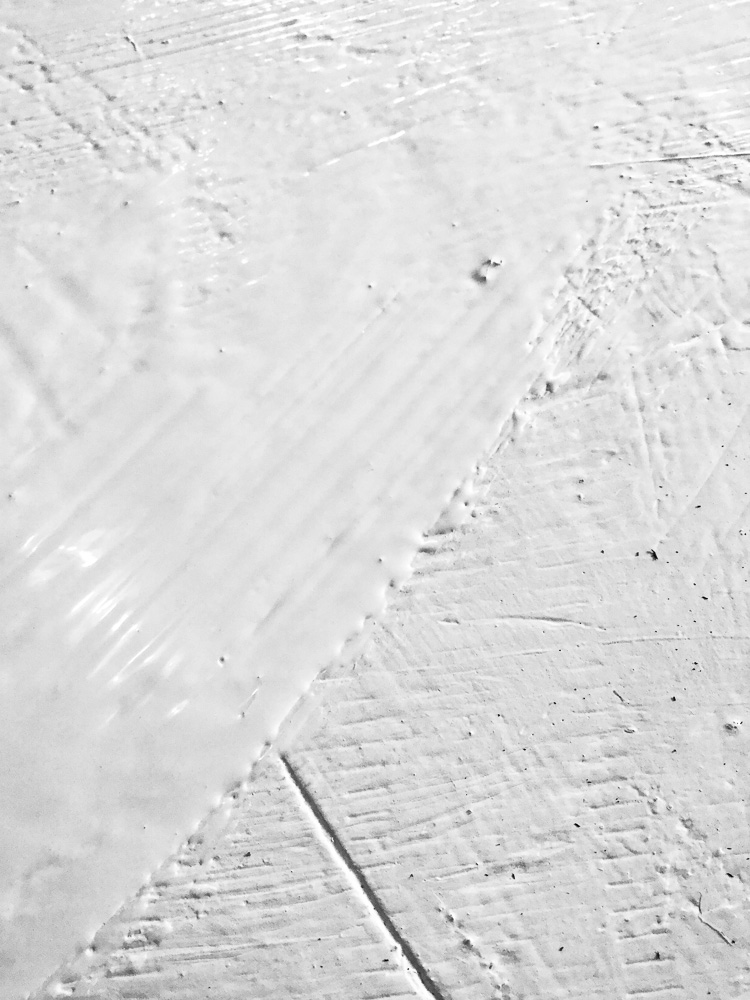
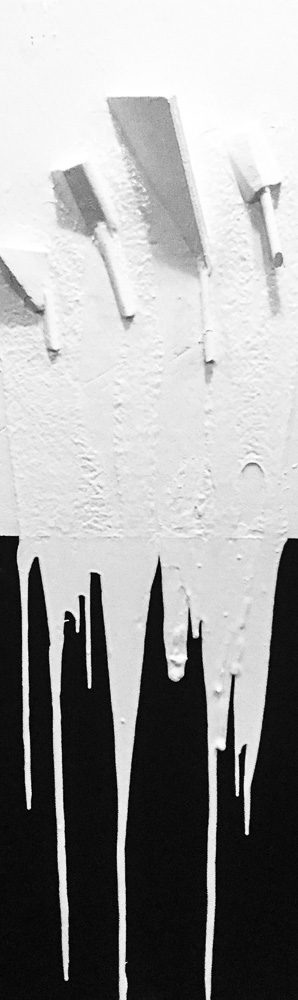
The effect created by the paint coming down to the bottom part of the board is just ok. It was great to experiment with paint and its thick liquidity, however, the result was not as satisfactory as I had expected. For now, I’m going to leave the sculpture as is and I’m going to move forward to project two. I’ll return to my sculpture later just to decide what to do again with the long board.
.
Bibliography
Flusser, Vilém (English Translation of 2014) Gestures . Minneapolis: The University of Minnesota Press
Lawrence, Trudy. (2015) Relief sculpture. School Arts, Mar. 2005, p. 25+. General OneFile. at: http://link.galegroup.com/apps/doc/A129629034/ITOF?u=ucca&sid=ITOF&xid=1011e09f (Accessed 14.05.2019 )
Ananthaswamy, Anil. (2015) What if … Intelligence is a dead end? In: The New Scientist [online] at: https://www.newscientist.com/article/mg22730330-900-what-if-intelligence-is-a-dead-end/ (Accessed on 09.08.2018)