Clay
I went directly from the end of the Second Module to the beginning of the Third one. No waiting period, not “let’s take a break” event. The working rhythm continues steady what changed was the materials I used for the sculptures. It was fantastic to work with wood and discarded objects, and I’m going to keep using those materials in the future, but now, is clay time.
First impressions
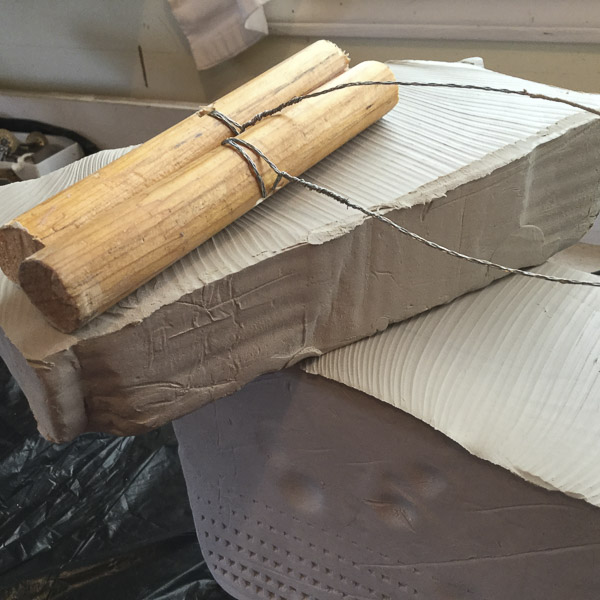
” Wow, this is massive,” that was the first impression I had when I unpacked the 10 kg of clay. After working with pieces of wood and discarded objects, the big block of clay has a lot of body, and it was really heavy. In just one second, I felt my hands full of materiality, it was wild.
A soft deep density: clay
I think the creation of sculpture has to do with the delimitation of new contours, new edges and limits and also with displacing and upsetting one inhabitant space with another. Rosalind Krauss says: Lessening asserts that sculpture is an art concerned with the deployment of bodies in space, (Krauss, 1998:3). Working with clay gave me a full sensation of implementation all the time: is constant action in place. Clay is deep, heavy and dense and at the same time is very soft. However, I did not really appreciate its softness until I sliced it.
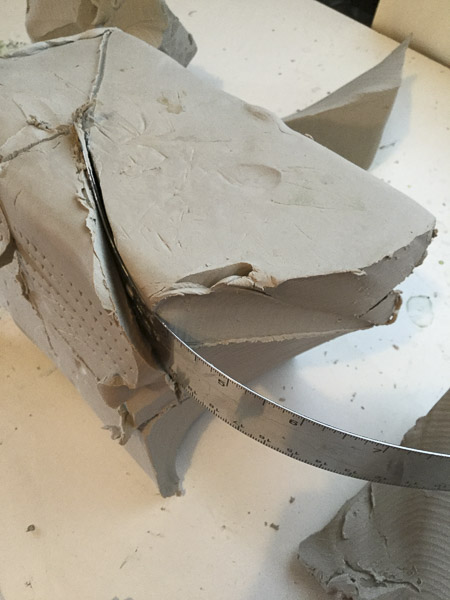
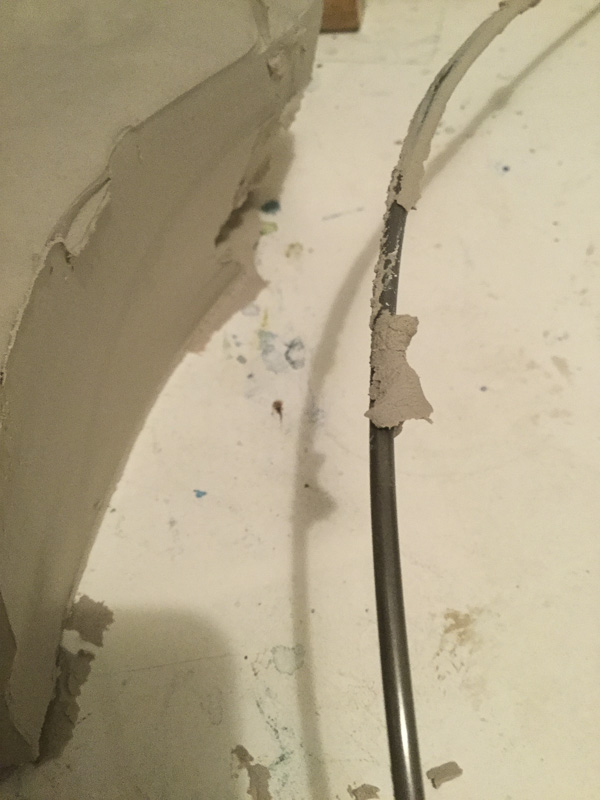
The first thing I did before start working with clay was to make myself a wire cutter. It was quite simple to create and very easy to use but most importantly super useful: to remove a big chunk of clay, pretty much effortless, slicing it with a wire cutter was fascinating.
On the same idea
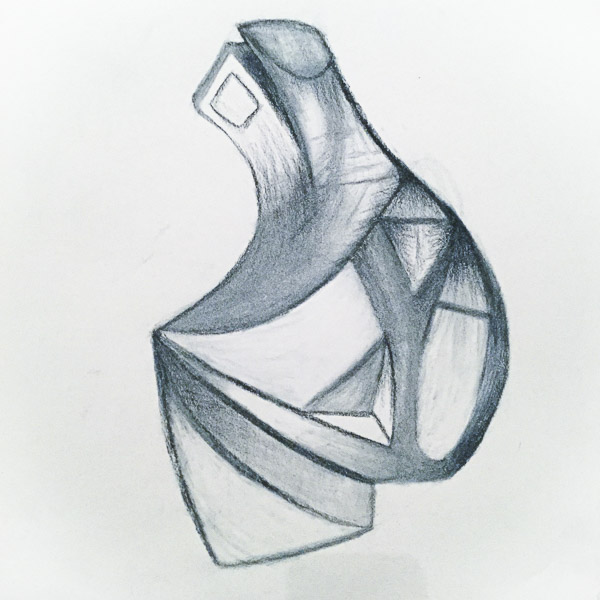
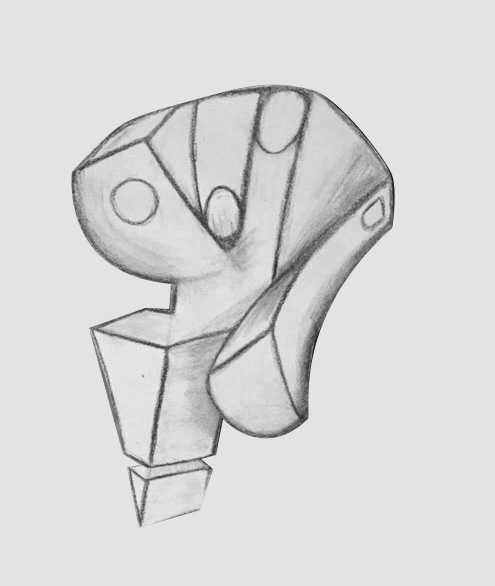
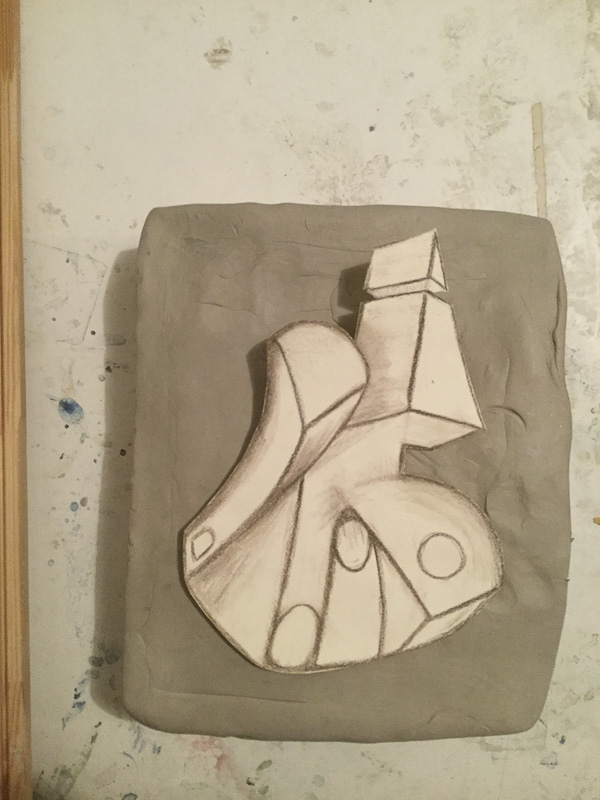
My endeavour in the inquire of what lies between darkness, as something that can cause harm, and human intelligence is still going on. Image 1, Materialization of a hand IV is a representation of the thumb, the fifth finger (pinky), the three bones at the base of the pinky, the ulnar nerve and the palmaris and abductor muscles. This drawing was my guide for my first two clay sculptures.
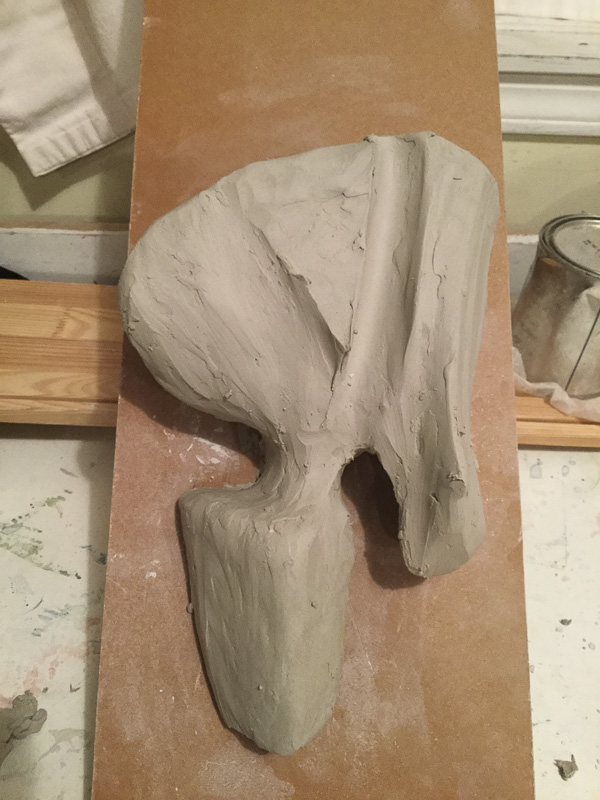
Sculpture 1 – Materialization of a hand VI
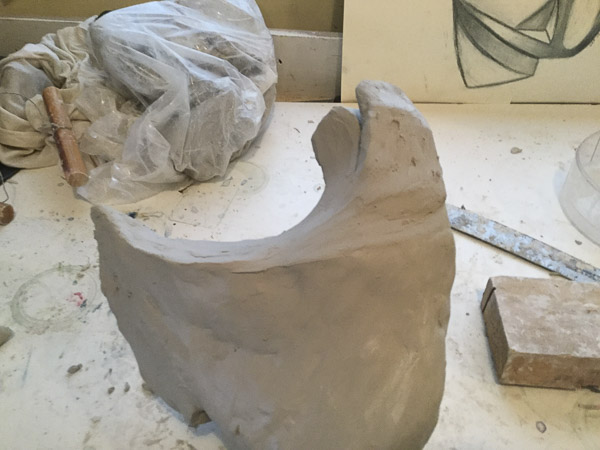
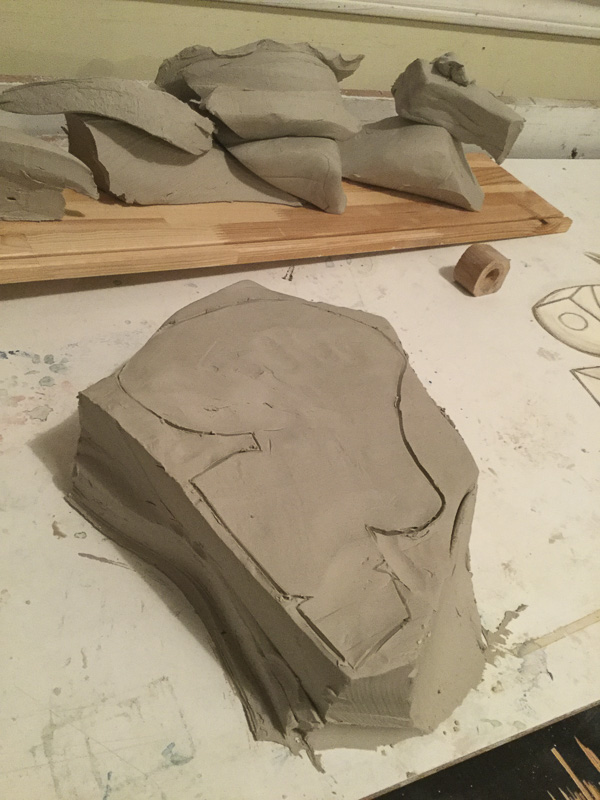
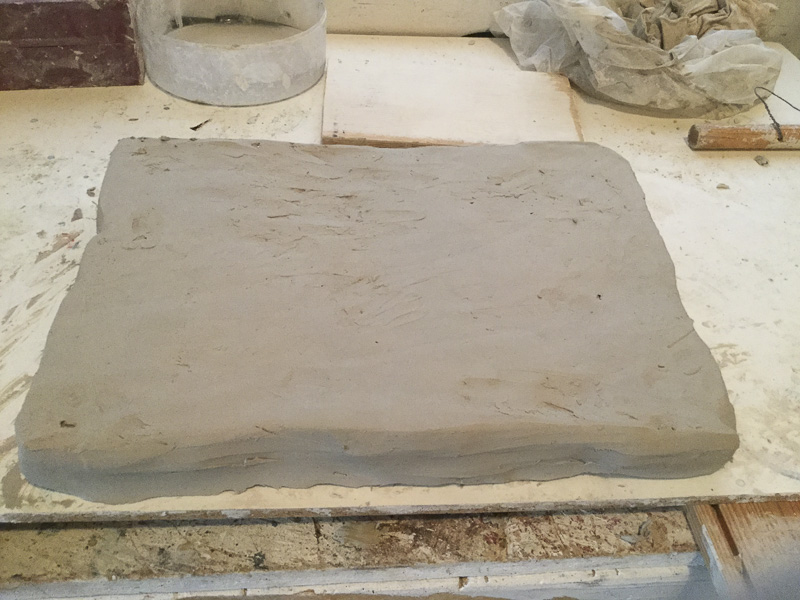
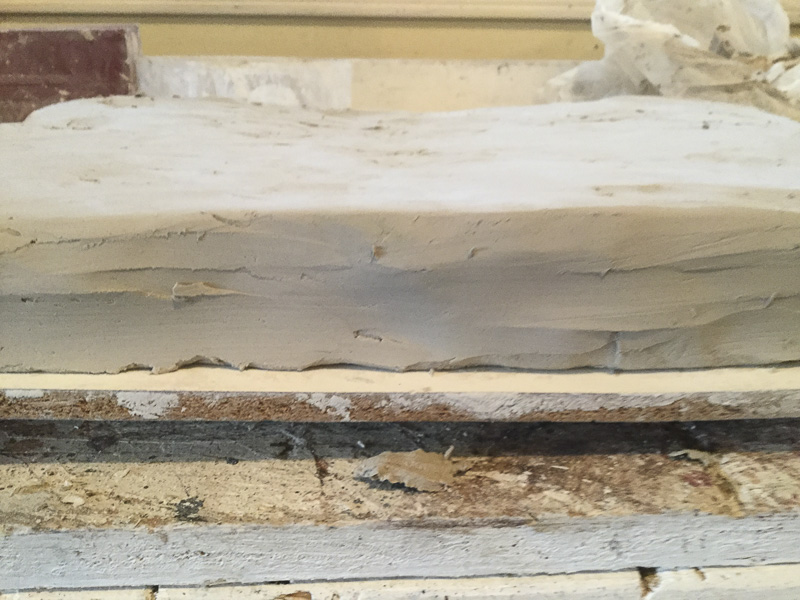
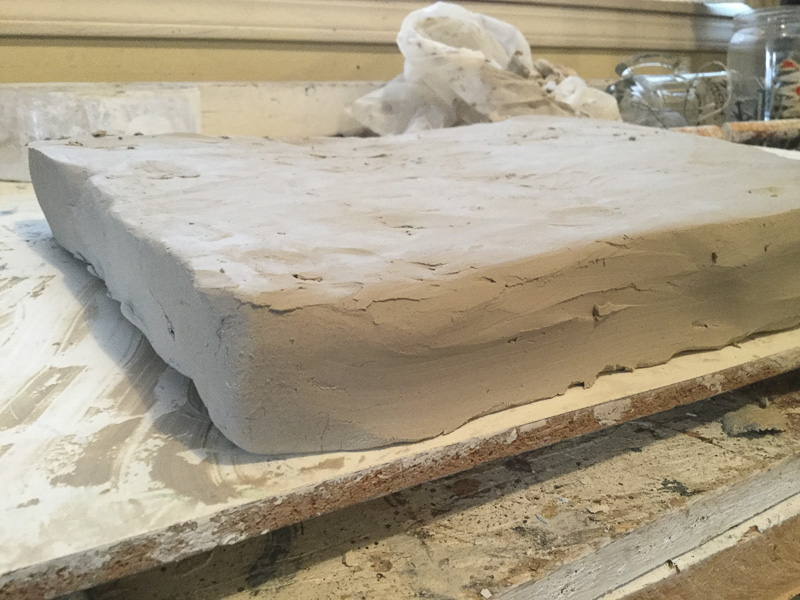
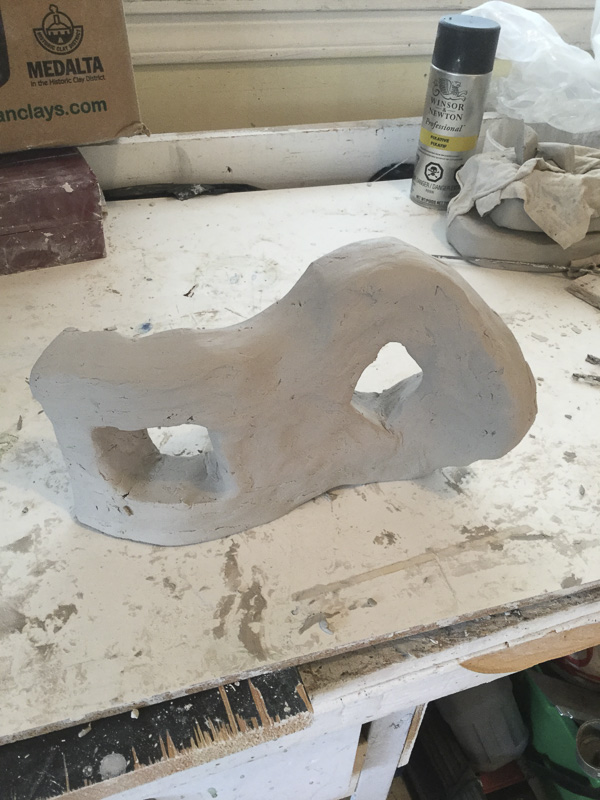
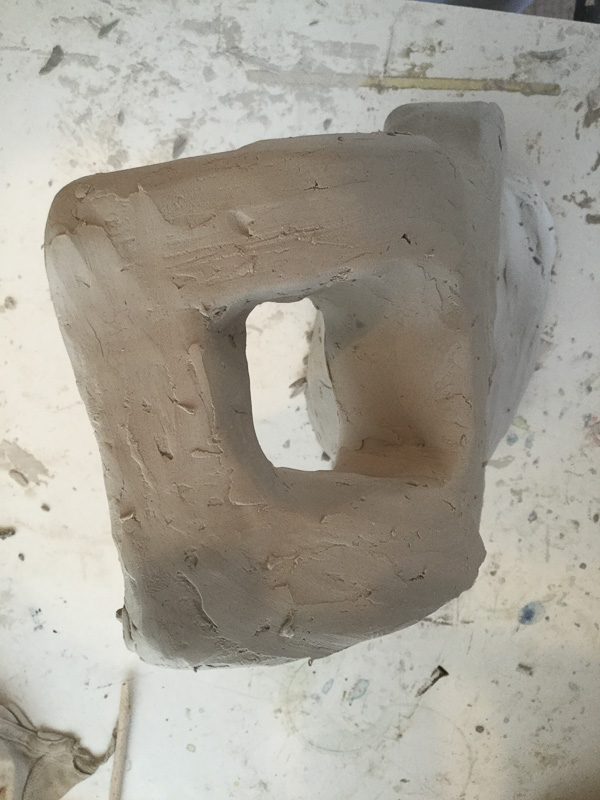
The below galleries show the creation process of this first sculpture. I started from a rectangular block of clay, the same shape the clay came from the store. I drew on the surface the main structural lines of the drawing, and I started from there. Besides the wired cutter, I used a metal ruler and some pieces of wood to help me shape the clay.
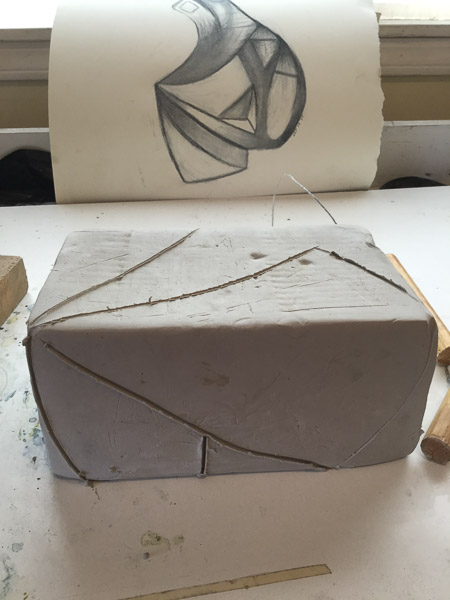
In a quick google search, I found that the two most common clay hand-building techniques are coil and slab methods and a tried to use both in my sculpture, I also made holes to add other parts.

g
I was delighted with the final result of this first sculpture. However, it did not precisely match the drawing.
.
/
.
k
Sculpture 1 – Materialization of a hand VII
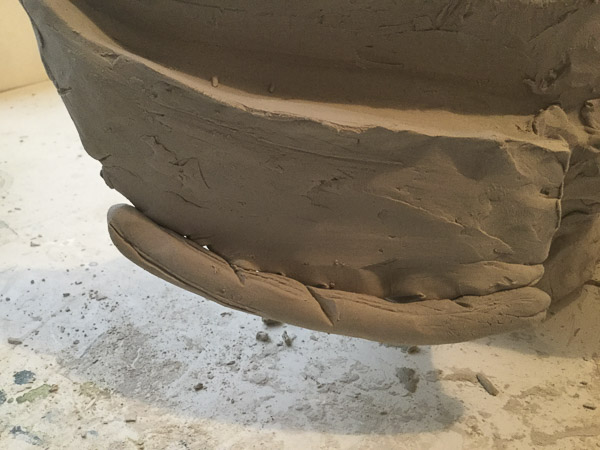
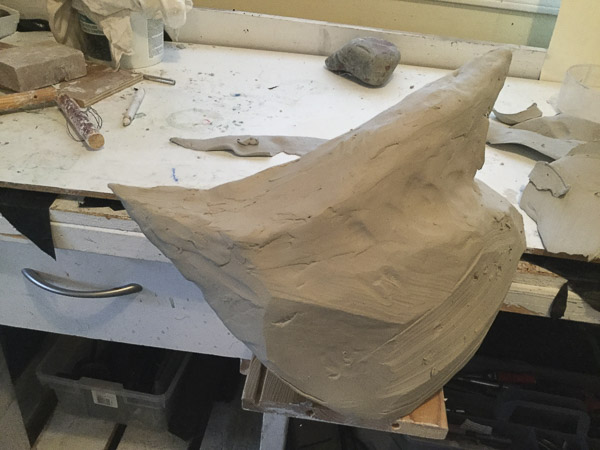
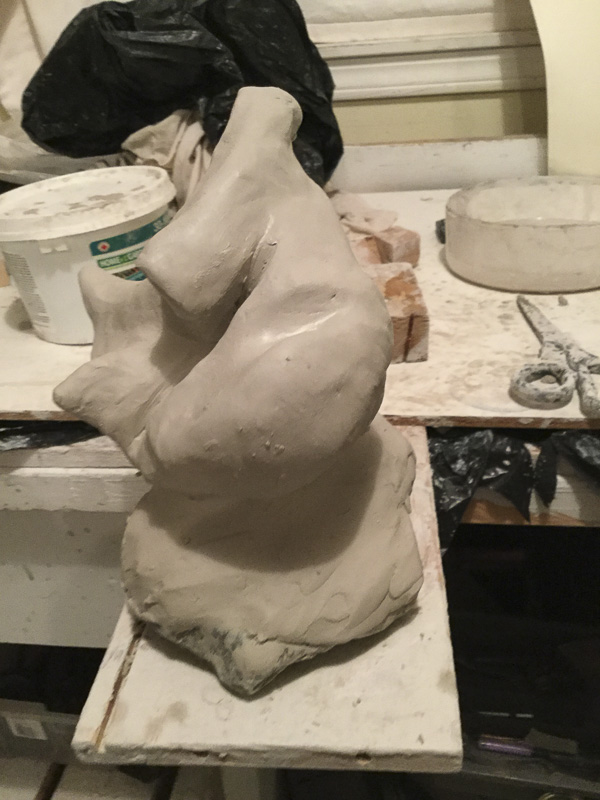
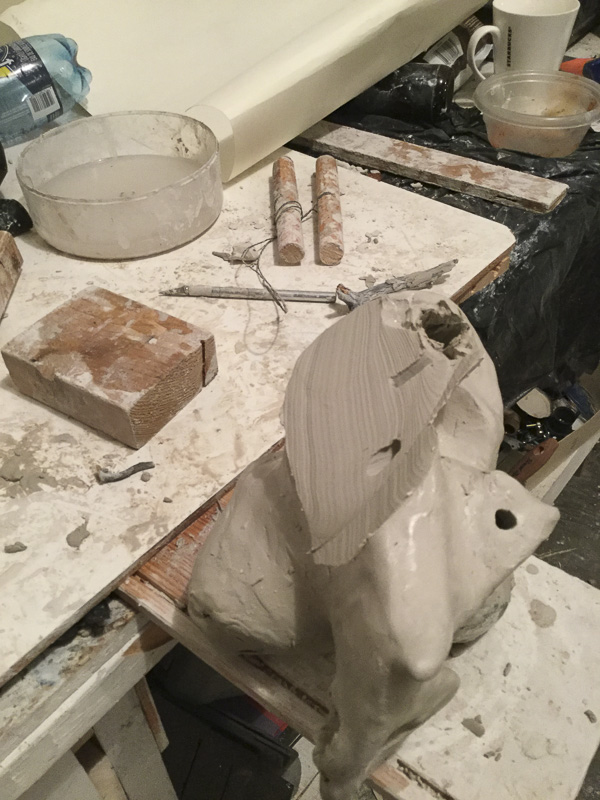
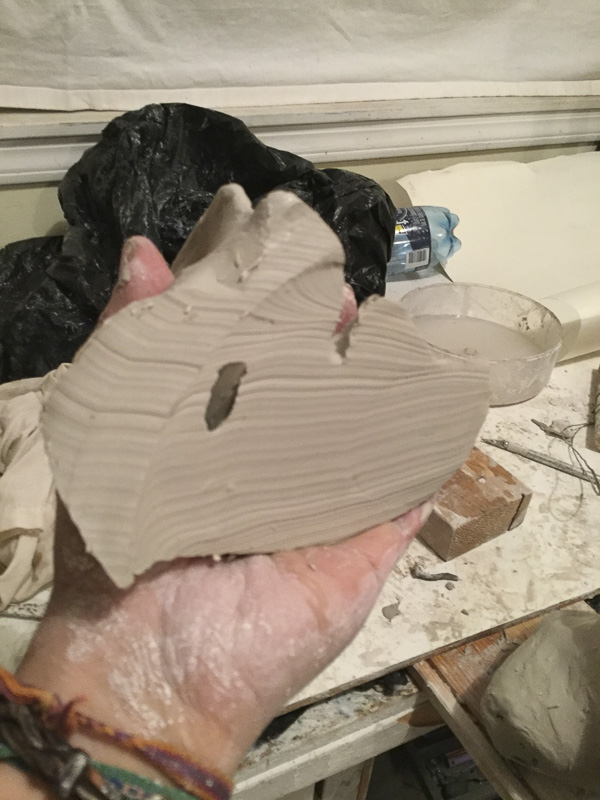
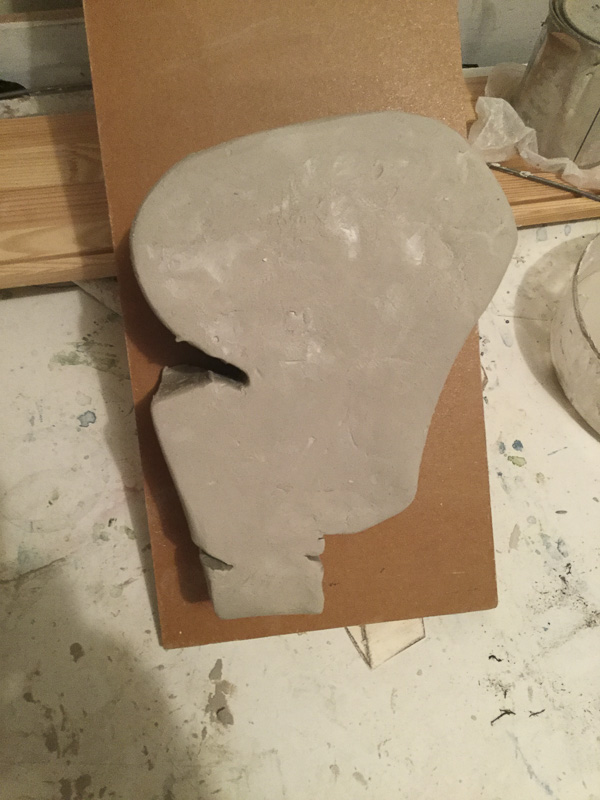
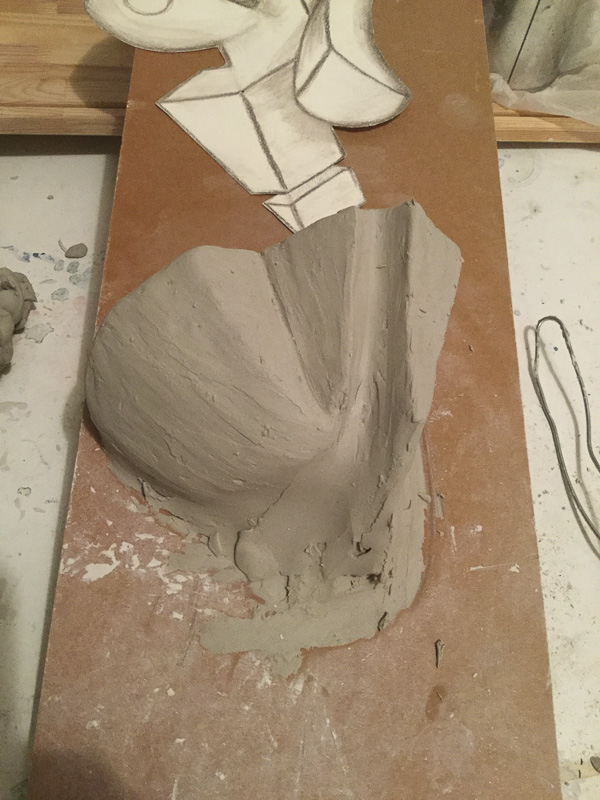
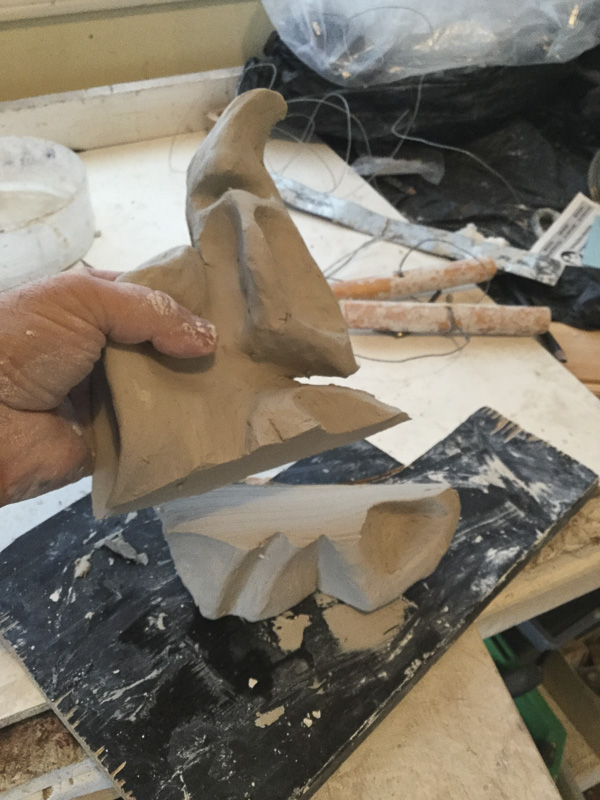
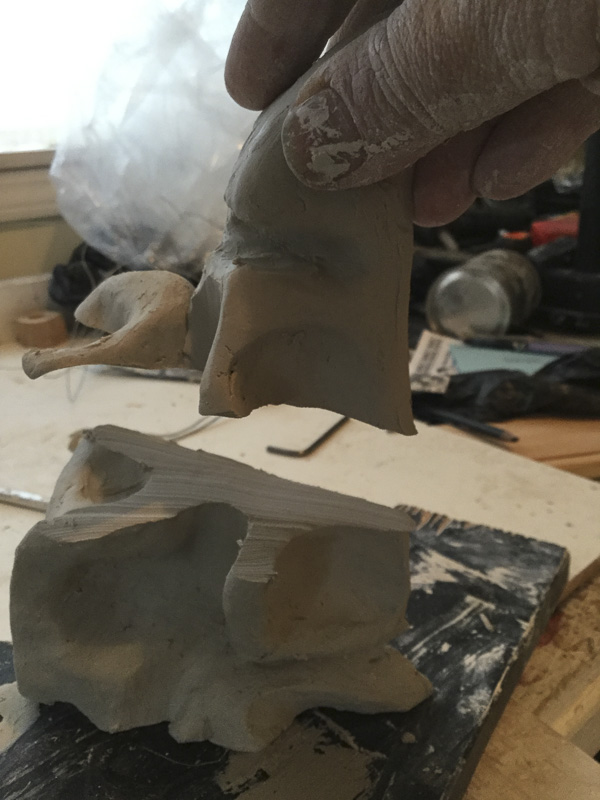
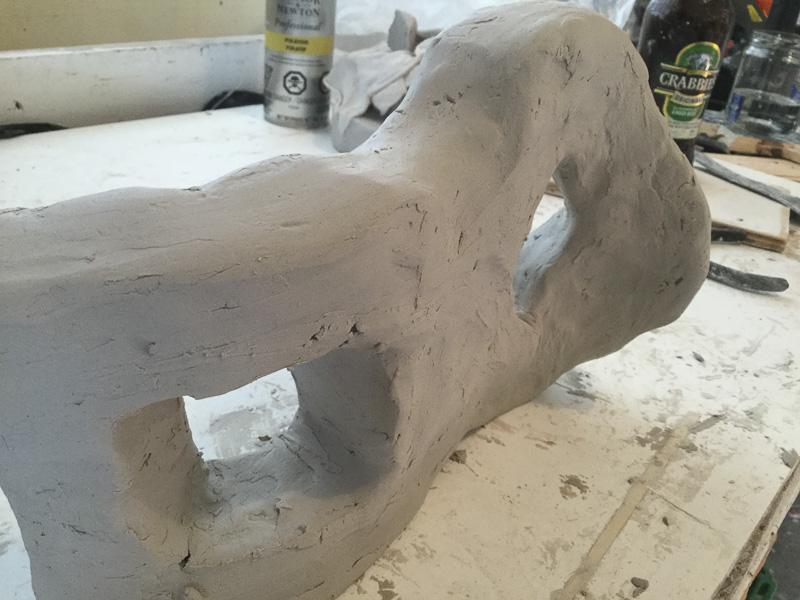
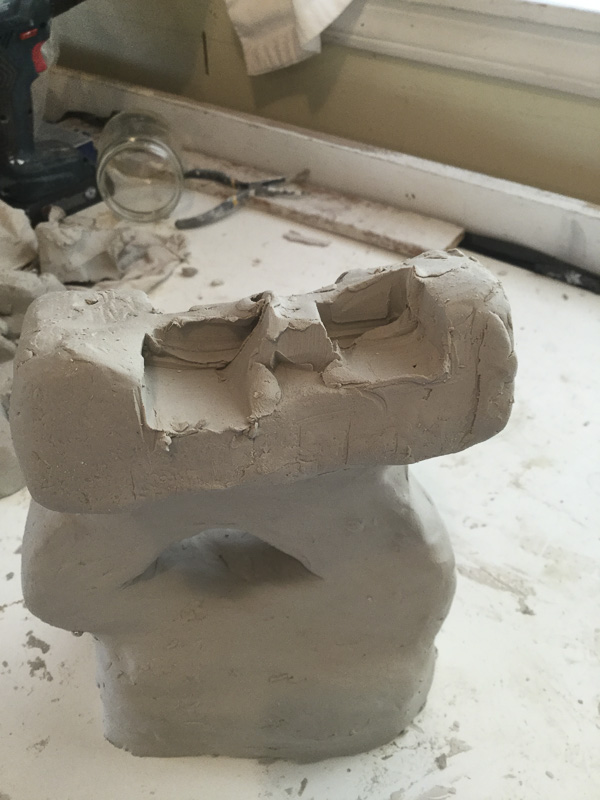
For my second sculpture, I started from a round shape of clay instead of a rectangular form. This time instead of using the wire cutter to shape the primary form of the sculpture, I threw the clay onto the working table several times to create a new form.
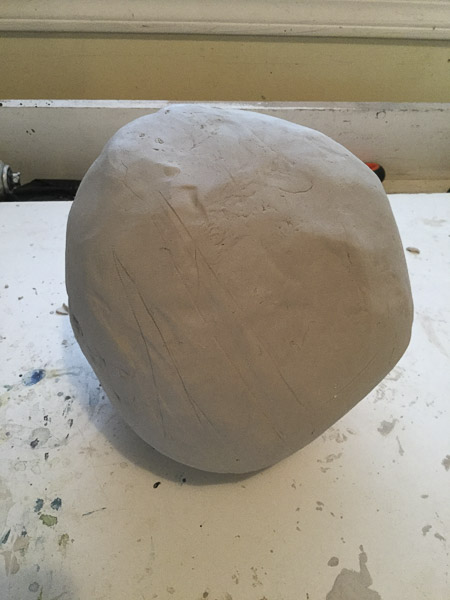
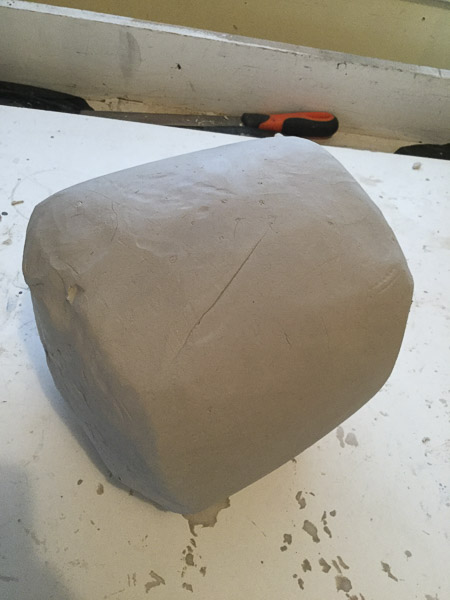
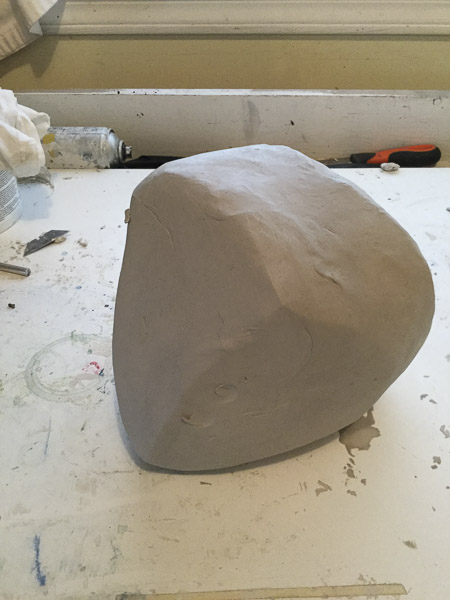
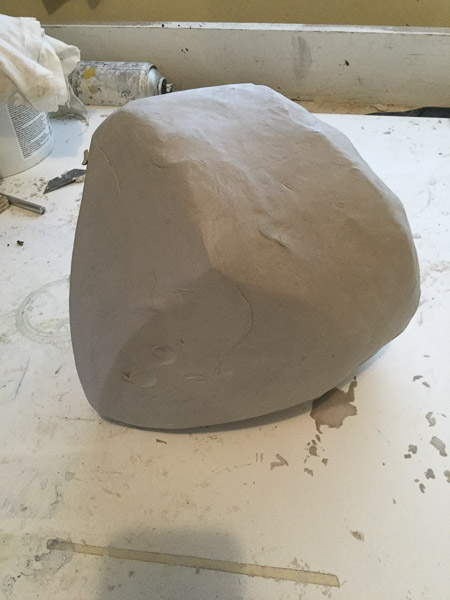
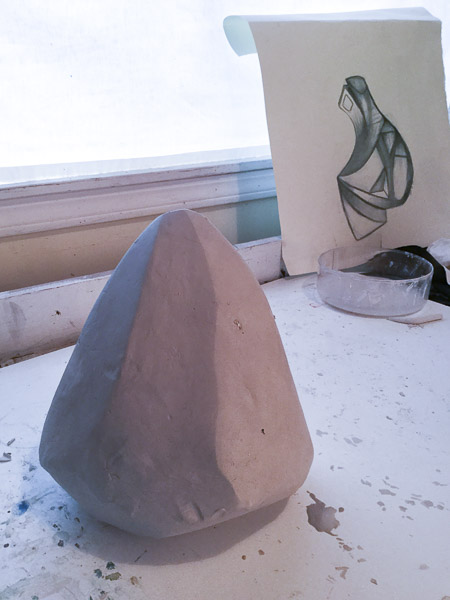
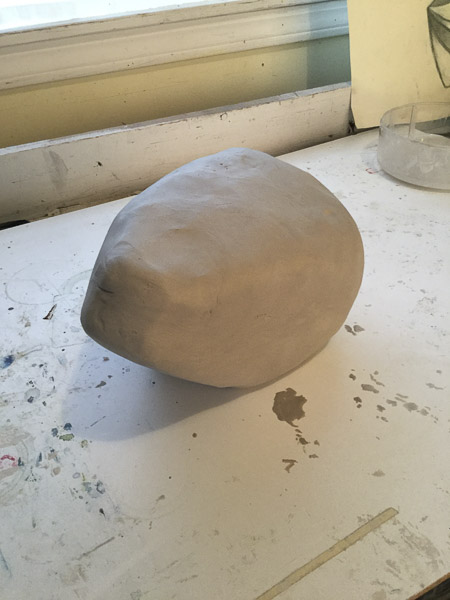
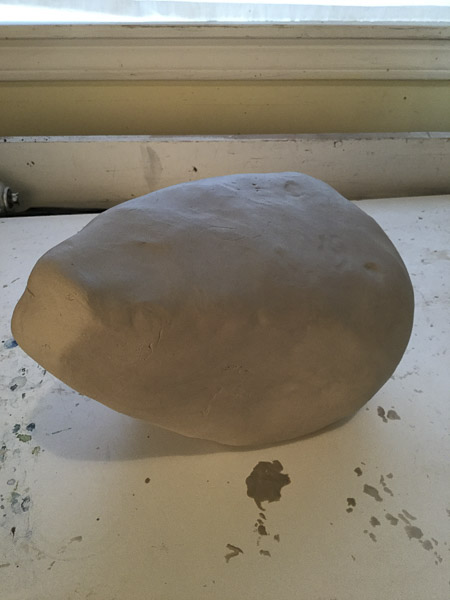
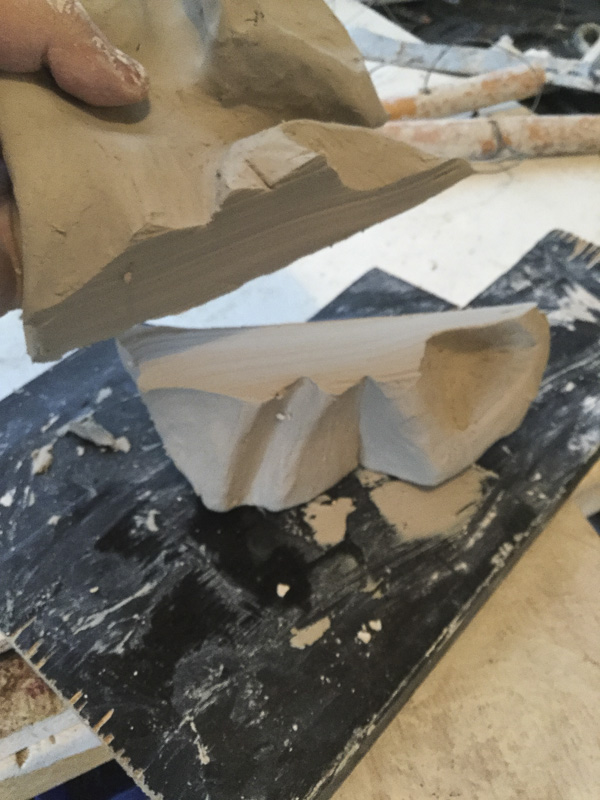
Once the basic shape formed, I started to take out the excess of material. One thing I discovered was that if I cut out a big chunk of clay with the wire cutter and then rotate it 180 degrees on its same axis and turn it around I could use to construct another level of the sculpture that fit naturally. The last images of the below gallery shows this process.

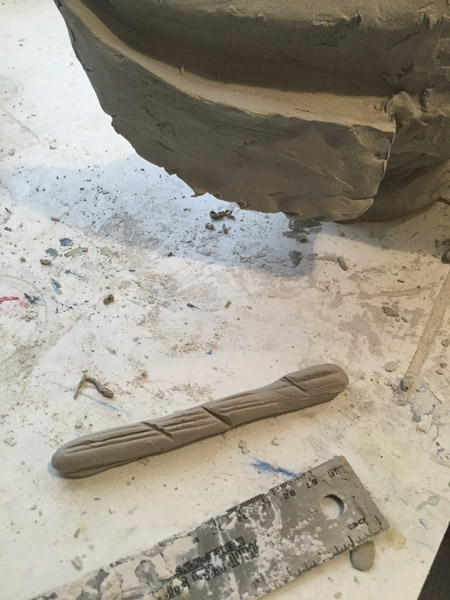
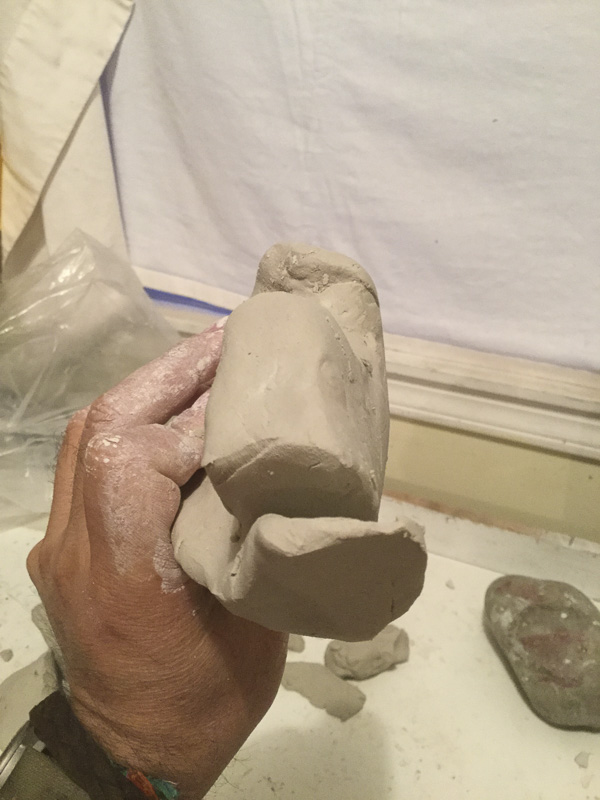
One of the things that cost me a lot of difficulties to do was the fingers of the sculpture.
So this time a decided to create them from a different piece of clay and add it to the central sculpture.

The below gallery shows how my progress creating this sculpture. In my opinion, at that moment everything was looking ok. However, I quickly change my mind.
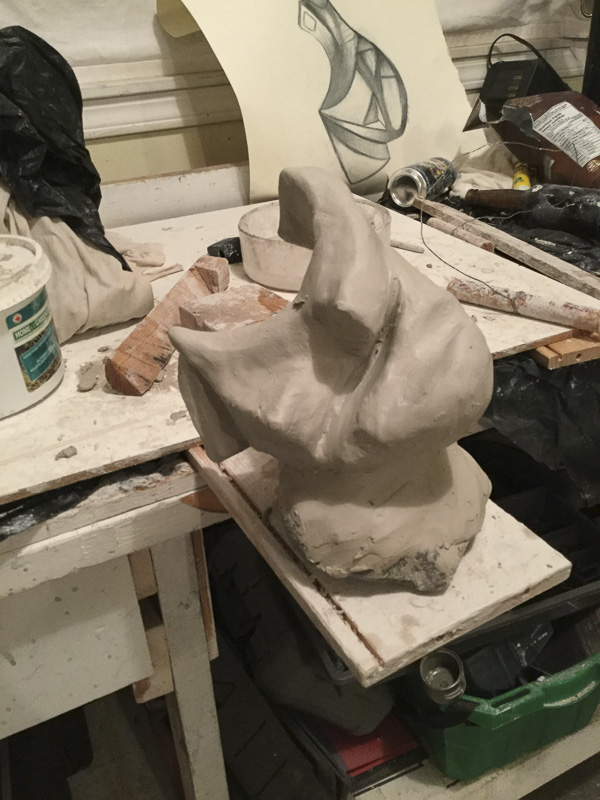
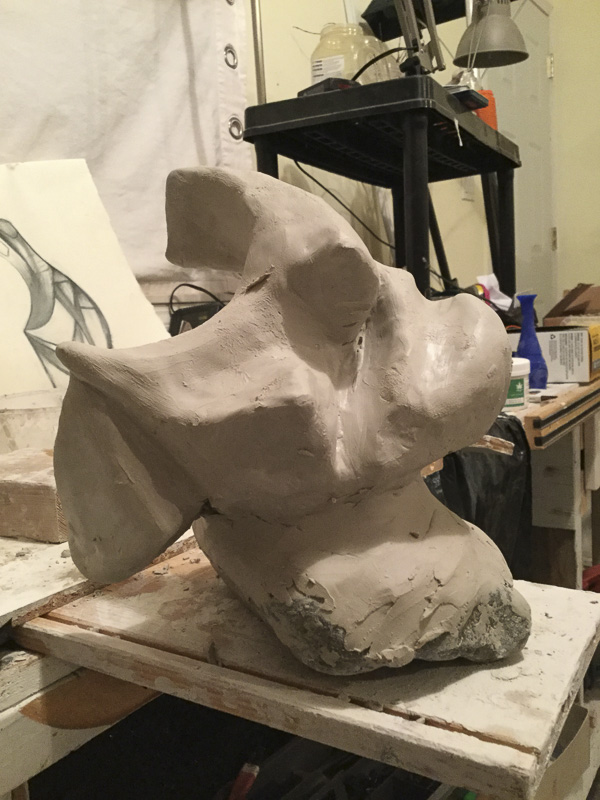

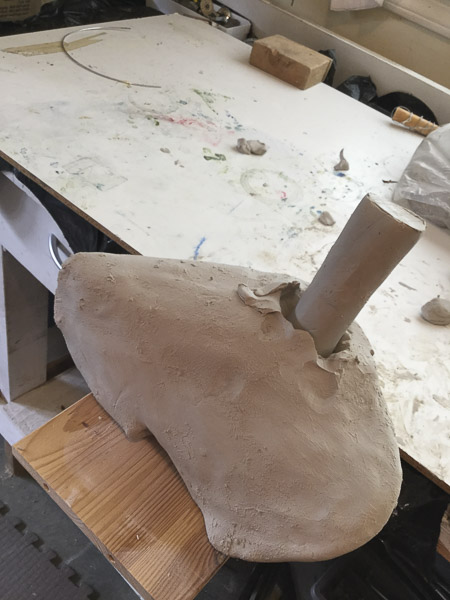
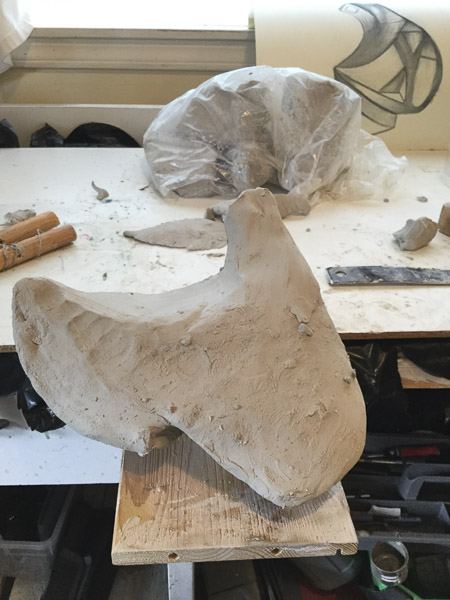
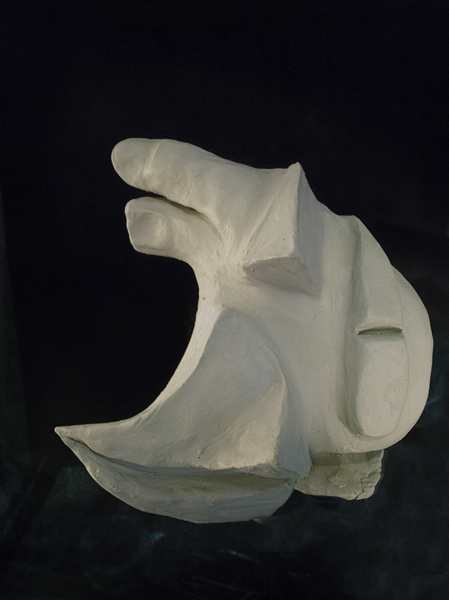
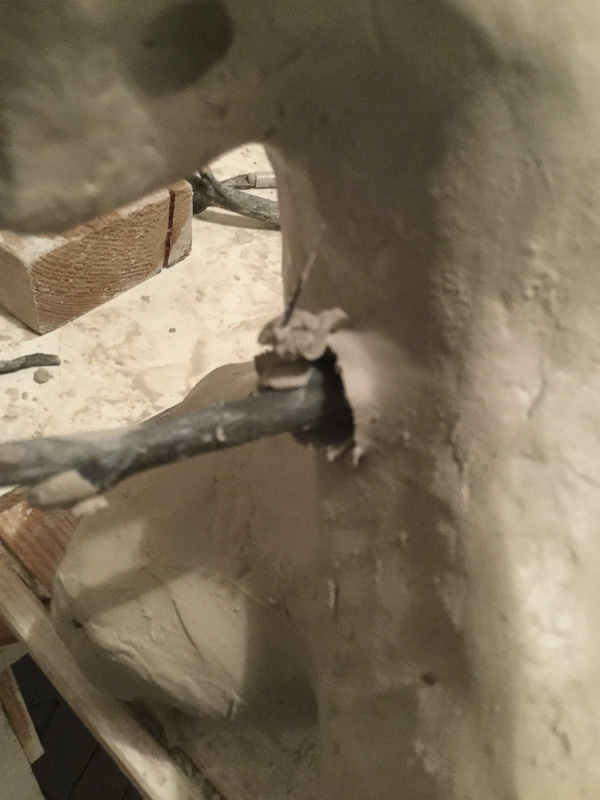
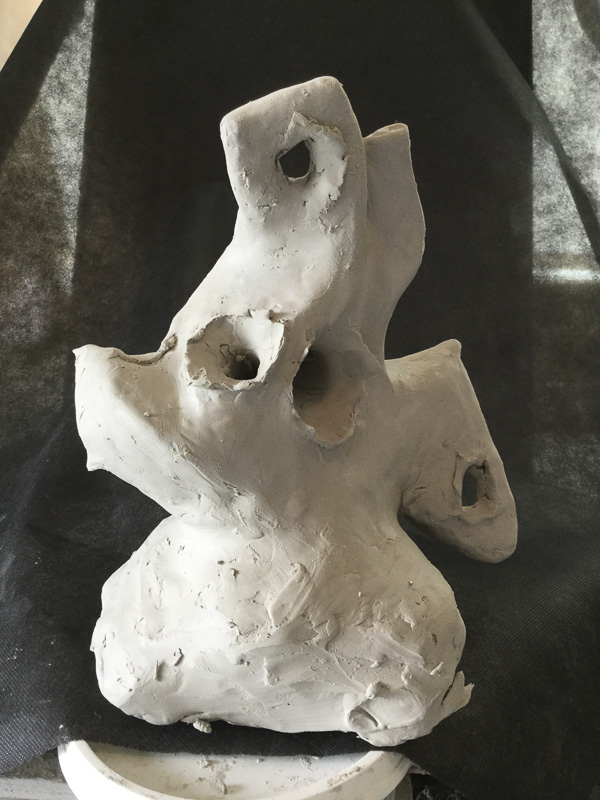
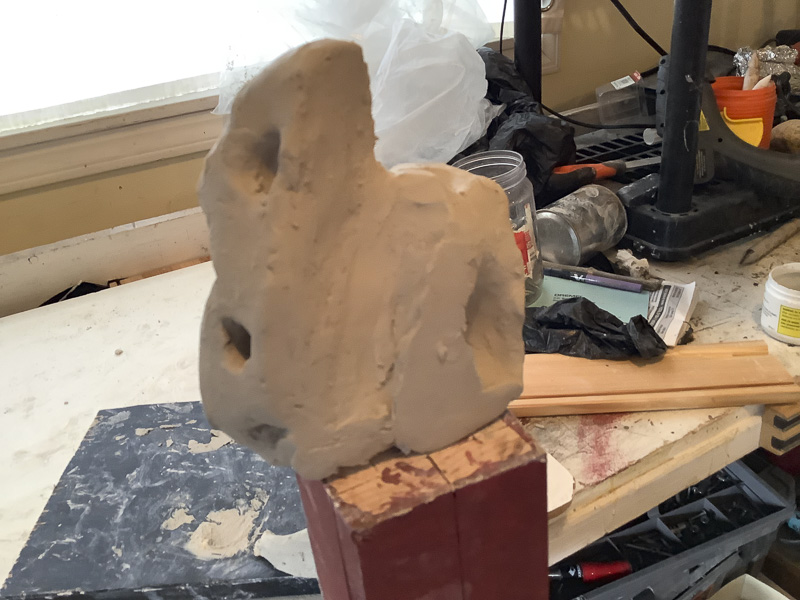
At this point, I felt that I was getting a real sense of form and space. I was feeling or thinking more in a 3d space, and this makes me do things completely different from my original plan, so I decide to behead the sculpture or to put it more directly to cut the top part of the sculpture and to put the front on the back and vice versa. I have to tell you that in the mood of thinking about darkness and human intelligence, I made some holes on the piece in a violent way. I really believe that violence is one of the main components of those two elements that I have been researching. So what I did was to stick a tree branch on different sides of the sculpture to make holes. At the end, those holes, I think, look like if a projectile had perforated the sculpture.
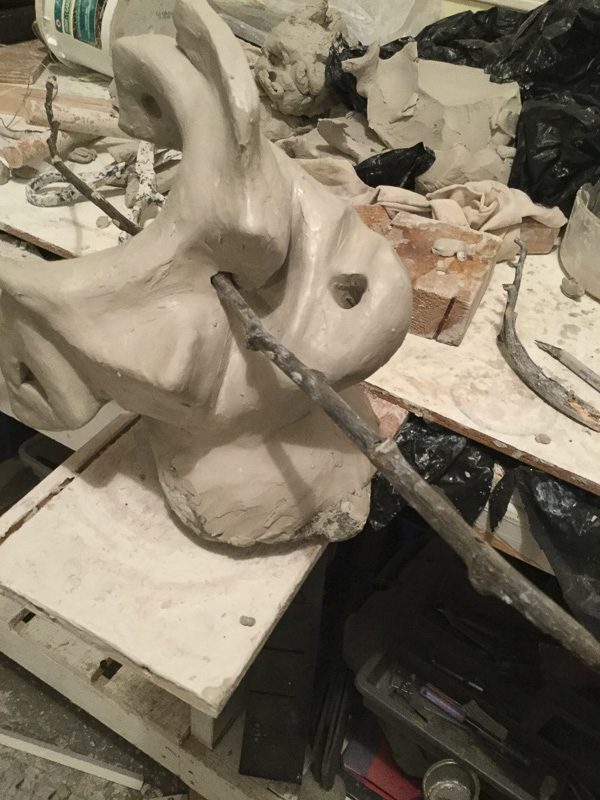
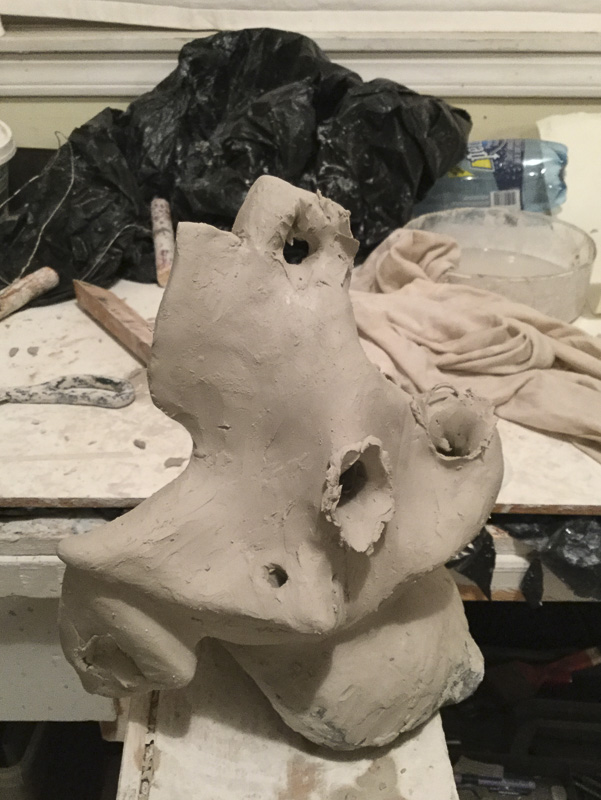
The end result looks very good to my eyes. It is a different end result, but it works. Definitely, I will use this technique of cutting one part of sculpture and then rotating it 180 degrees to achieve new results.
Sculpture 3: Materialization of a hand VIII or Moving form through space
Starting point
Again, it is a drawing. I love to draw.
The Galleries
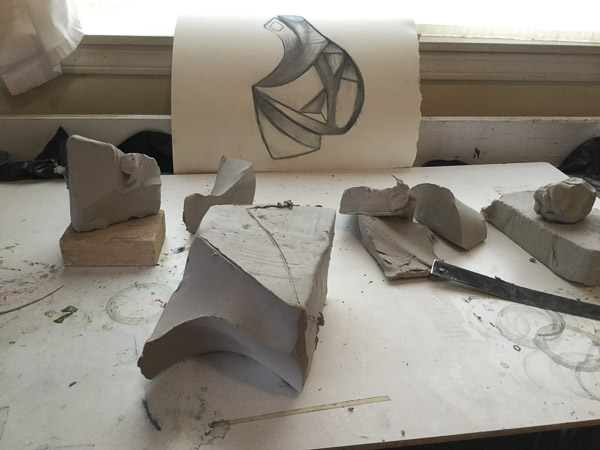
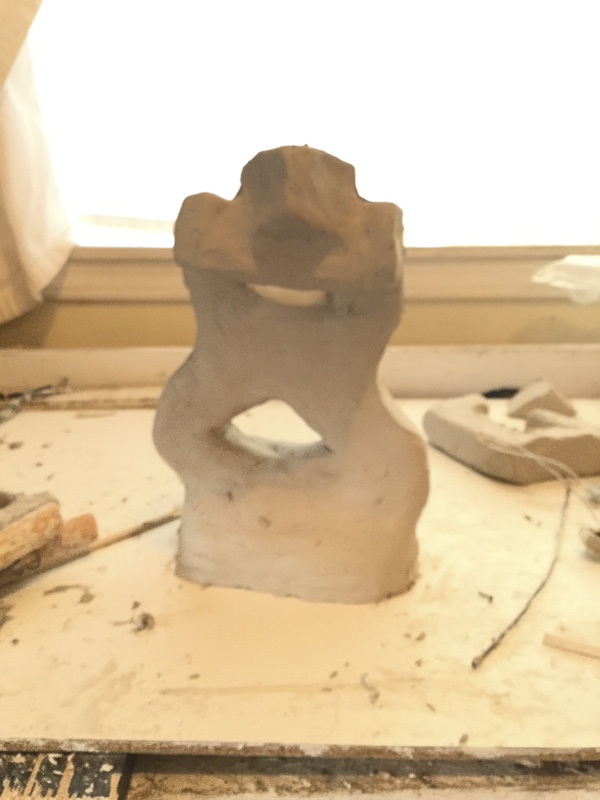
The below three galleries show the whole creation process of sculpture number 3: Materialization of a hand VII or Moving form through space.
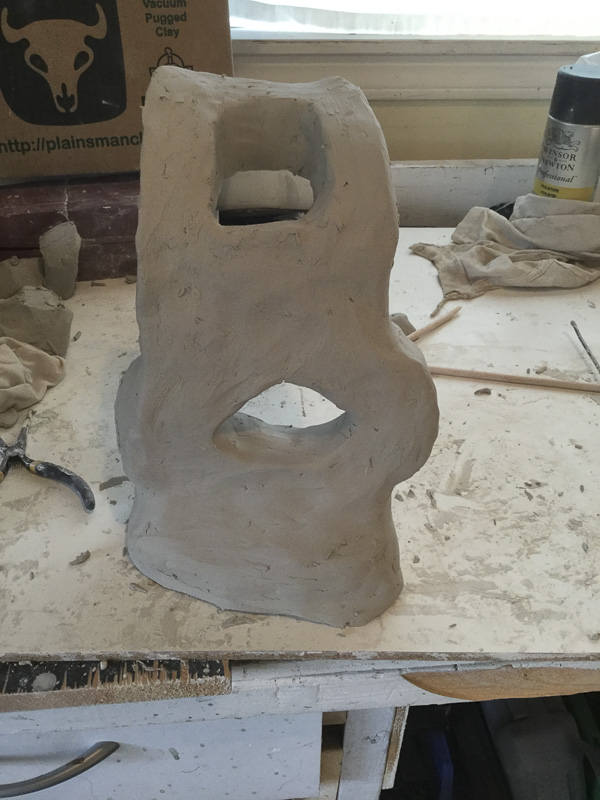
Gallery 1: Starting from 2D represent the general action-event-feeling of the piece as one-third of it is the construction process: a general feeling of some kind of flatness.
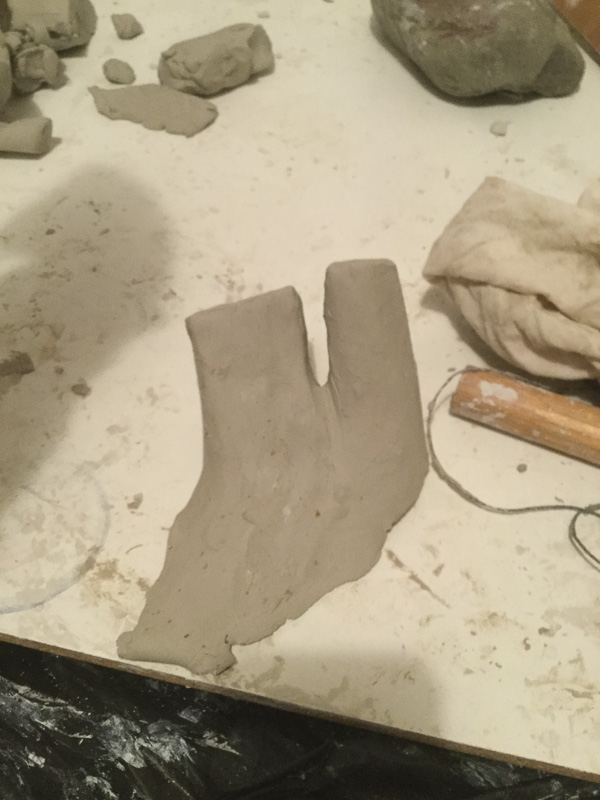
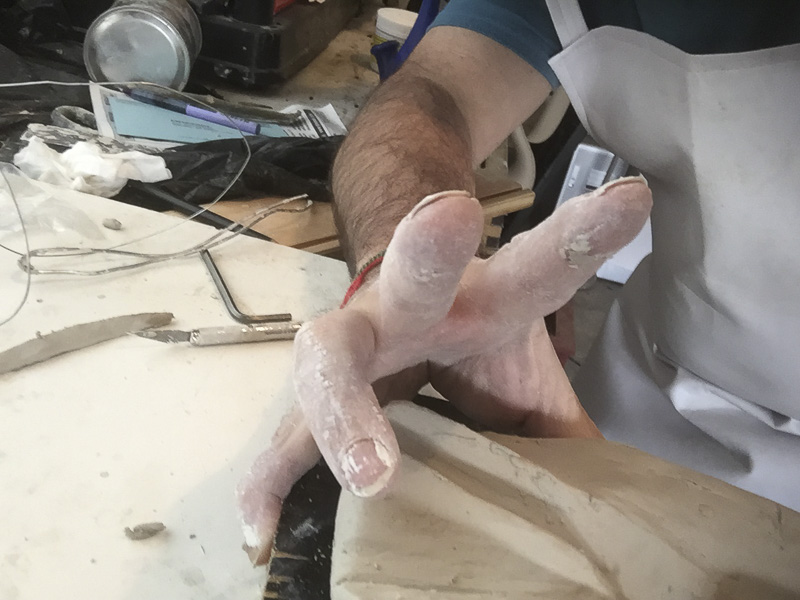
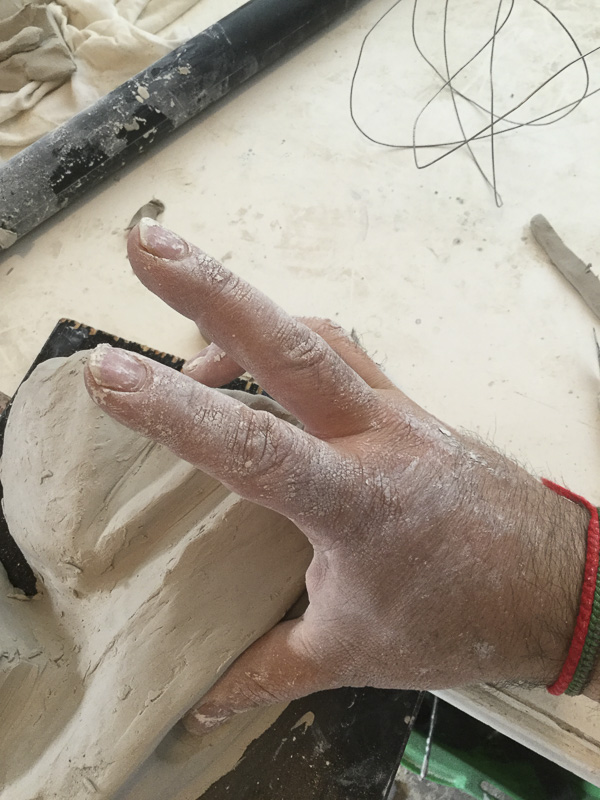
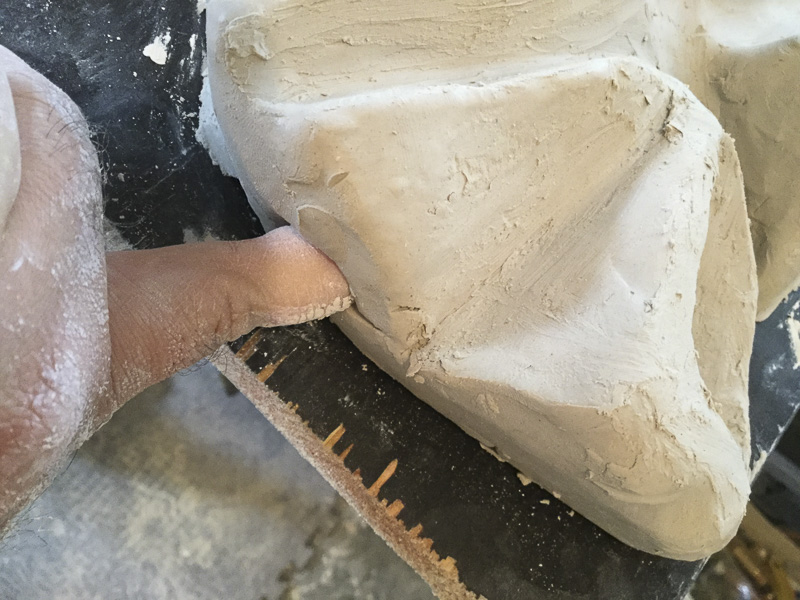
In Gallery 2: Using only the little finger and thumb as a tool, the flatness sensation starts to vanish.
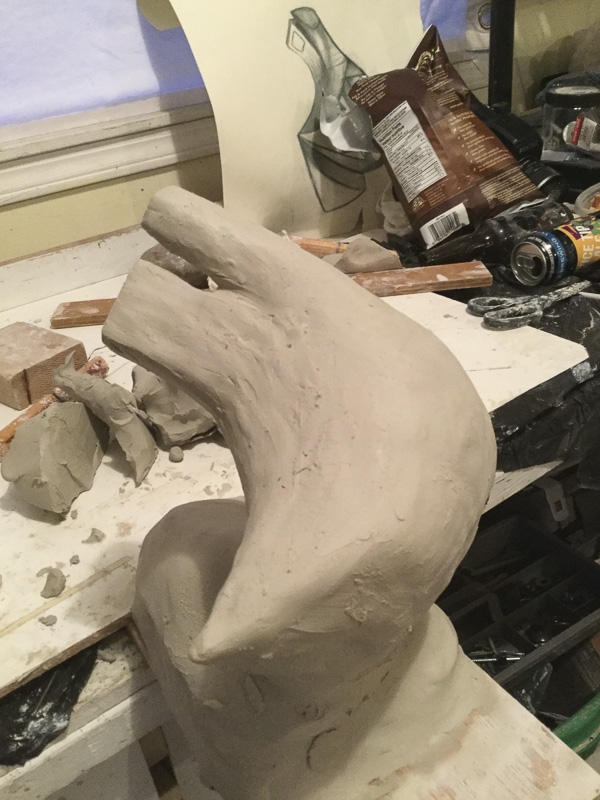
It is not until Gallery 3: Moving form through space that the sculpture starts being visible on all its sides. Moving big chunks of the sculpture from its original place to other areas of the space was a great idea.
General speaking. It was an intricate sculpture to translate from a 2D drawing to clay space, especially the 3D depiction of an odd form on the paper.
The photographs in these galleries are self-explanatory: they just depict the constructions process of the piece, a linear succession of events.
Gallery 1: Starting from 2D


Gallery 2: Using only little finger and thumb as tool of molding
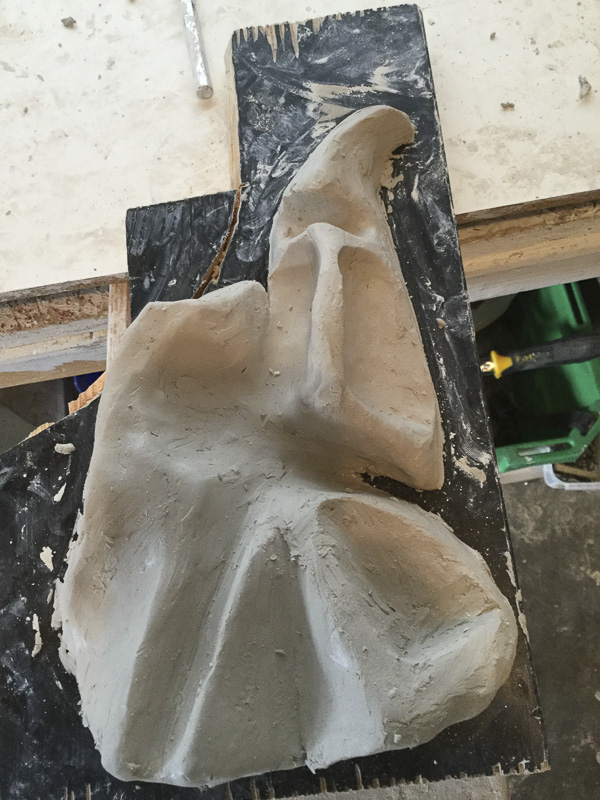
Gallery 3: moving form in space
Final piece
Sculpture 4. Untitled
Starting point
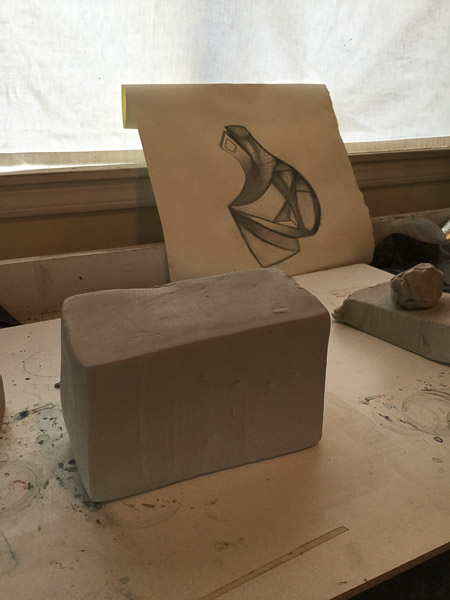
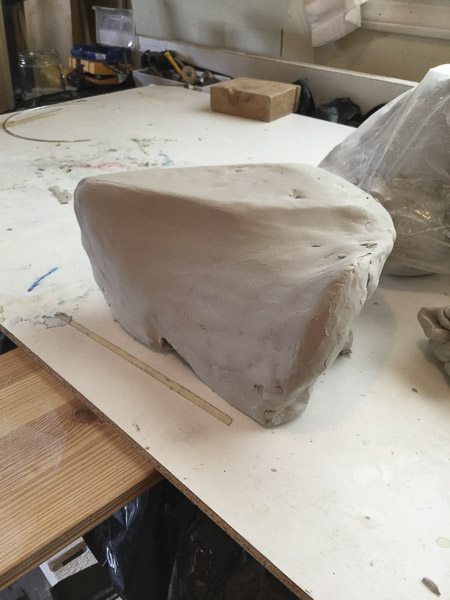
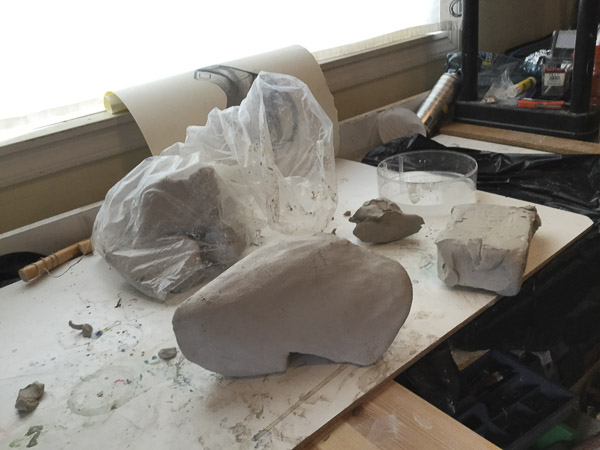
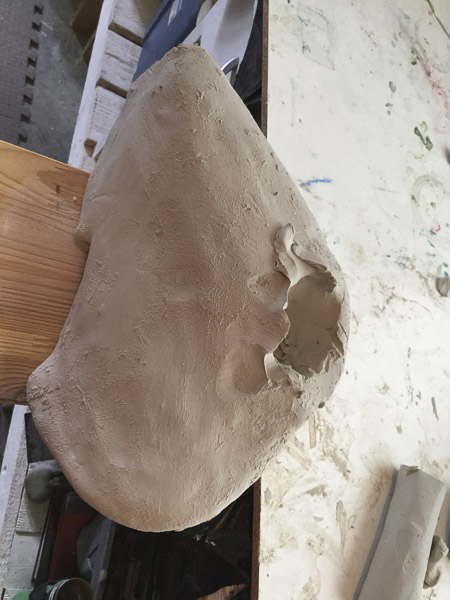
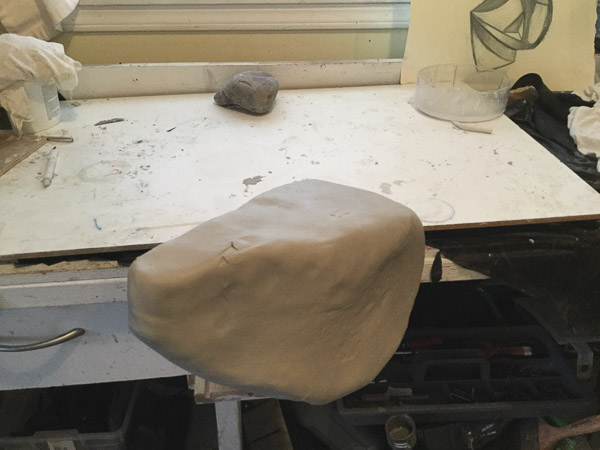
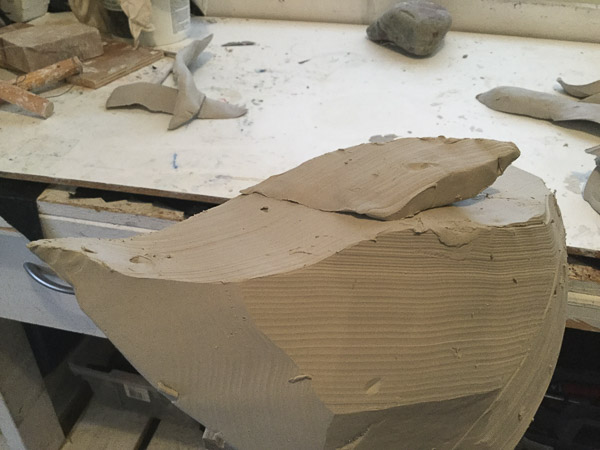
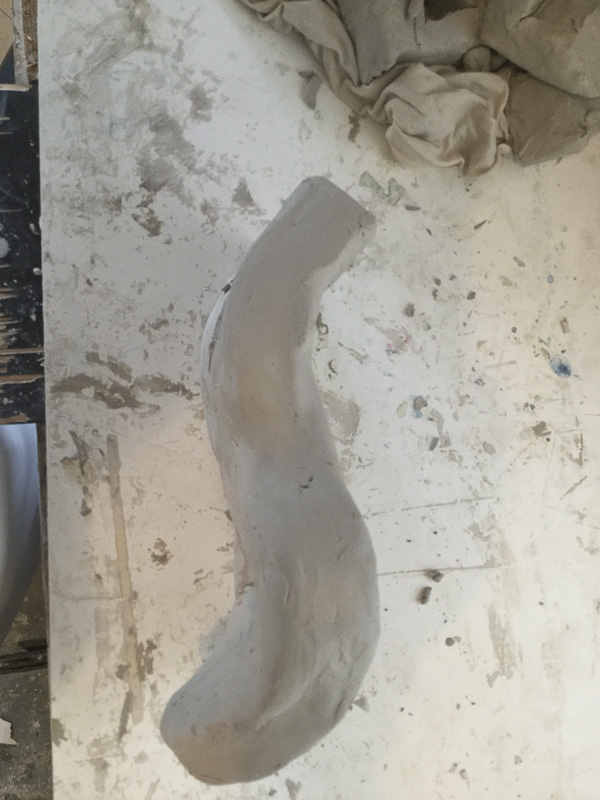
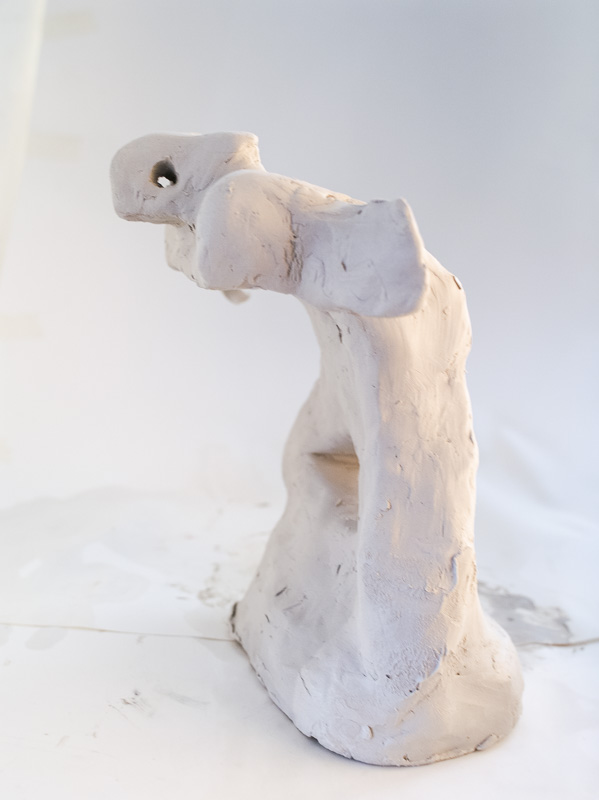
At this point in the process, I wanted to create something quickly. I spent a lot of time on the last three sculptures that I had the feeling that I need to move faster. I spent between 4 and 5 hours in total with this sculpture with no clear plan. I just wanted to construct something from a big flat block of clay. I thought about it as a picture plane to bend.
The Galleries
The three galleries show the whole creation process of sculpture number 4.
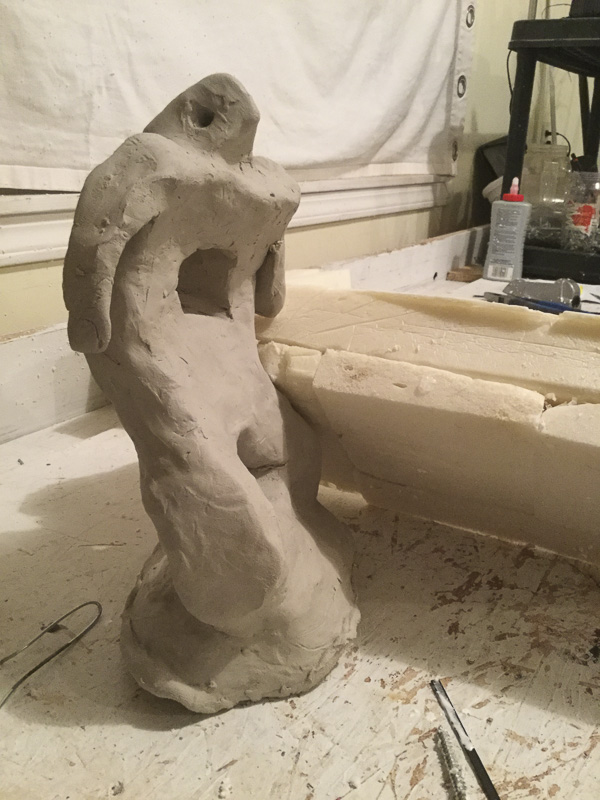
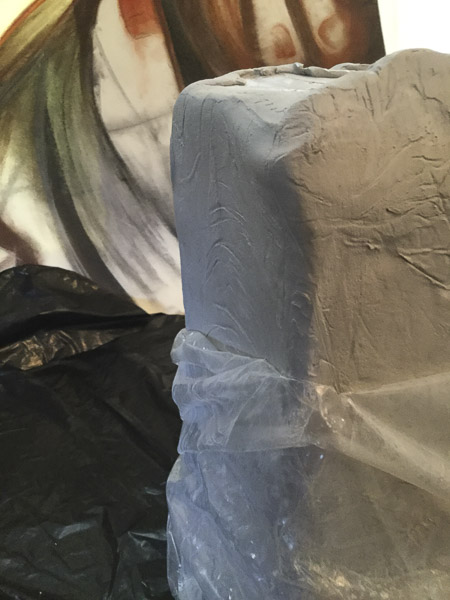
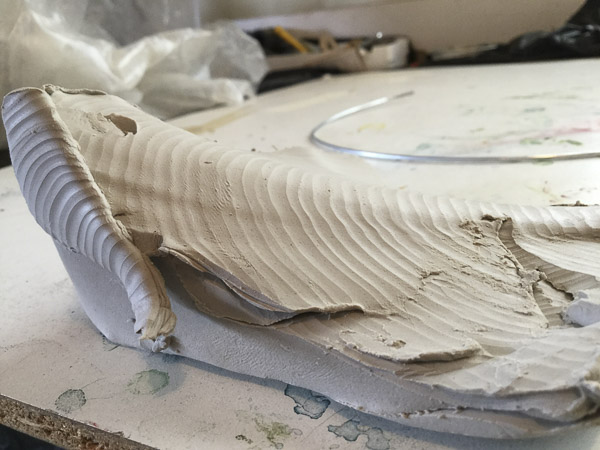
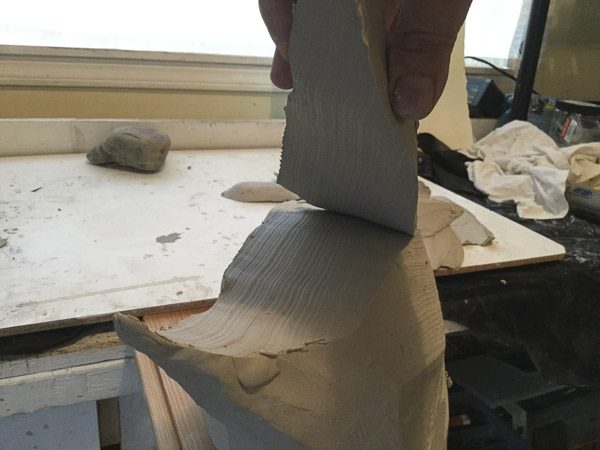
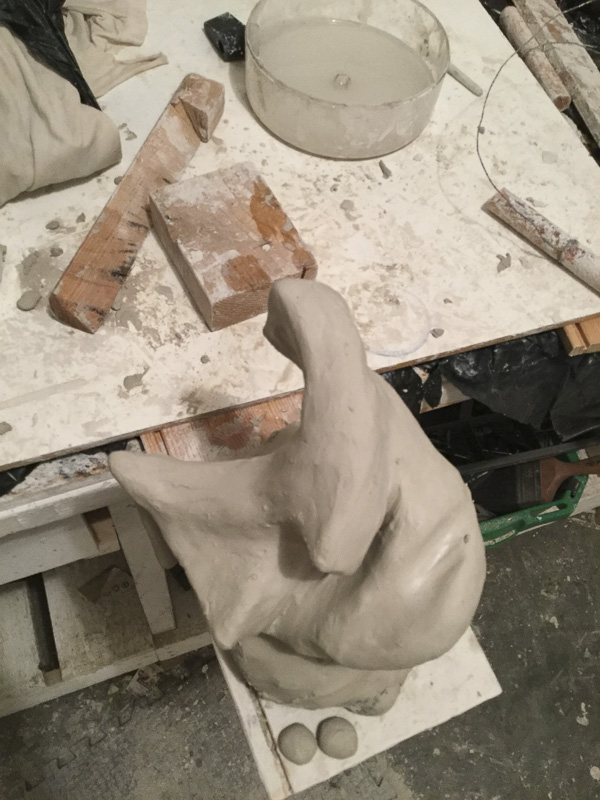
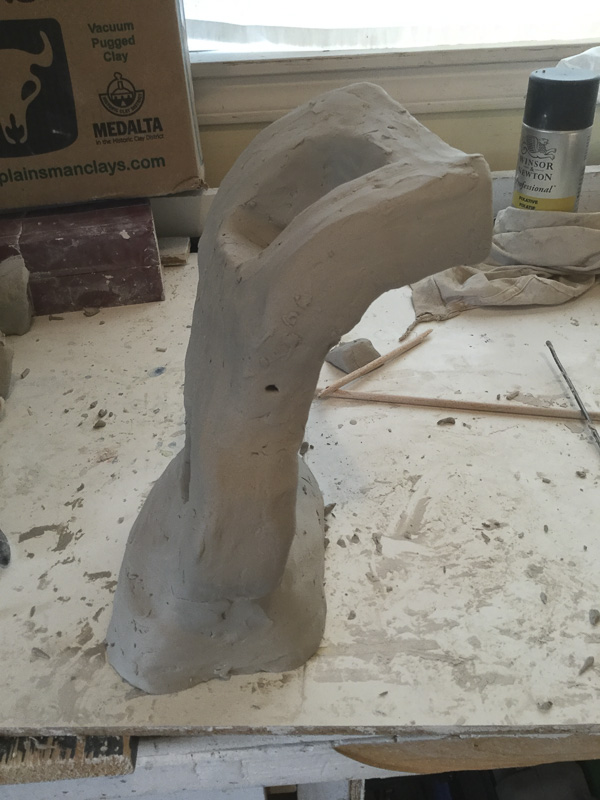
Gallery 1: Materiality to shape, depict my decision of having a big block of clay to bend and to twist.
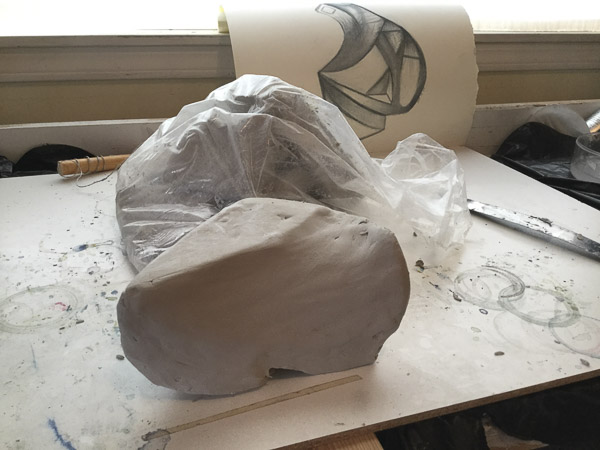
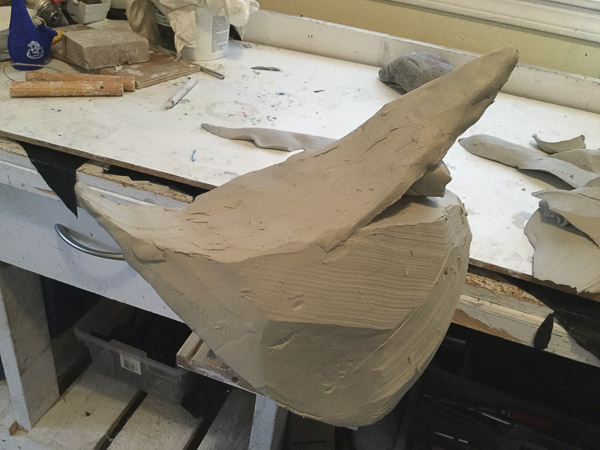
Gallery 2: Materiality to rise. Clay is flexible, but it can fall off from its own weight. There were some “poses” of the sculpture that were not feasible to maintain.
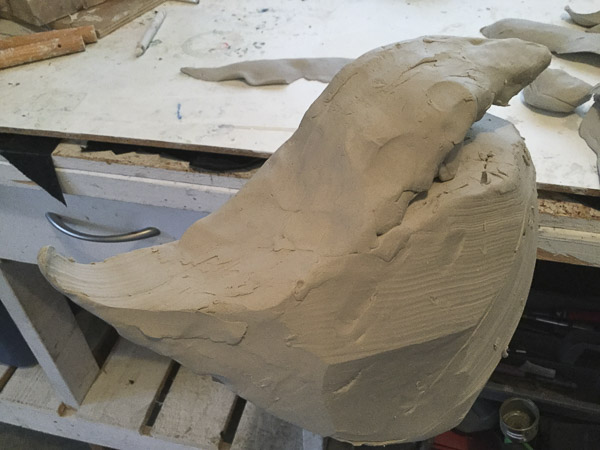
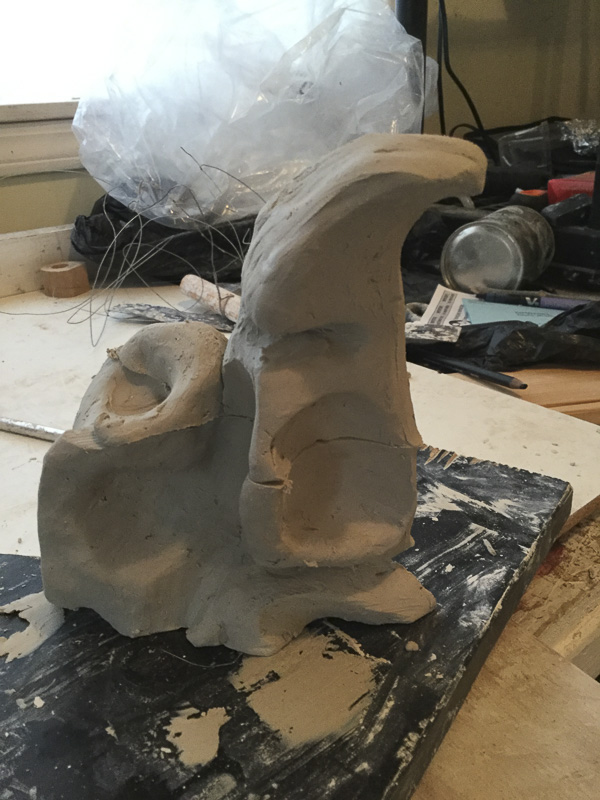
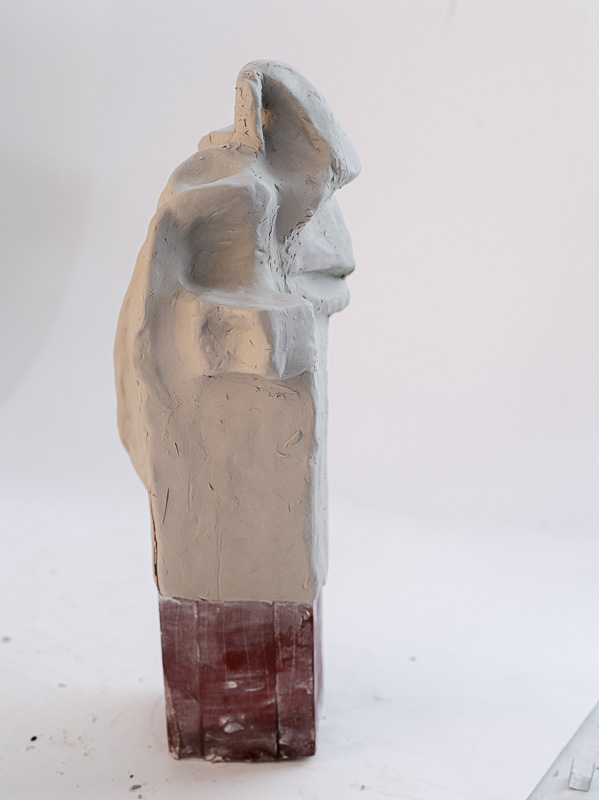
Gallery 3: Materiality to anthropomorphize. It was in this part when I went into the path of my current research theme, and I use one more time the idea of darkness and human intelligence along with the image of the two most distinguished fingers on the human hand: the pinky and the thumb.
Gallery 1: Materiality to shape
Gallery 2: Materiality to rise
Gallery 2: Materiality to anthropomorphize
Sculpture 5. (Not done yet)
I really enjoy working with clay, and I think I did a decent job. It was my first time working with clay. However, it was quite a disappointment to use the same clay over an over to create a new piece, destroying the previous one.
The construction of Sculpture 5 needs to wait until I get a new clay, paper clay this time, to work with.
X
Plaster
Working with plaster was a bag of mixed feelings. First, because gypsum is quite a problem if your breath its dust. I was using the proper gear however I work on the garage of my house, and sometimes I was too worried to bring dirt inside the home where I do not want to put any plaster at all. My wife suffers from asthma, and I have 4 cats that smell everything.
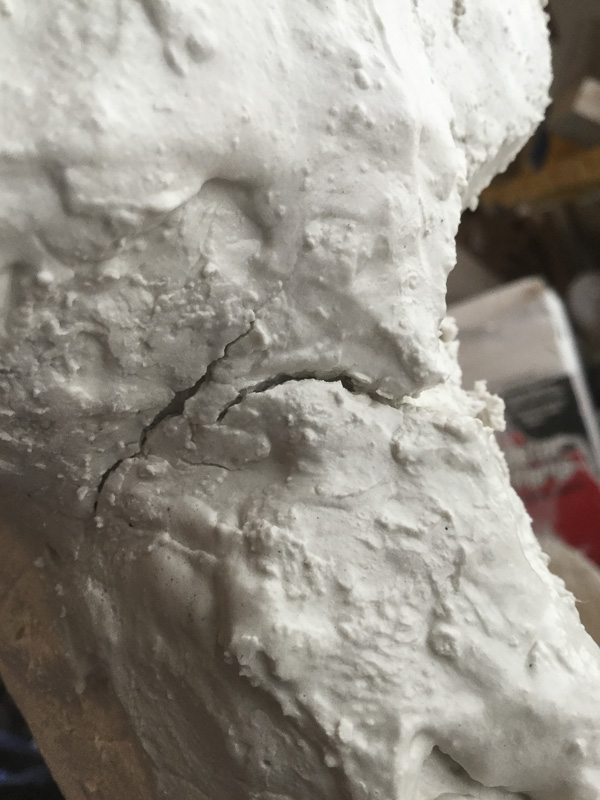
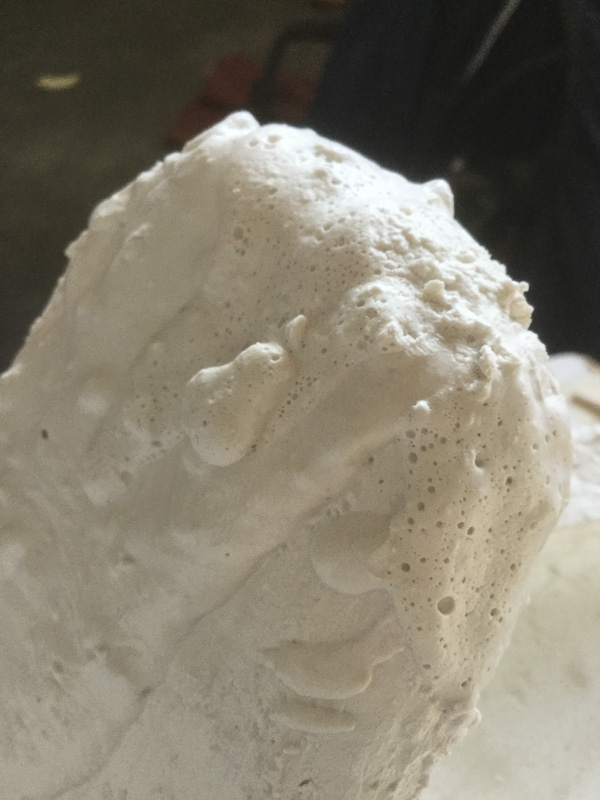
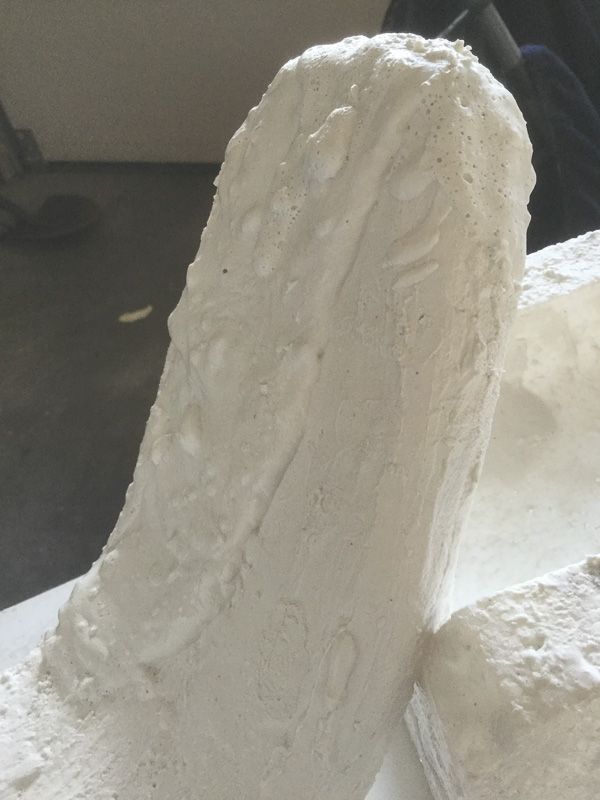
I like the final plaster sculptures, but I think I did not really get precisely how plaster behaves. I guess I have a better idea of two things that went wrong: 1) in the first sculpture, I did the mix for the scrims to thin, and it was on some areas too fragile. And 2) when I put the second layer of plaster on both sculptures I made too much mix that started to dry very fast and granulate. I really do not mind the result: the course surface on the sculptures, but that was not what I was looking for.
Gathering and glueing the styrofoam
Plaster sculpture 1
Starting point
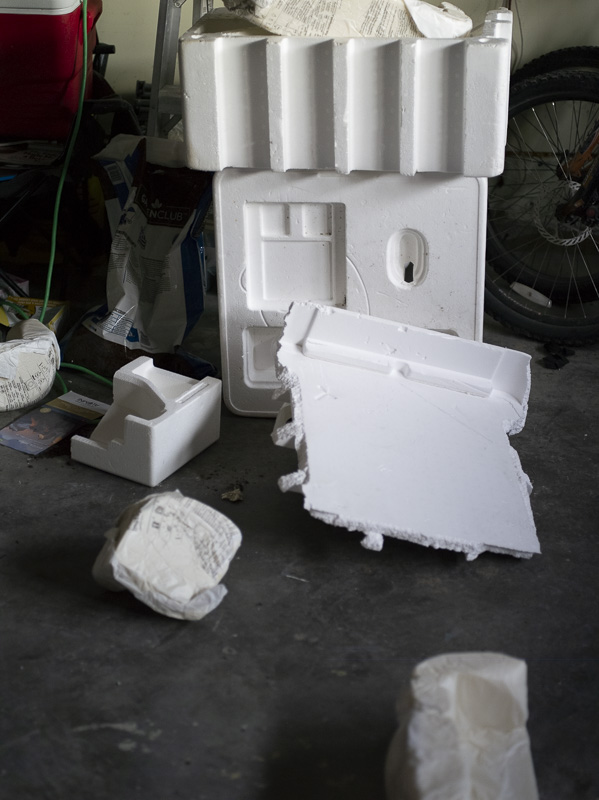
A big styrofoam protecting enclose of a computer: a ready made to discover.
The Galleries
The below five galleries show the whole creation process of plaster sculpture number 1.
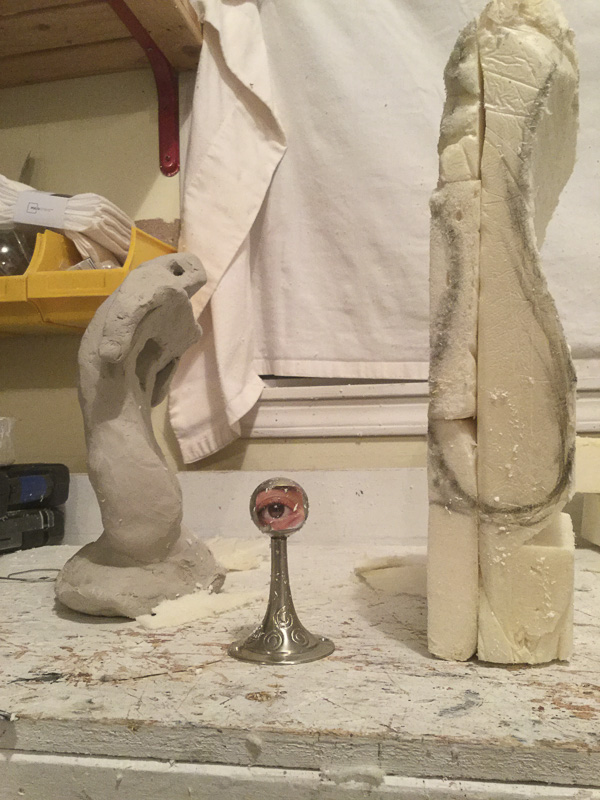
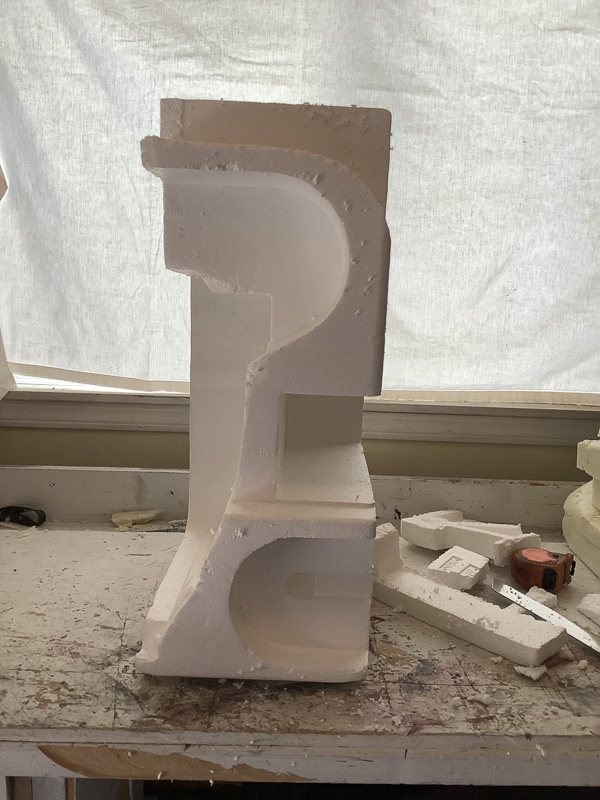
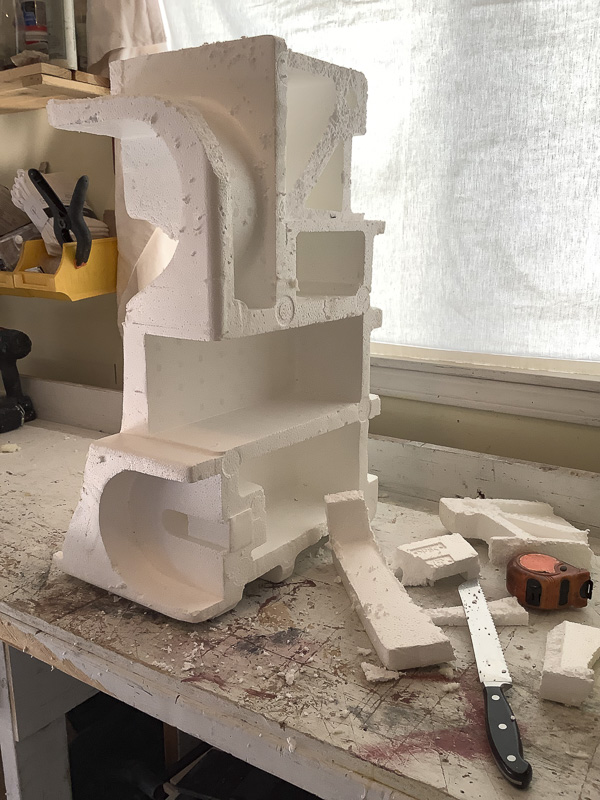
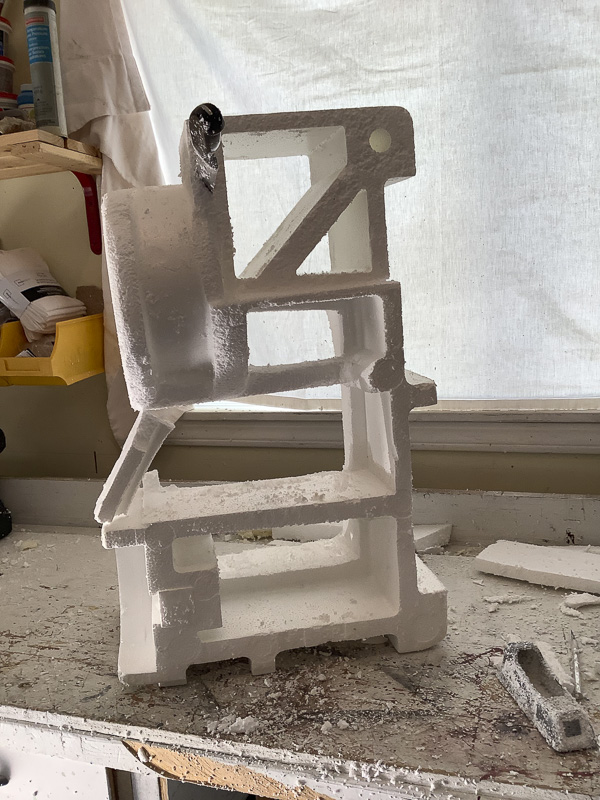
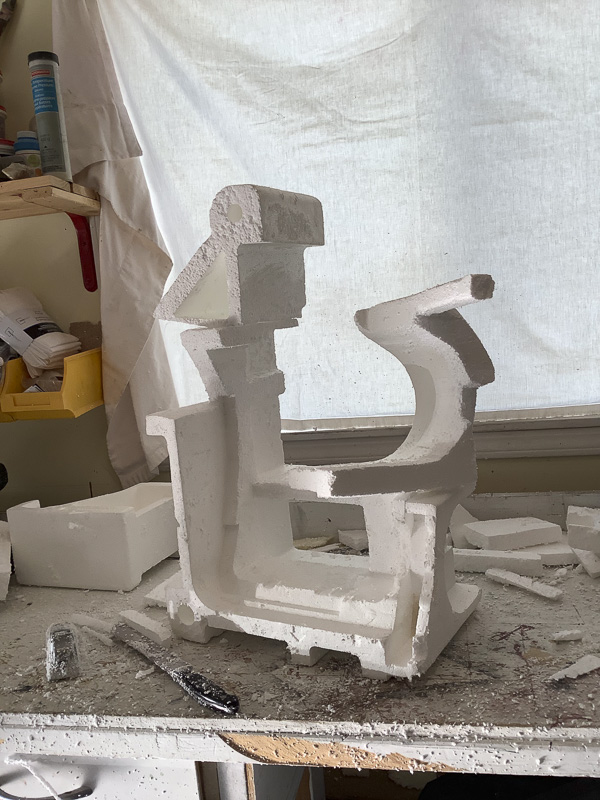
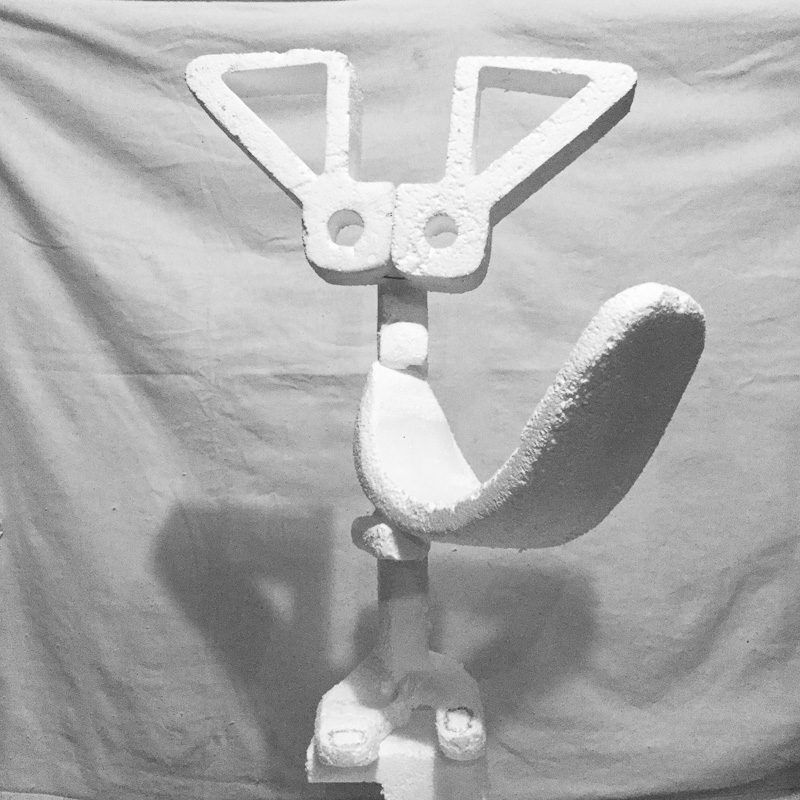
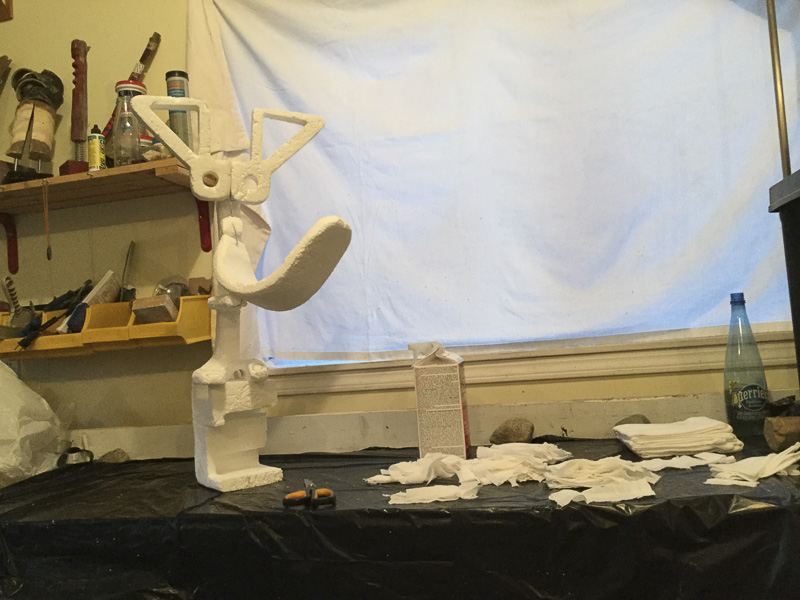
Gallery 1: Discovering the already-there forms on the styrofoam. The first time I re-saw that big styrofoam cube I noticed right away is utilitarian forms: curves, holes, depressions, spaces that were made with a purpose to protect something. It was too much temptation not to use them, so I decided to carve them out and let this preexisting forms to guide me in the creation of this sculpture.
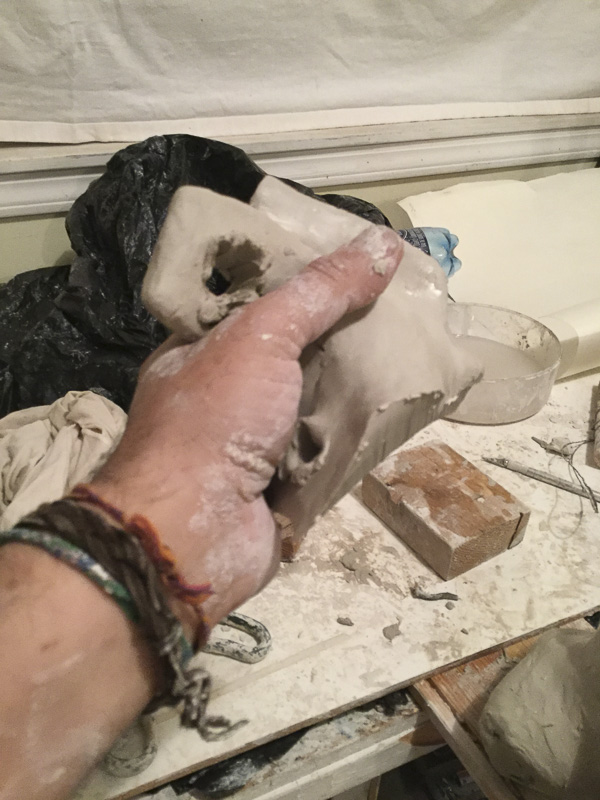
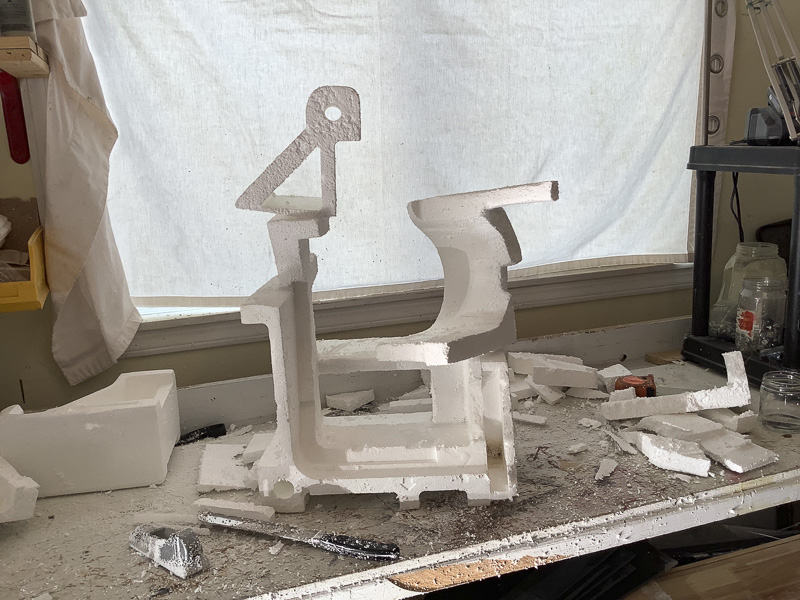
Gallery 2: styrofoam is a ready-made. Once the forms were carved out, the final assemblage of the piece was natural. I had all the time in my head my recurrent theme on this course: what lies between darkness and human intelligence. So for me, it was easy to see a big tongue coming out from a being that looks like a rabbit. A prominent tongue that licks everything and is insatiable and devours whatever it encounters.
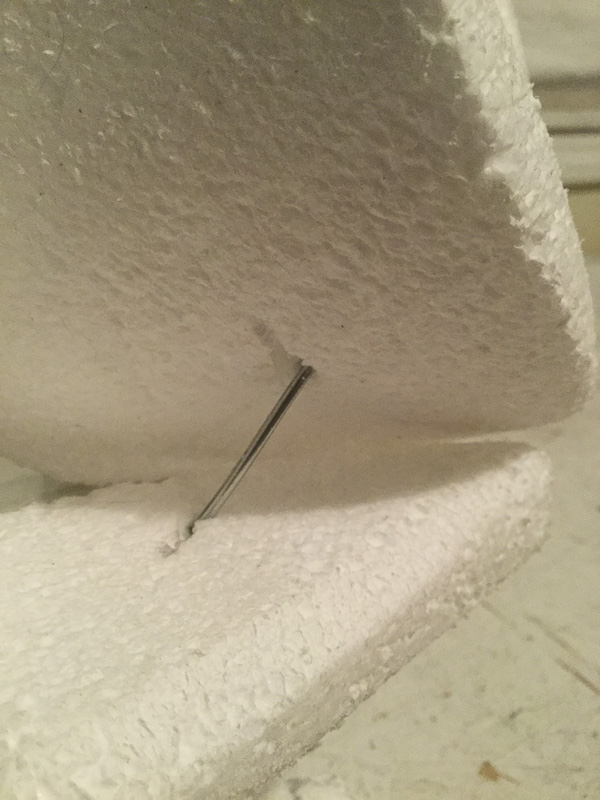
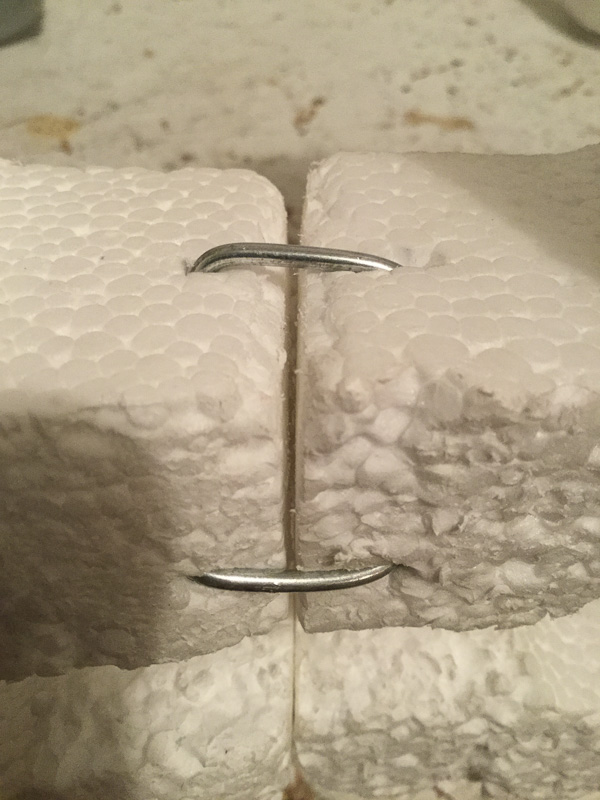
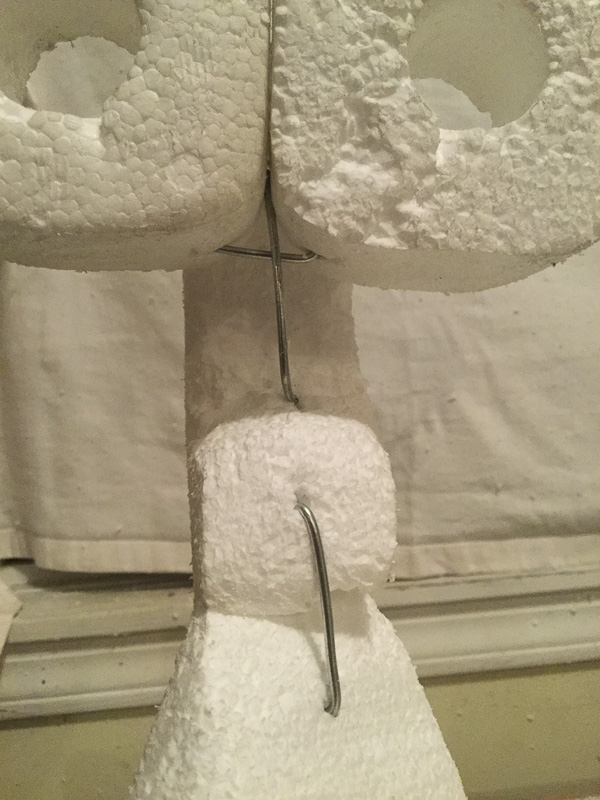
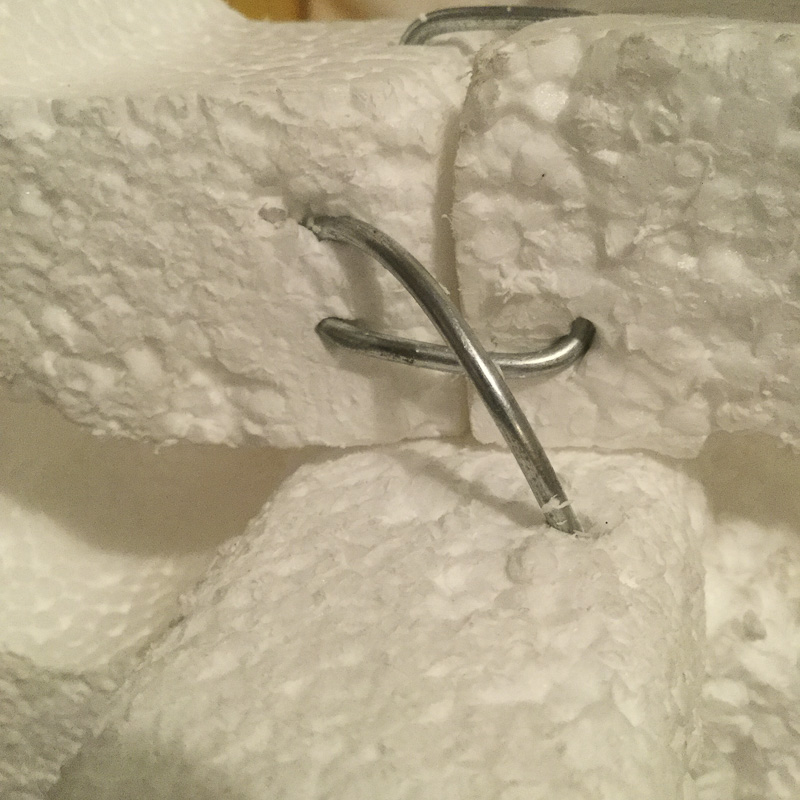
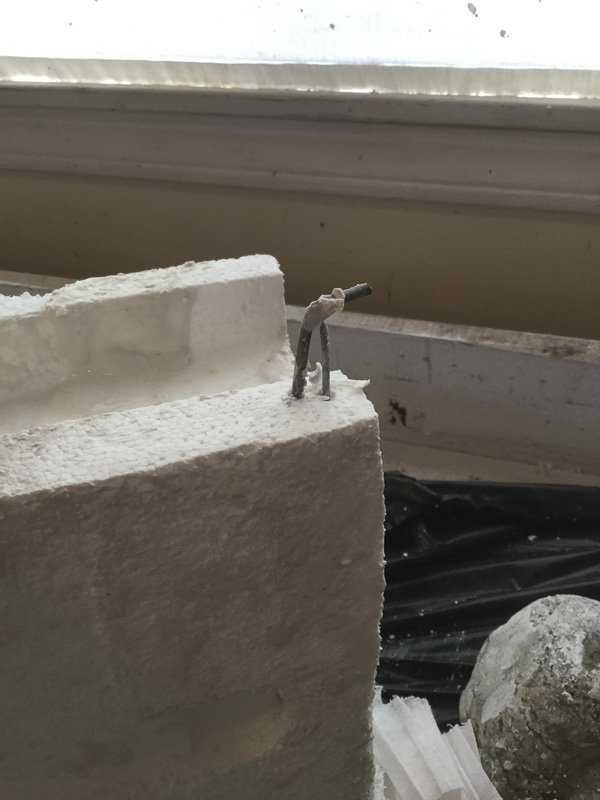
Gallery 3: Joining the pieces. A self-explanatory gallery, nothing to add except that those pieces of wire work perfectly.
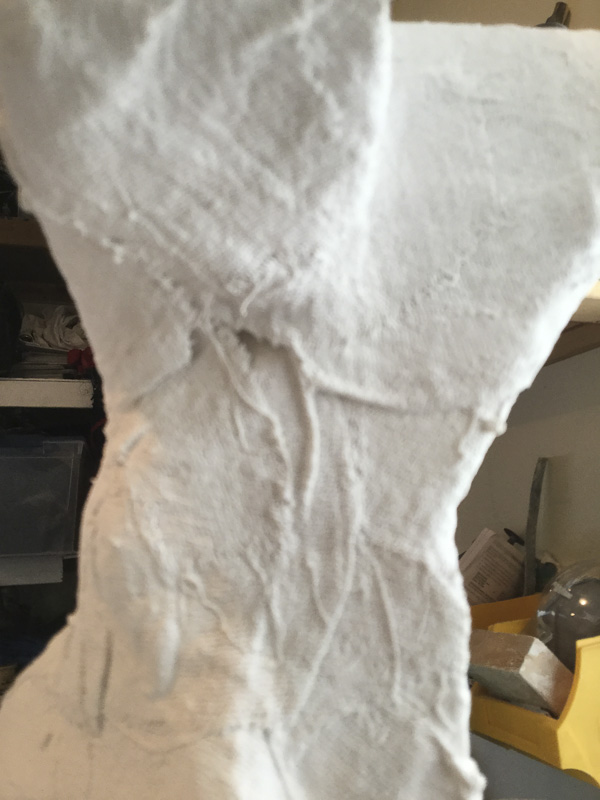
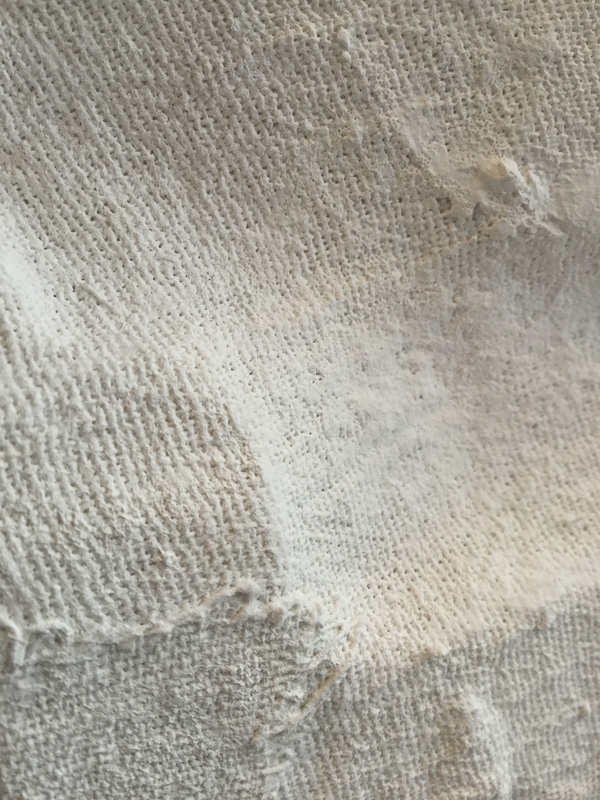
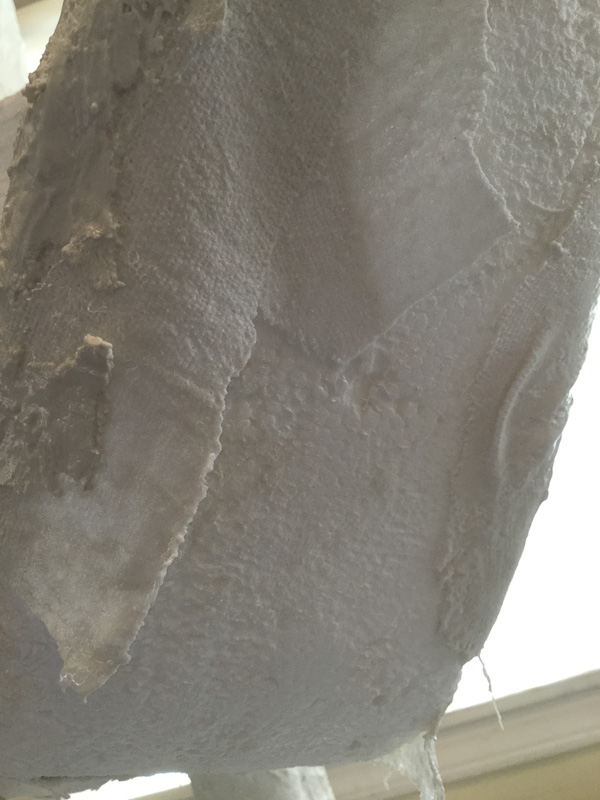
Gallery 4: A thin scrim. This is where things started to go not so well. At this point it was not that obvious to me how bad the situation was until I put the rest of the plaster.
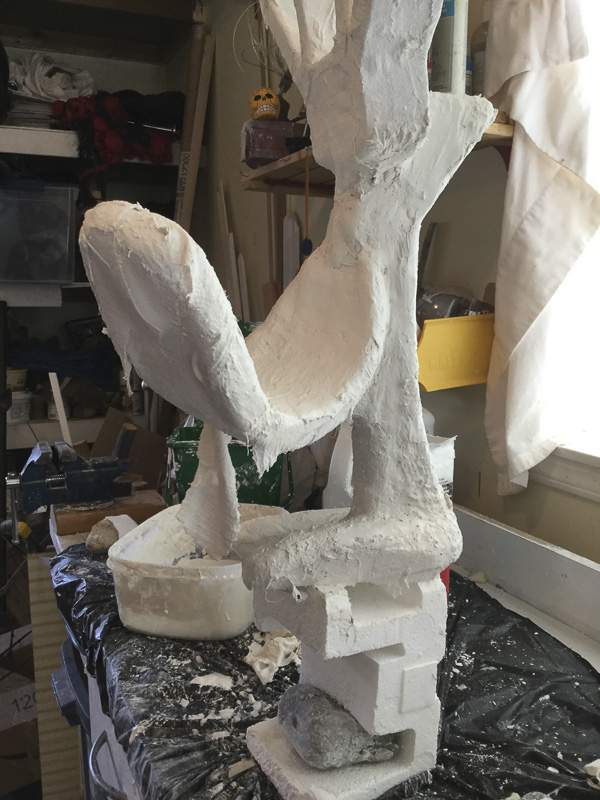
Gallery 5: Disaster 1. The whole back part of the mouth fell as soon as I started putting the thick layer of plaster. It was frustrating, as hell for a few minutes. I had no idea what was happening. Because it was only that part, I continued’ otherwise, I would’ve been forced to start all over again. Later I realized that the first layer of plaster with the scrim was too diluted and that a plaster structure all around the sculpture was not being formed.
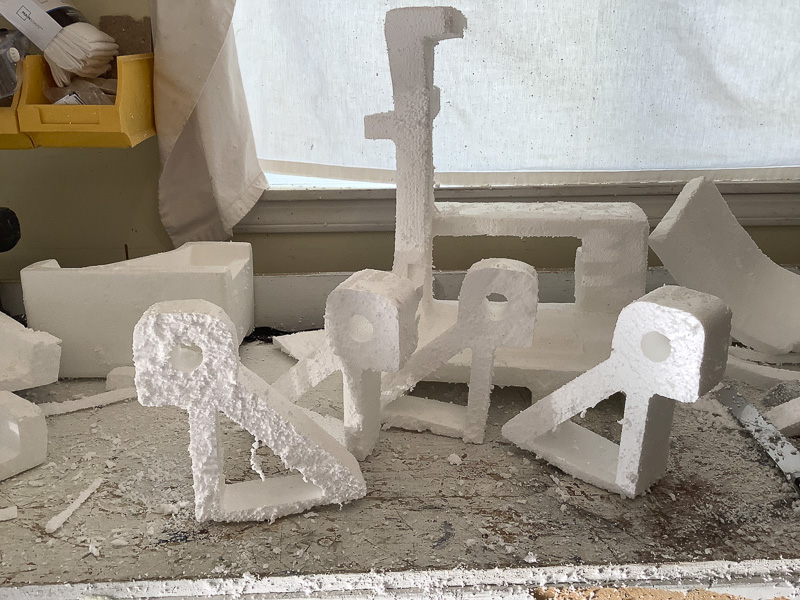
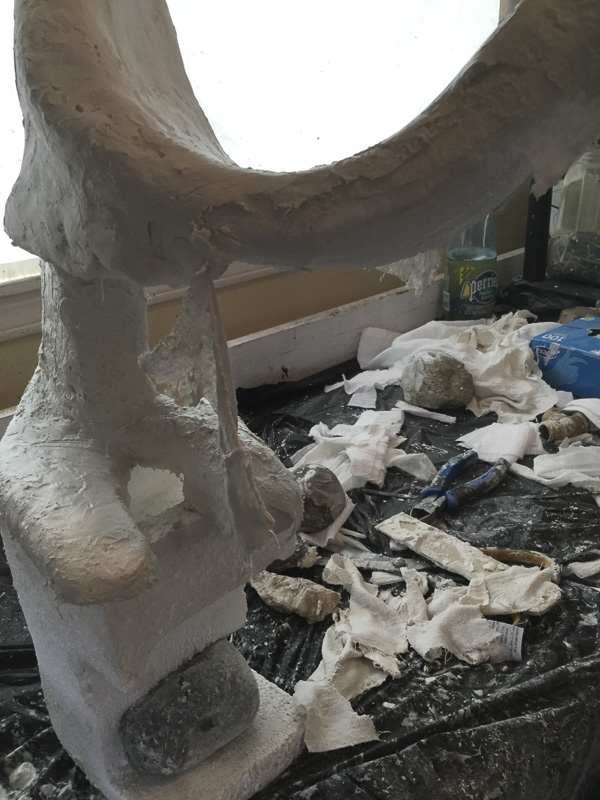
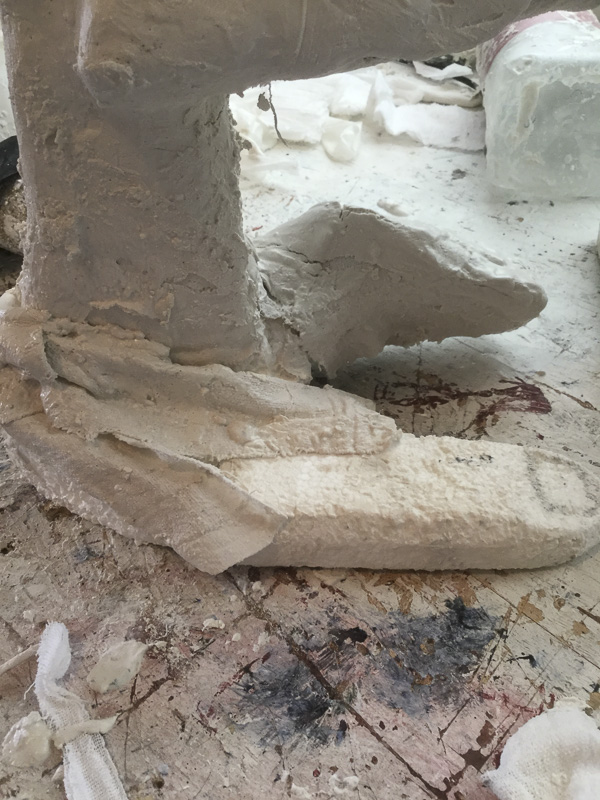
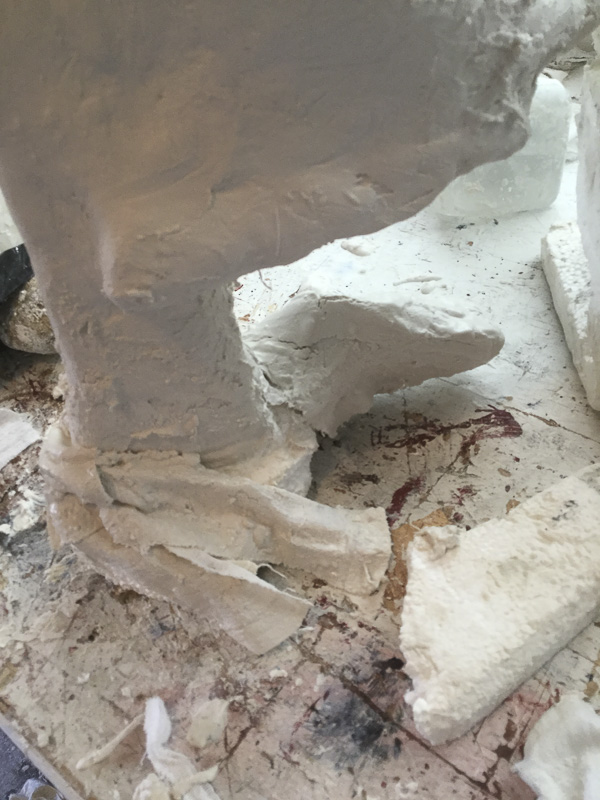
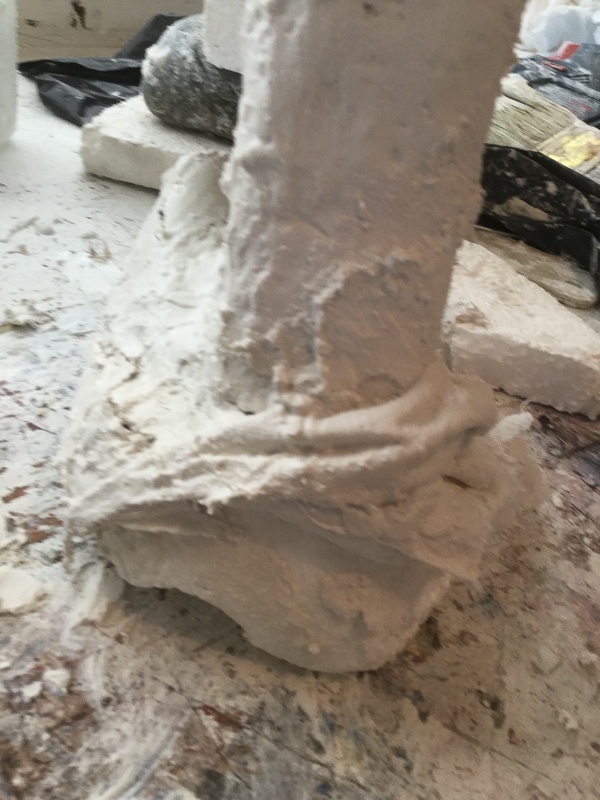
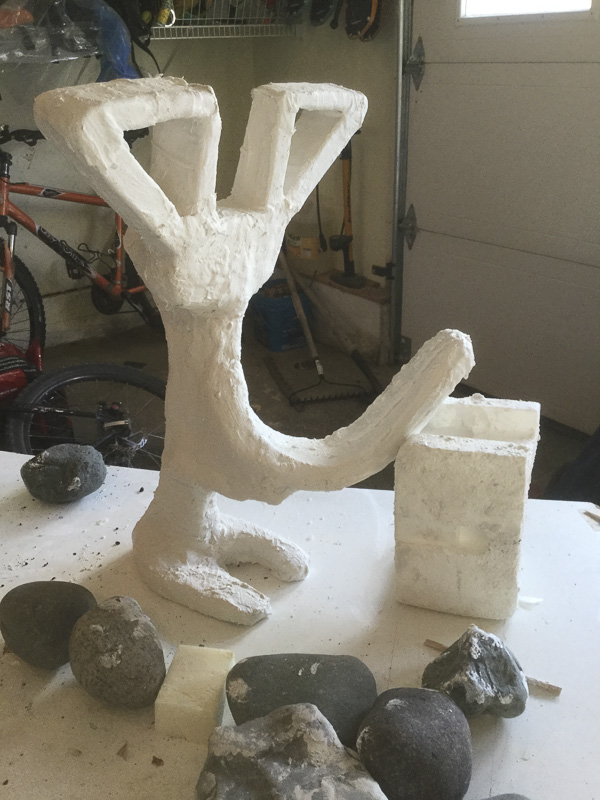
Gallery 6: Disaster 2. To meet the height requirement for this sculpture, I mounted it over another piece of styrofoam. The width of the thick layer of plaster makes it very unstable, and it broke from one of its feet (yes, the feet are actually fingers, not difficult to guess which ones).
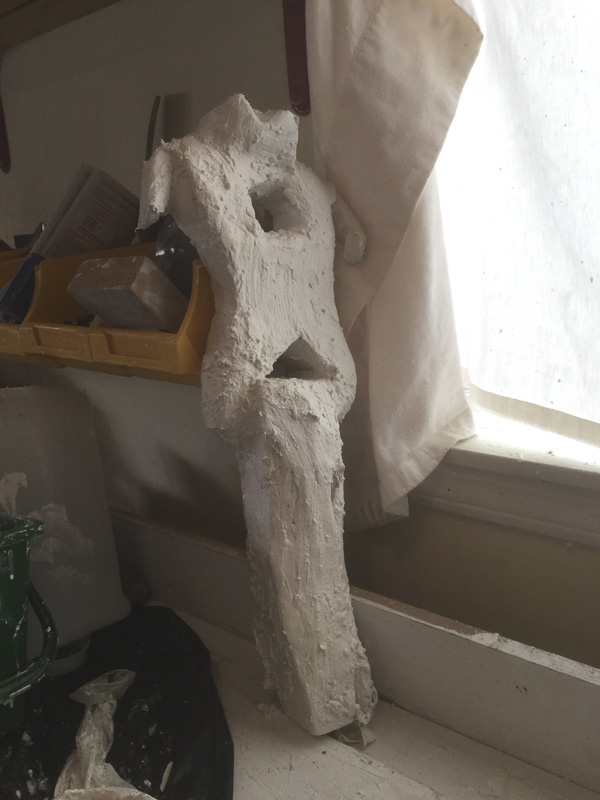
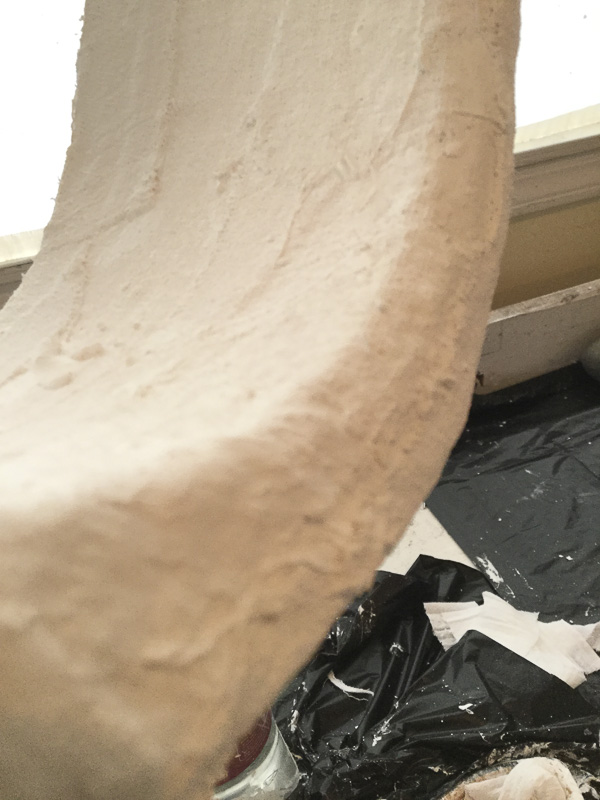
Gallery 7 : Final piece. After all those accidents I finished the sculpture. I pour over the top of the tongue the rest of the plaster to make it look like if it was grotesquely devouring something. Definitely, I will try to make this sculpture one more time, I think it is very interesting.
Gallery 1: Discovering the already there forms on the styrofoam
Gallery 2 : styrofoam is a ready made
Gallery 3 : Joining the pieces
Gallery 4 : A thin scrim
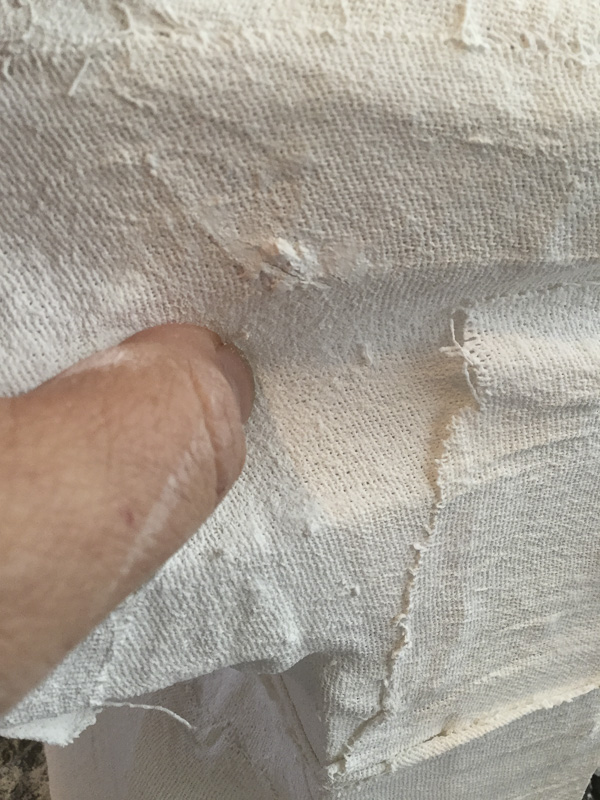
Gallery 5: Disaster 1
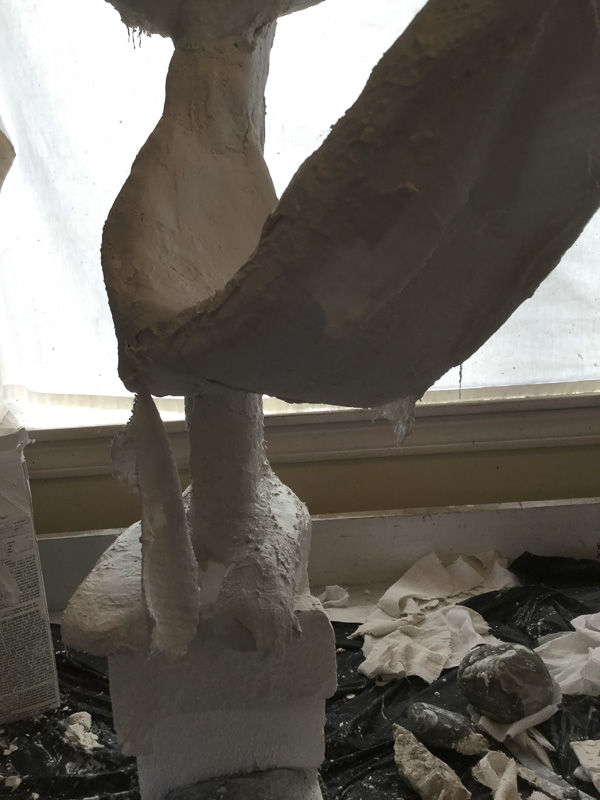
Gallery 6 :Disaster 2

Gallery 7 : Final piece
Plaster sculpture 2
Starting point
For this final sculpture I tried to duplicate clay Sculpture 4.
The Galleries
The below four galleries show the whole creation process of plaster sculpture number 1.
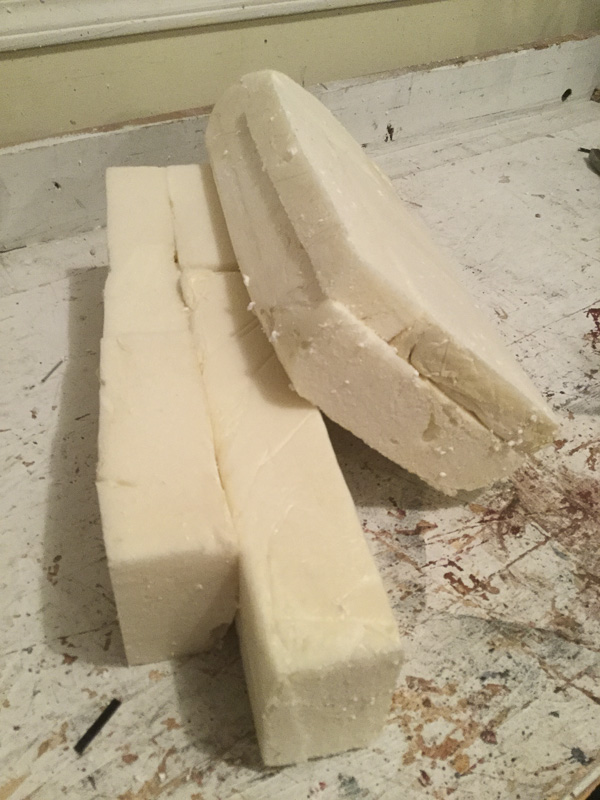
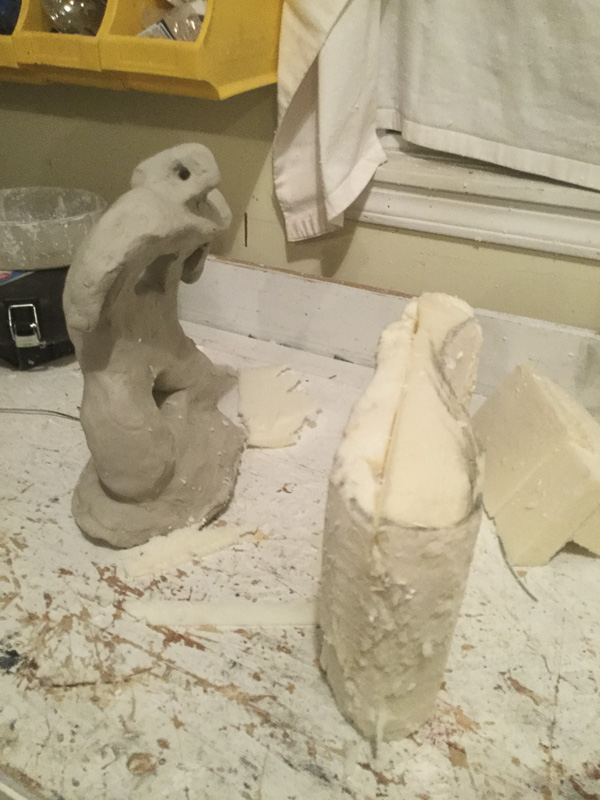
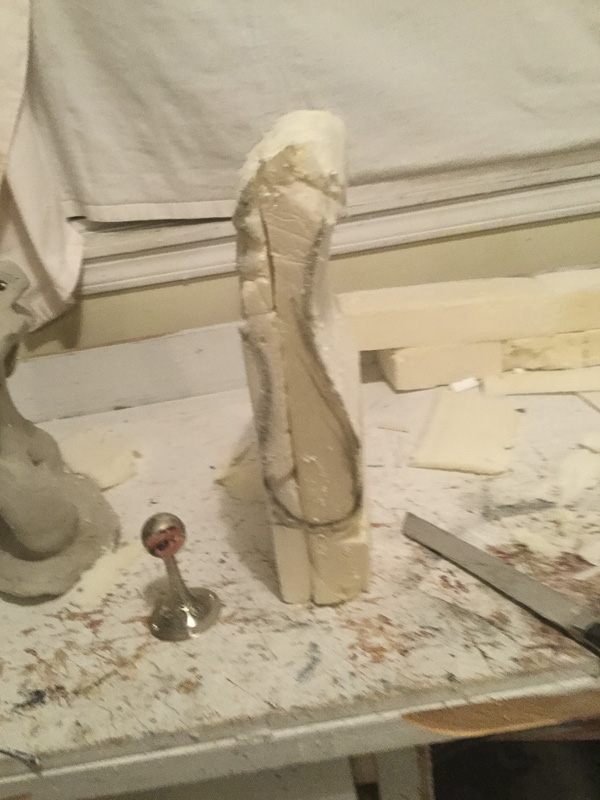
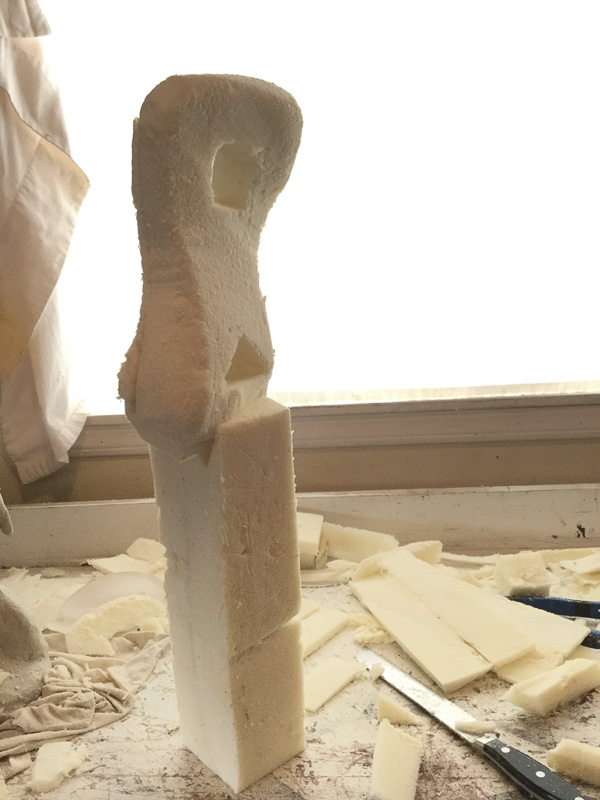
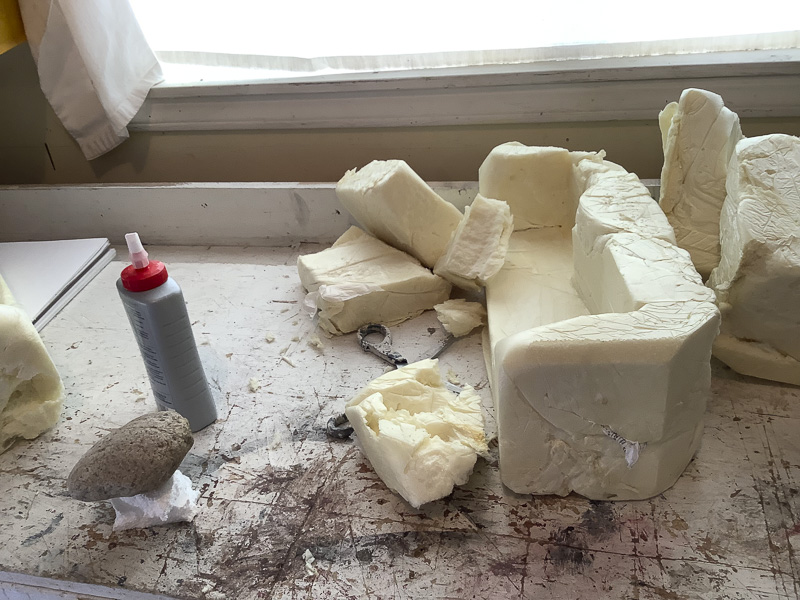
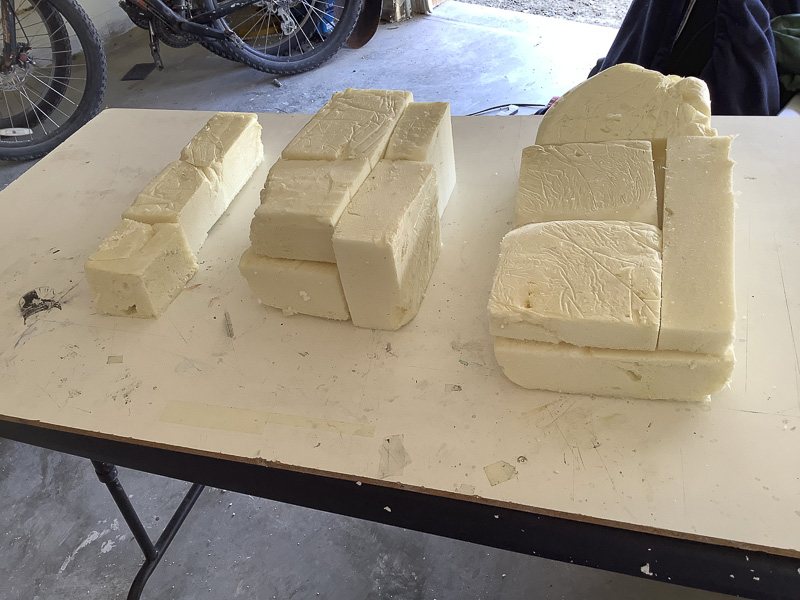
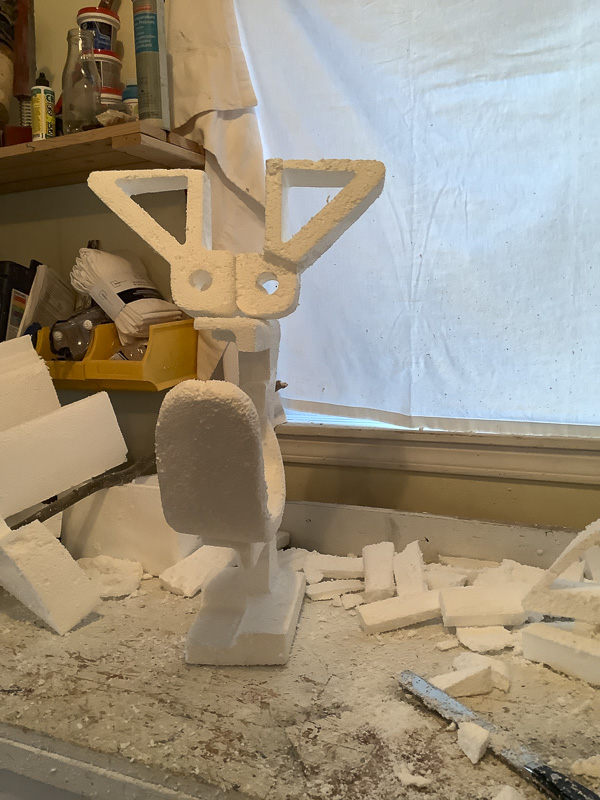
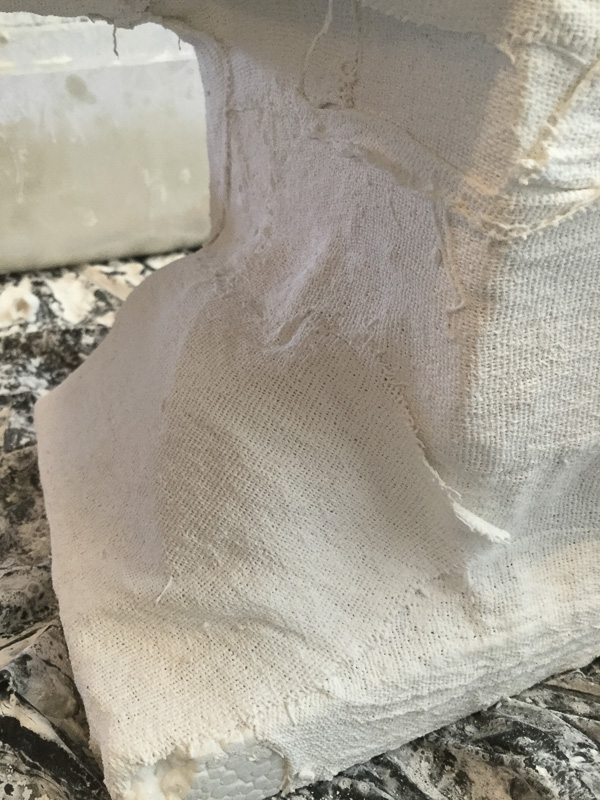
Gallery 1: A different kind of foam. The raw material for this sculpture was a different kind of foam. It was not styrofoam but something different: more comfortable to work with as it was more manageable and somehow softer. I had to glue the pieces of this foam to create an initial working block
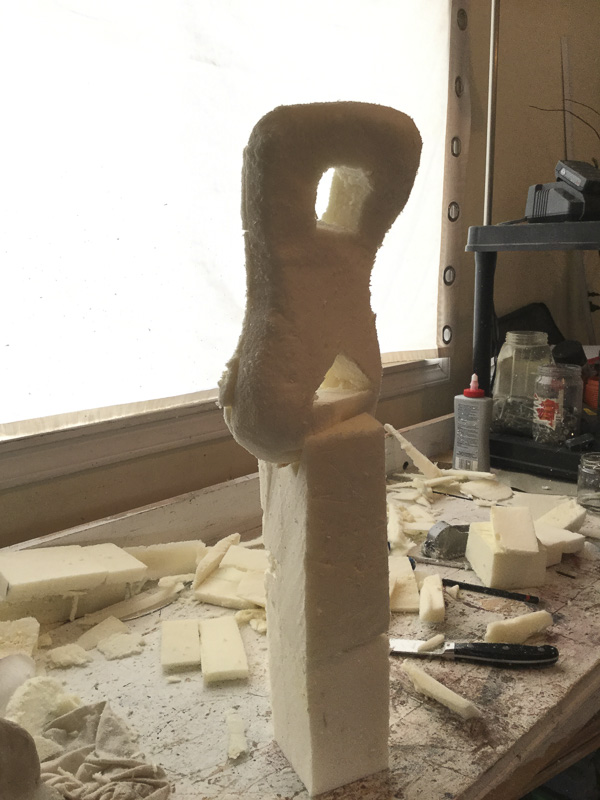
Gallery 2: One single big shape. To carve this block of foam I use a bread knife, it was a fantastic tool to work with. It was quite easy and less messy than styrofoam.
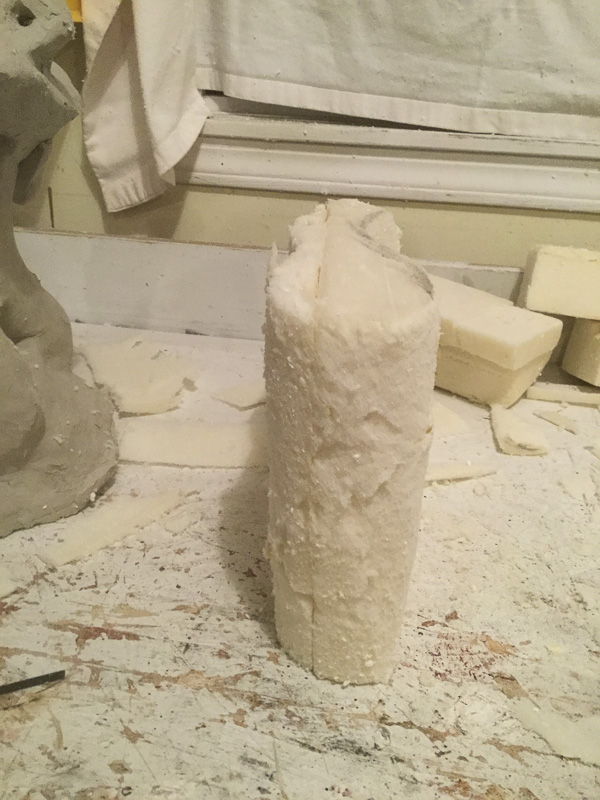
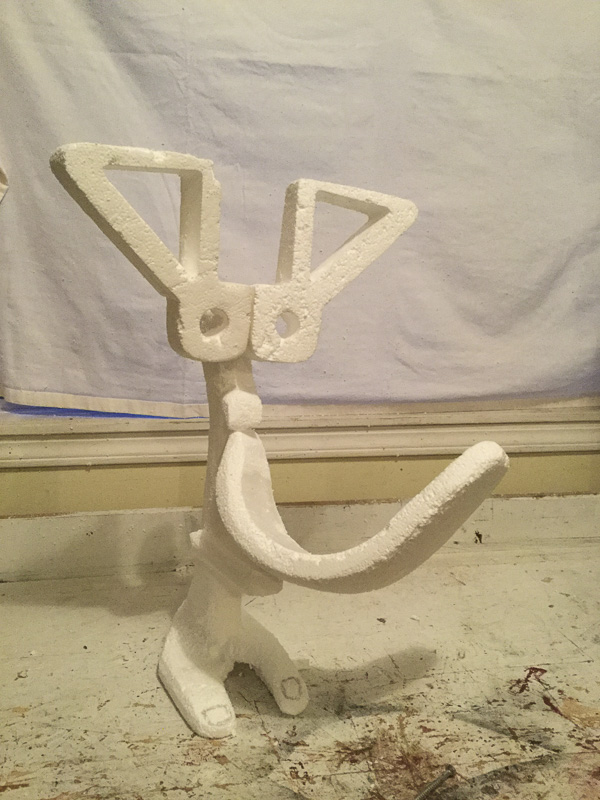
Gallery 3: Gaining height. A self-explanatory gallery, nothing to add but those big bases of foam work great.
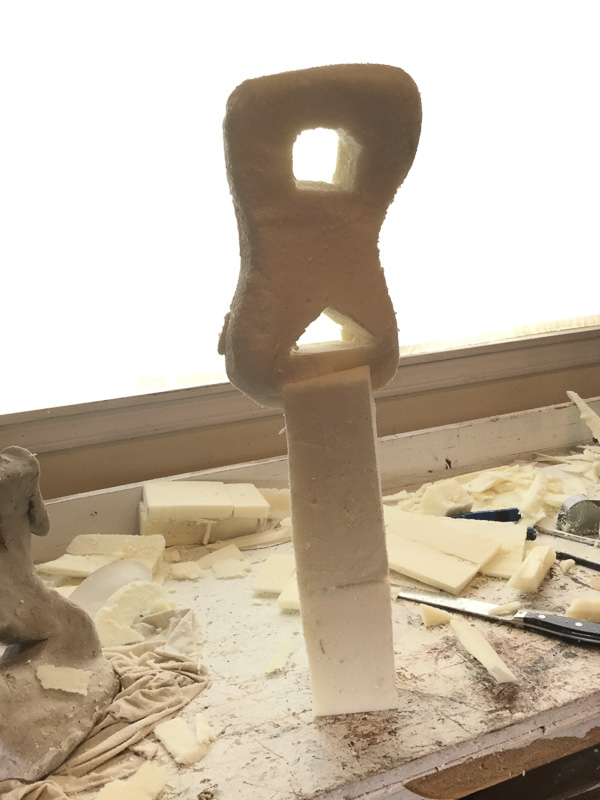
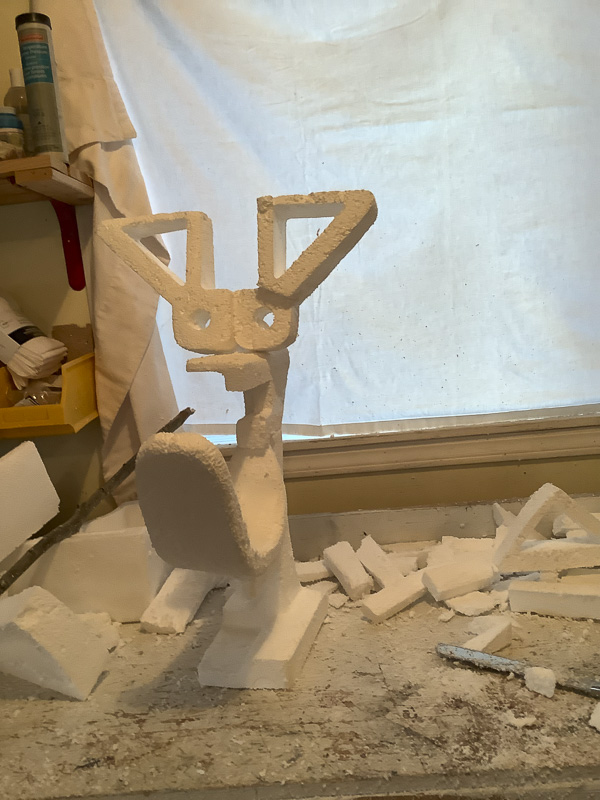
Gallery 4: Final Piece. I did not have the same setbacks with this piece as the previous one. The only thing that happened was the course surface of the sculpture. As I stated previously, I really do not mind, but it was not what I was looking for: something way more smoother.